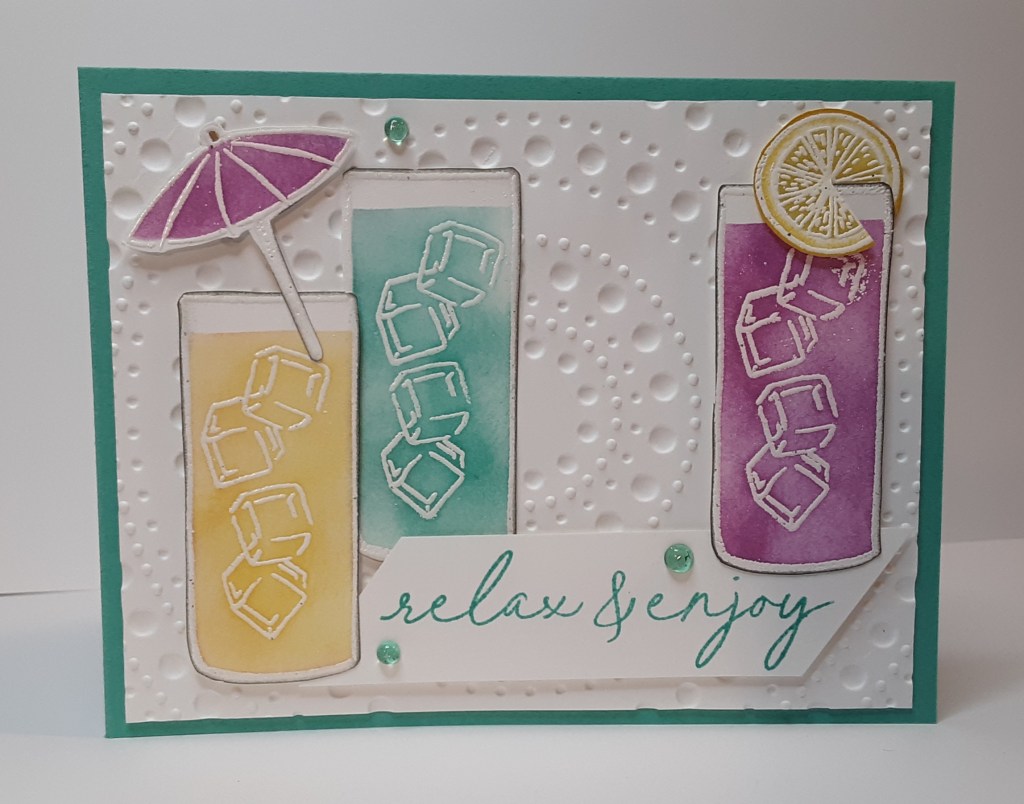
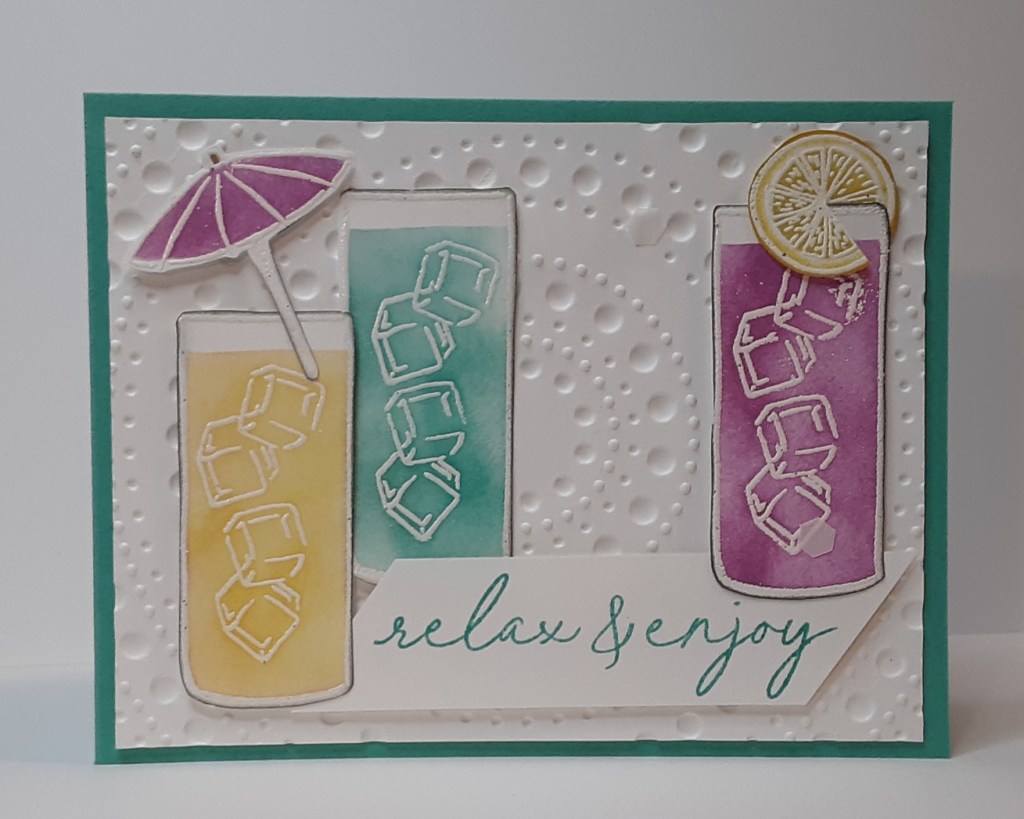
Today I have a card that looks refreshing, and with the heat we have been subjected to lately, a refreshing sip sounds pretty good. If you attended Terry’s most recent class, you would recognize this card. I tweaked it a little. This card includes a few techniques, ie. heat embossing, masking, and ink blending.
For the card base, I cut a piece of Summer Splash cardstock to 5-1/2″ x 8-1/2″ on my Paper Trimmer, scored and folded at 4-1/4″, and burnished with my Bone Folder. I cut a piece of Basic White cardstock to 4″ x 5-1/4″. I ran this through my Dotted Circles 3D Embossing Folder on my Stampin’ Cut & Emboss Machine, sandwiched between the Base Plate and the gray Specialty Plate.
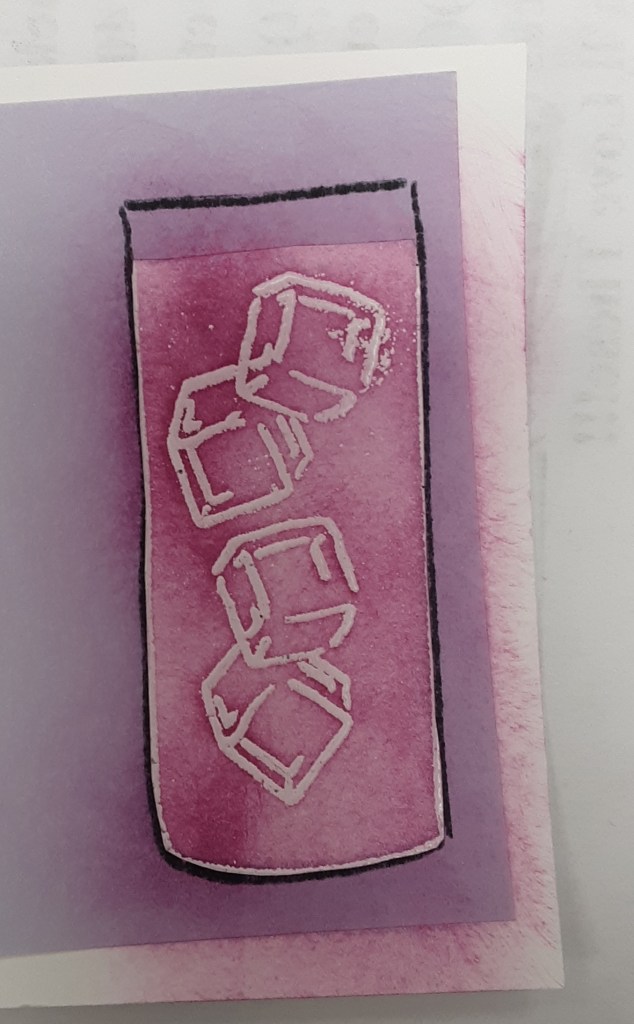
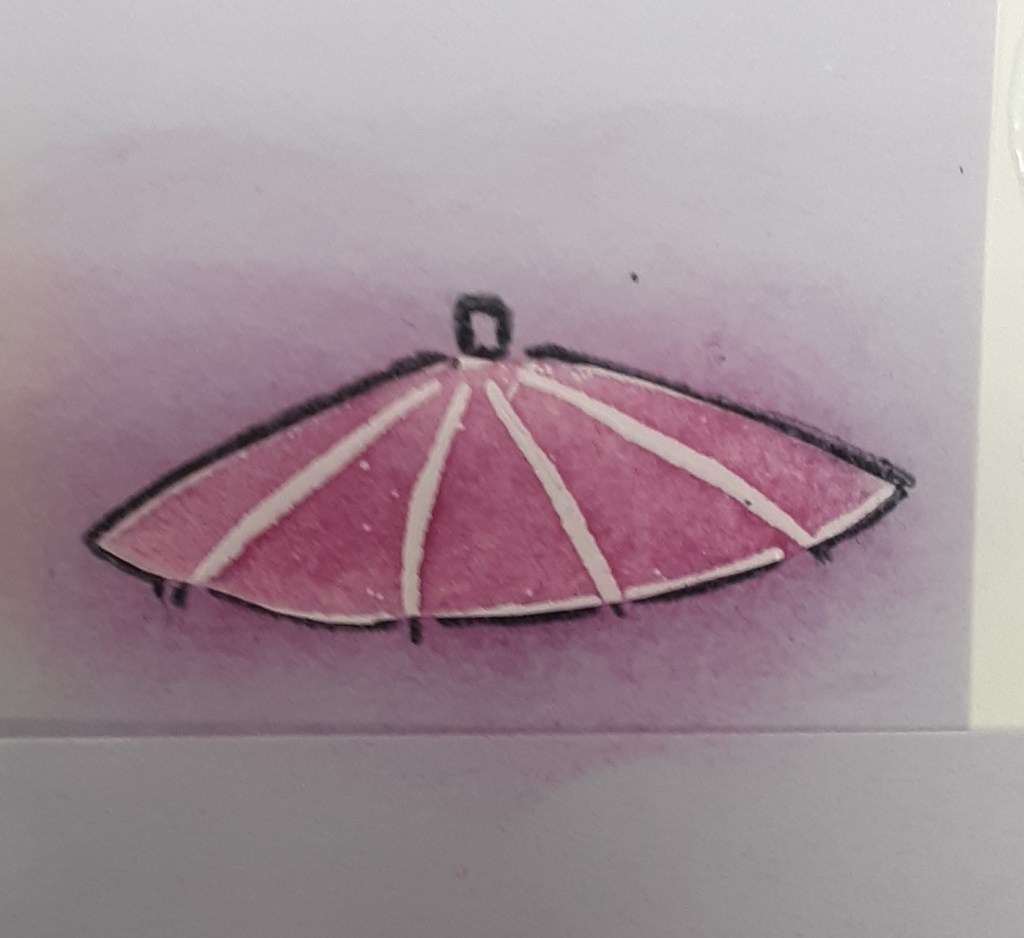
With a scrap of Basic White cardstock, I stamped the tall glass from Cheers & Sips bundle three times with Versamark ink after using anti-static powder. I sprinkled the ink with White Embossing Powder from the Basics Embossing Powder Pack. I also stamped the ice cube stamp in Versamark ink twice per glass. Again, I sprinkled on white embossing powder. I heat set the images with my Heat Tool. I stamped a lemon and the umbrella with Versamark ink, added white embossing powder, and heat set. I added the stick to the umbrella and followed the same process. I stamped the lemon image and glass image on a Post-It note on the sticky end with black ink. These will act as a mask, but instead of cutting the outside off, I cut out the inside of the masks. I didn’t want my ink blending to extend beyond the stamped and embossed lines, so I placed a mask on the outside. Also, when I cut the glass mask, I left a bit of mask at the top because I didn’t want the glass to be completely full. I used Daffodil Delight ink, Summer Splash ink, and Petunia Pop ink to color in the glasses with my Blending Brushes. In the photo below, I covered the stamped and embossed image with my stamped and cut out piece of purple Post-It. The black line is the ink from the stamped image on the Post-It.
I also colored the lemons (Daffodil Delight ink) and umbrella (Petunia Pop ink).
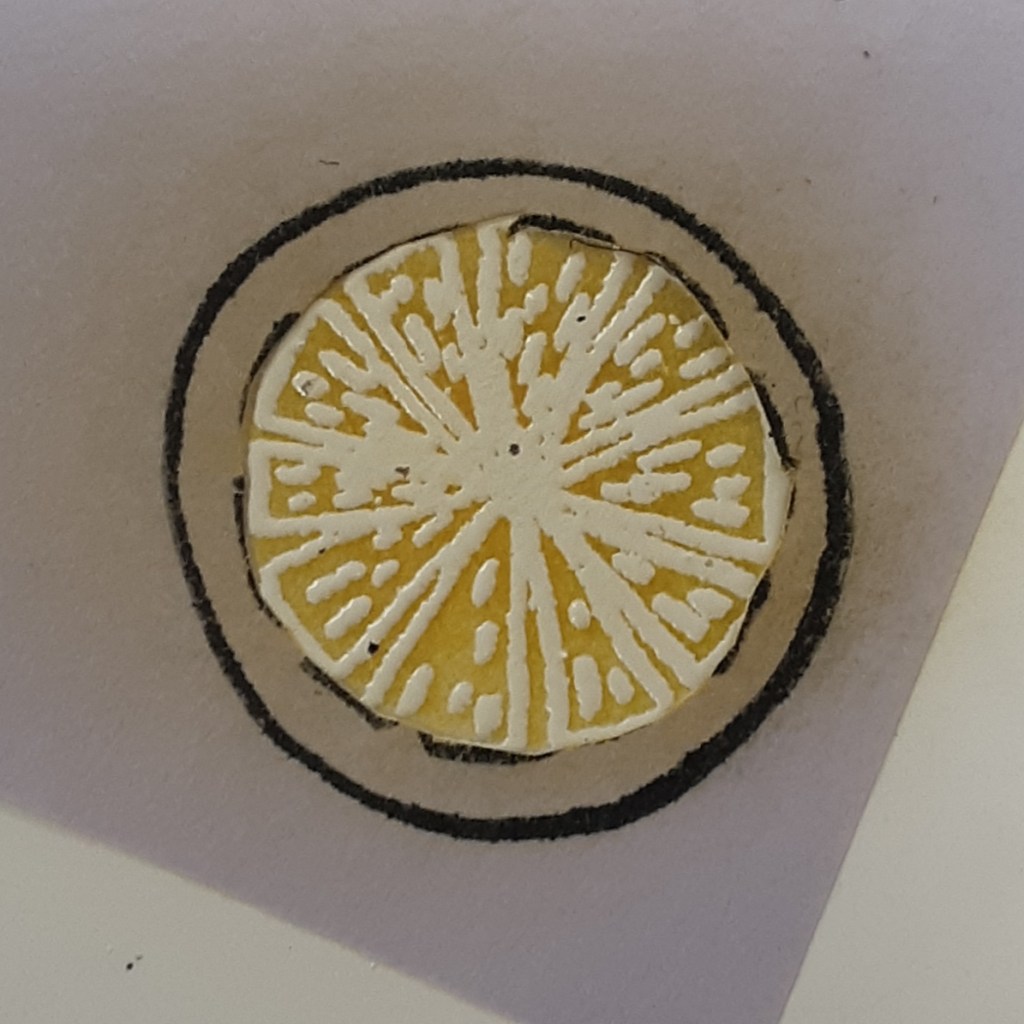
I peeled off the masks. I cut out the images using the dies, except for the umbrella. The die would cut off the stick, so I fussy cut it. Because the white embossing was lost on the white cardstock, I used a Sponge Dauber with Daffodil Delight ink on the edges of the lemon, and Smoky Slate ink and a Sponge Dauber on the glasses. Below is a comparison with and without the light sponging on the edges. If you prefer to go without, do!

I stamped relax & enjoy from Notes & Totes stamp set with Summer Splash ink on a 1″ x 4″ scrap of Basic White cardstock. I angle cut one end of the sentiment. I used this piece to cut the other end at the same angle.

With all my pieces prepared, I assembled my card. I adhered the dry embossed panel to my card base with my favorite adhesive (Multipurpose Liquid Glue or Stampin’ Seal), leaving a 1/8″ border. I had the debossed side facing up because I thought it added texture without distracting from the focal image. I positioned my glasses and sentiment on my card before adhering.
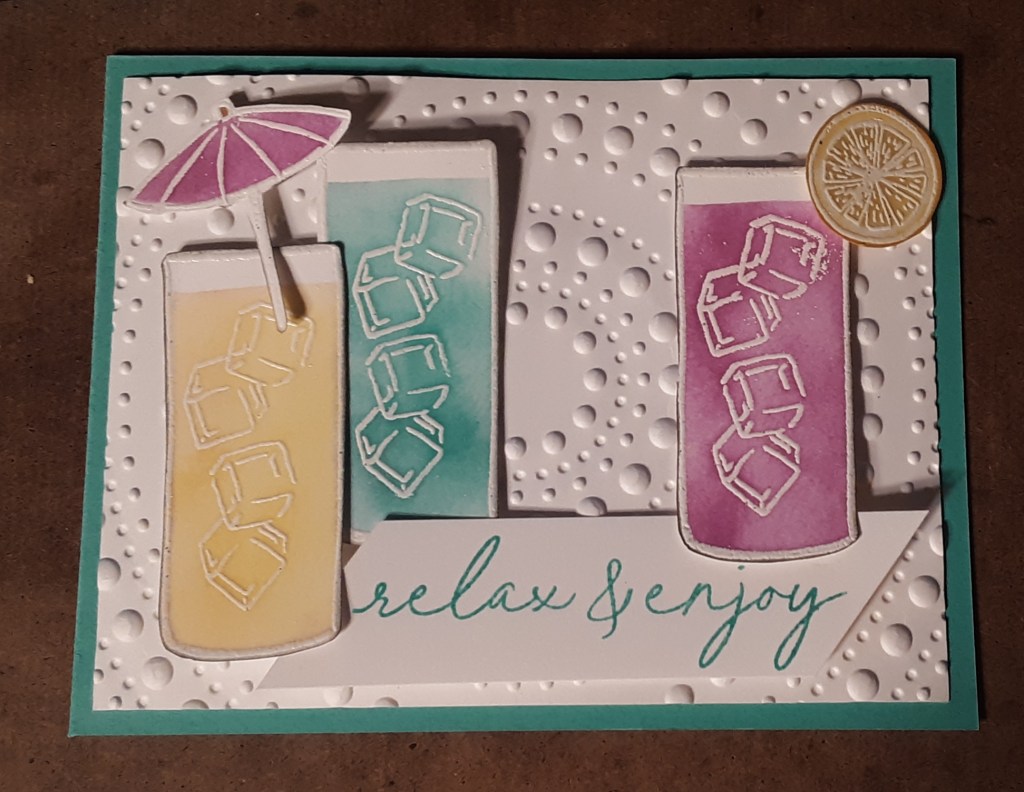
I glued the Summer Splash glass to the card. I cut the lemon to hang on the edge of the petunia glass. I added the umbrella to the yellow glass. I used Stampin’ Dimensionals to adhere the sentiment, and the other two glasses. (Can you spy the two rogue backings from my Dimensionals?)
For a bit of sparkle and shine, I added three gems from the 2024-2026 In Color Flat Pearls.
To finish the card, I stamped a sentiment on a 4″ x 5-1/4″ piece of Basic White cardstock to the inside of the card.
I hope you liked this card.
For the complete supply list, click here.
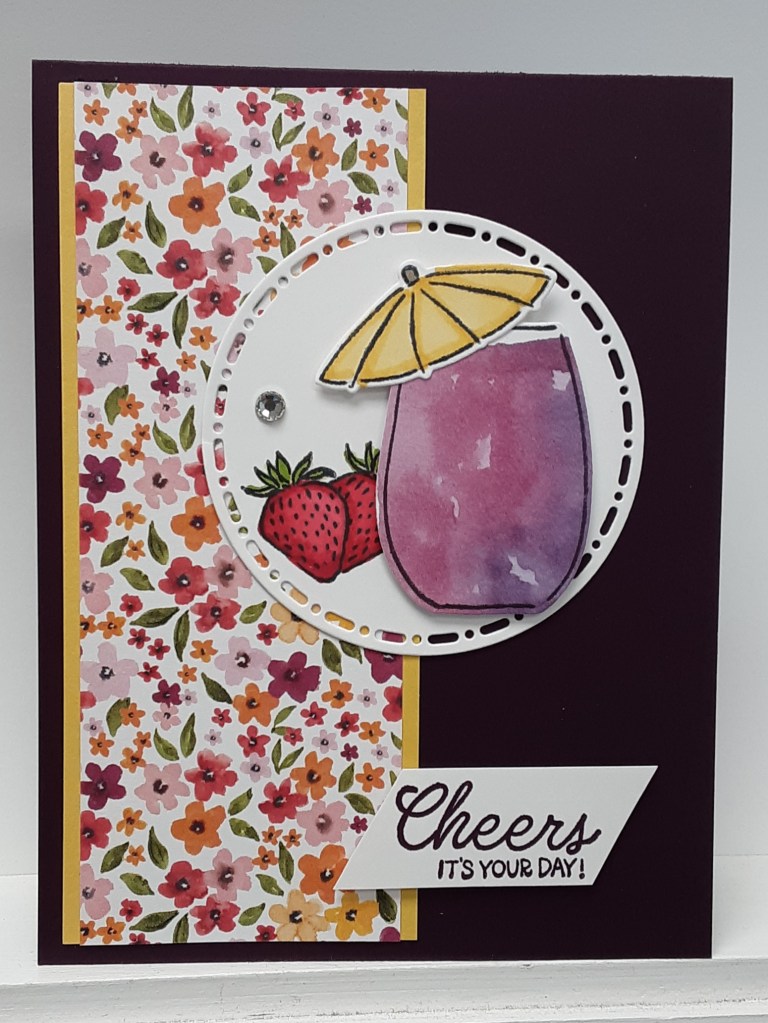
Another card using the Cheers & Sips bundle.