
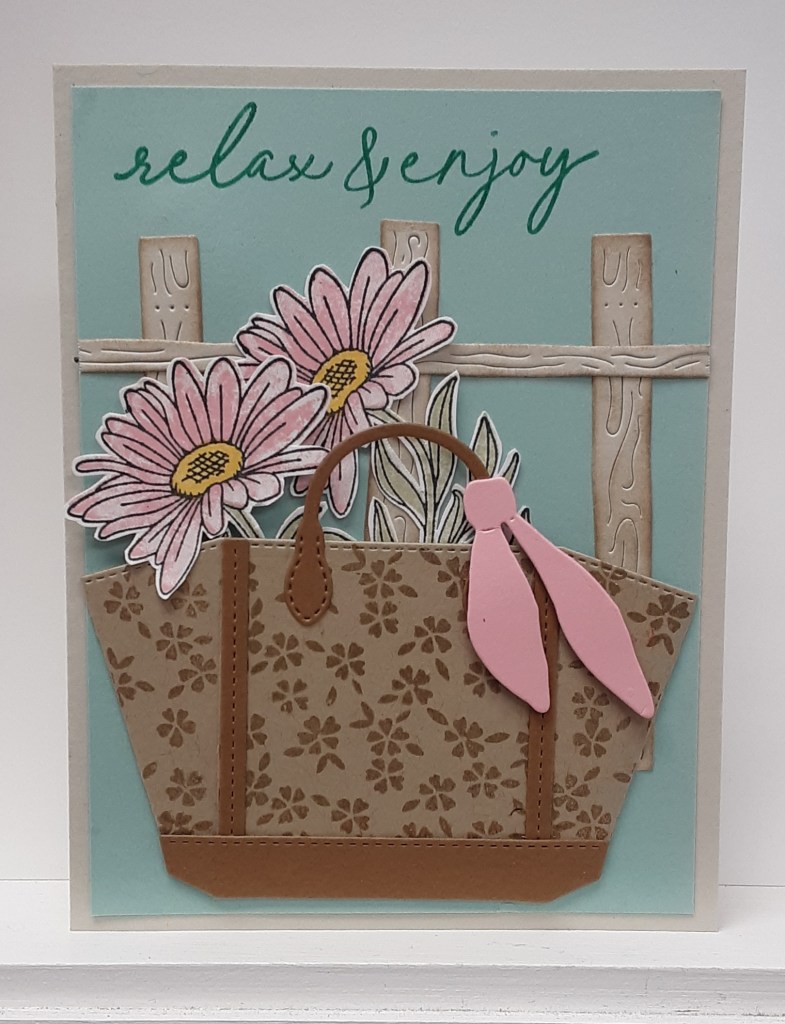
Today I have a card using the Notes & Totes bundle. This fun set has dies that create the tote that I used here or it can be modified to create a bag. It has a bunch of pieces, but it comes together pretty easily. It would be great if the flowers were so easily die cut. Now on to the card.
To make the card base, I cut a piece of Basic Beige cardstock to 4-1/4″ x 11″ on my Paper Trimmer, scored and folded at 5-1/2″, and burnished with my Bone Folder. I cut a piece of Pool Party cardstock to 4″ x 5-1/4″ to act as my matte.
Now on to the die cutting. The dies are designed to cut out several pieces in one pass. I cut the fence from Basic Beige cardstock on my Stampin’ Cut & Emboss Machine. I cut the tote from Crumb Cake cardstock. I cut the trim and handle from Pecan Pie cardstock and the tie from Pretty in Pink cardstock. You can use cardstock scraps and fit most of the pieces on the cutting plate for one pass.
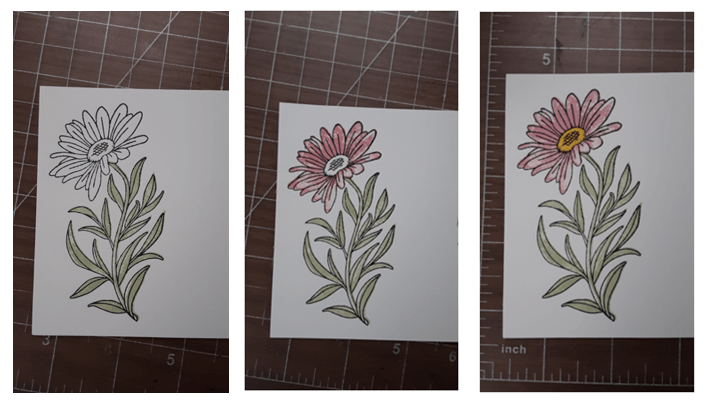
I stamped the flower from the You Are Remarkable stamp set on Basic White cardstock with Momento Tuxedo Black ink two times. I stamped the leaves and stem with Soft Sea Foam ink. Then, I stamped the petals with Pretty in Pink ink. Finally, I stamped the flower center with Daffodil Delight ink.
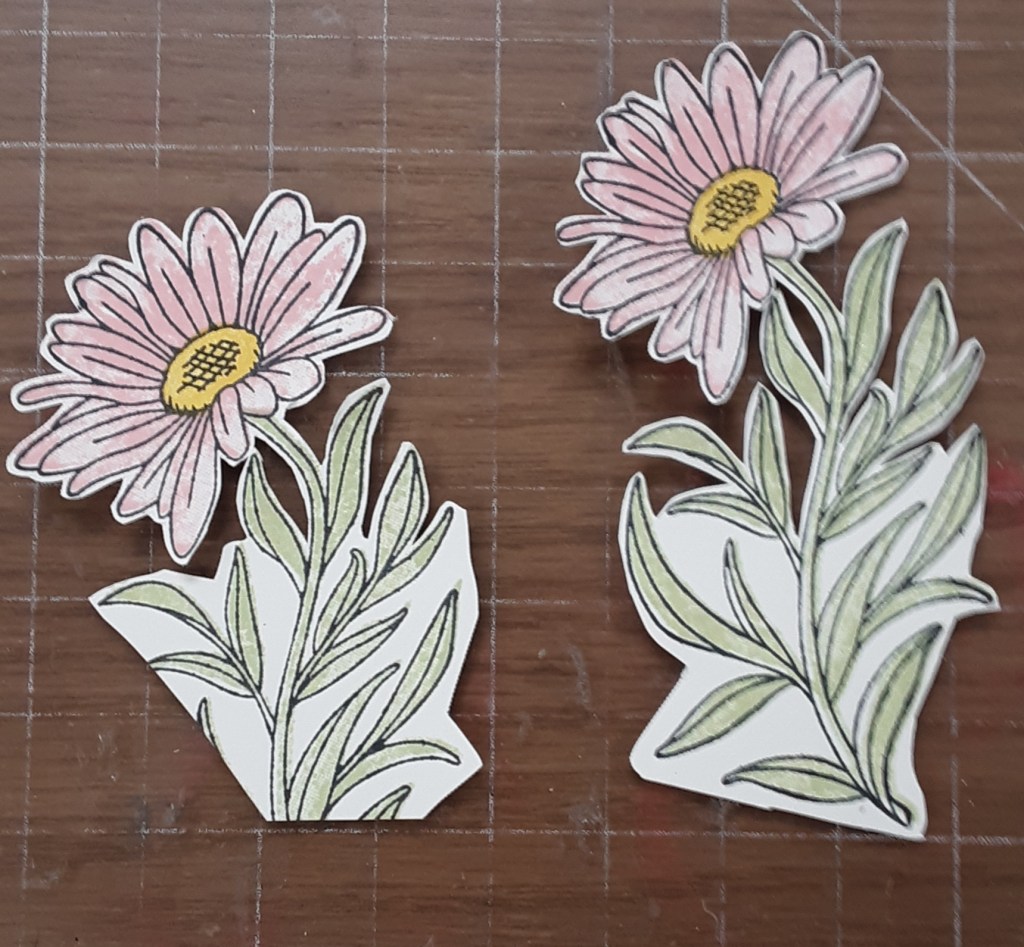
I fussy cut the flowers with my Paper Snips. I didn’t need to cut the entire flower, just the parts that showed on my card. If you are averse to fussy cutting, check out your stash and see if you can find a replacement flower that you could die cut instead.
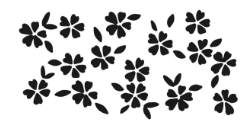
I randomly stamped the flowers from the stamp set on the tote with Crumb Cake ink.

The die leaves score lines on the tote, so I folded them and reinforced the folds with my Bone Folder. I also trimmed the bottom portion of the tote since I didn’t need that part and wanted to reduce bulk. I left a 1/4″ tab.
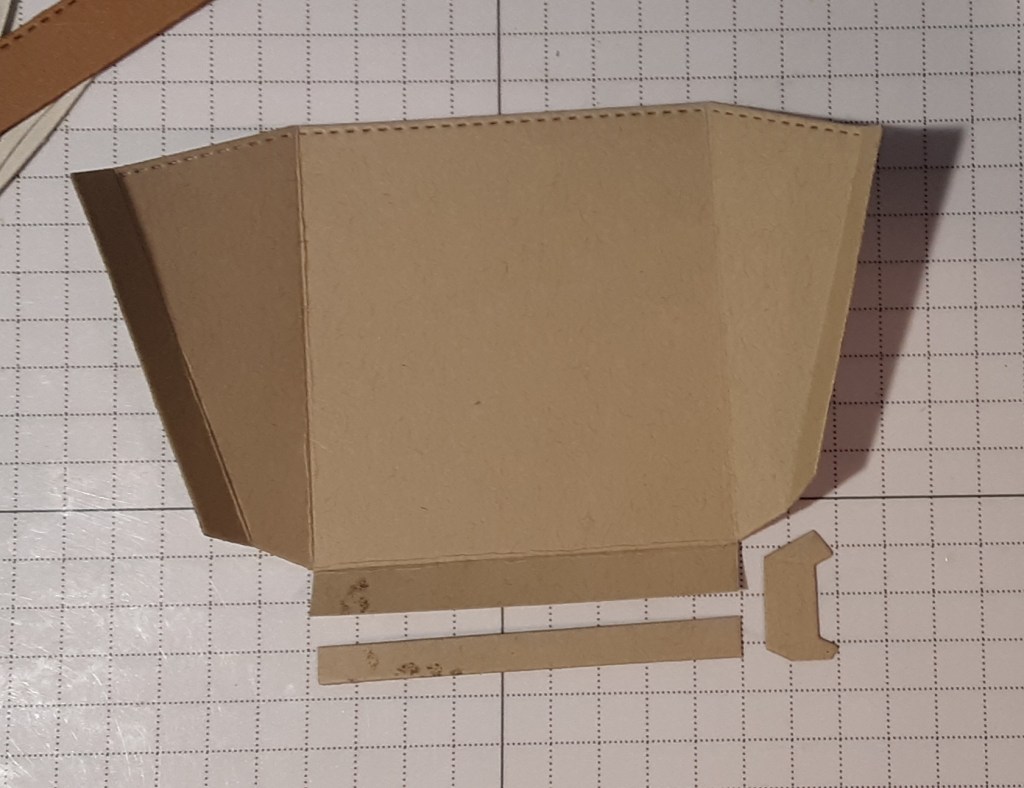
I adhered the trim along the fold lines on the front of the tote with my favorite adhesive (Multipurpose Liquid Glue or Stampin’ Seal). I actually laid down a thin line of glue along the fold line of the tote rather than trying to put it on the narrow strap. I added the bottom trim. I folded in the bottom tab before adding the trim to make sure it went all the way down. Lastly, I added the handle.
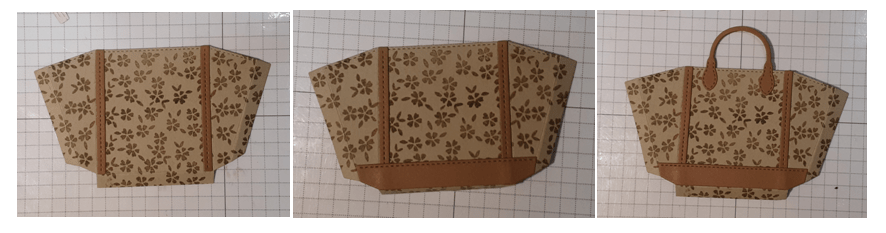
With a Sponge Dauber, I added Crumb Cake ink to my fence slats and bar. The die leaves some nice texture to the “wood” pieces and the ink helps accentuate this.
I laid out all my pieces on my Pool Party matte before gluing. I wanted the fence to peek out behind my tote and I wanted the tote to be placed almost at the bottom of the matte. I didn’t want the fence to be so high that I couldn’t add my sentiment. Once I was satisfied with my placement, I adhered the fence to my matte. I purposely did not make my fence pieces straight to add a little whimsy. I adhered my front flower to the back of my tote with a little of it over-lapping the front of the tote. I put Stampin’ Dimensionals behind the flower and on the tote in the center toward the top to give the tote a little dimension. I put glue on the side and bottom tabs and adhered the tote to my matte. I did NOT peel the backing from the Dimensionals yet because I wanted to slide the second flower behind the first. I added glue to the second flower and positioned it in the tote. Now I could peel the Dimensionals and adhere.
I stamped relax & enjoy from the stamp set with Coastal Cabana ink above the fence. I adhered the panel to my card base. I added the pink tie to the handle with a dot of glue and then put a piece of Dimensional behind the knot to secure it to the card.
To finish the card, I stamped a sentiment on a 4″ x 5-1/4″ piece of Basic White cardstock and glued it inside my card.
I hope you liked this card!
For the complete supply list, click here.
