
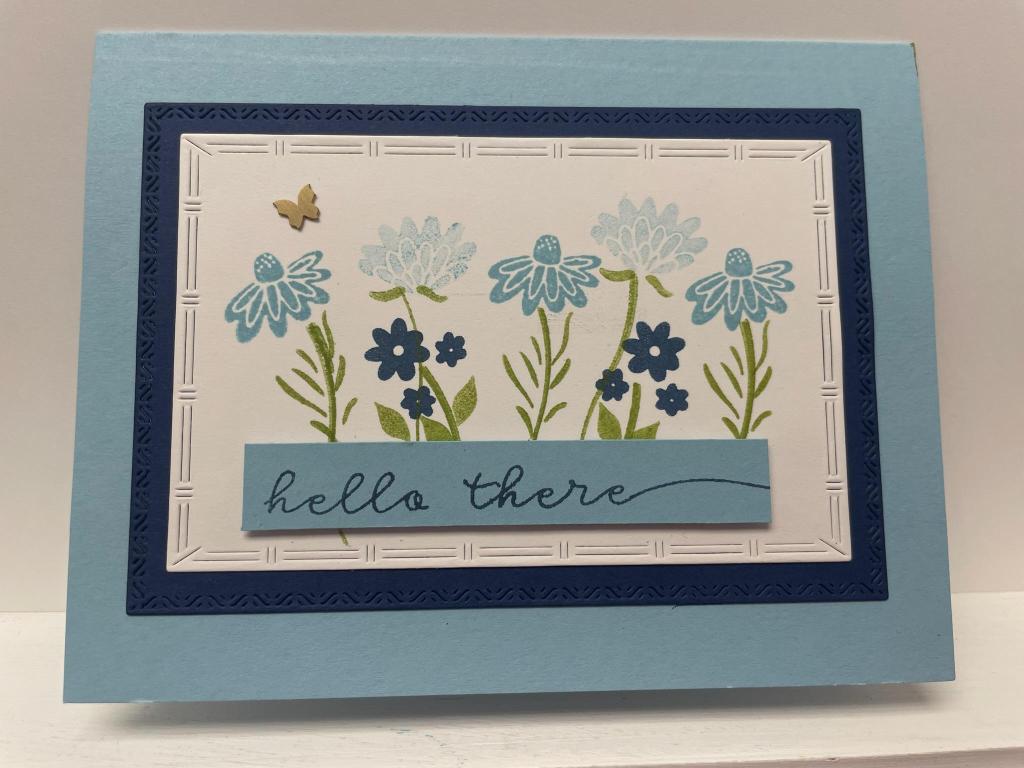
It’s Saturday and I have a simple card for you today. One stamp set and one die set plus a few ink colors and you’re set!
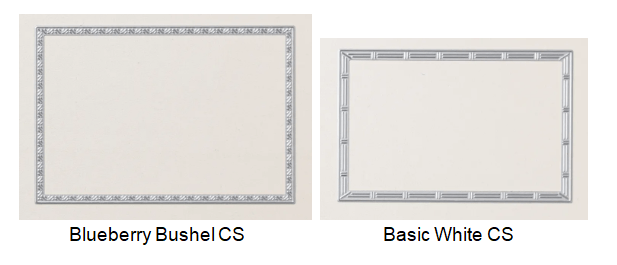
To make the card base, I cut a piece of Balmy Blue cardstock to 5-1/2″ x 8-1/2″ on my Paper Trimmer, scored and folded at 4-1/4″, and burnished with my Bone Folder. I cut a rectangle from Blueberry Bushel cardstock with my Textured Notes dies on my Stampin’ Cut & Emboss Machine. I also cut a rectangle from Basic White cardstock.
With the Blooming Phrases stamp set, I stamped the flower below three times in Balmy Blue ink on my white die cut rectangle.
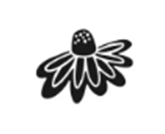
Next, I stamped this flower with Balmy Blue ink, but I stamped off on scrap paper once to lighten the color before stamping on my rectangle. We also call this second-generation stamping. I stamped it twice, between my other flowers.
I stamped this flower twice with Blueberry Bushel ink under the light blue flowers.

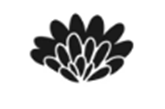
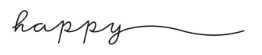
I stamped the leaves with Granny Apple Green ink. I stamped the stems (from another stamp set) to tie the flowers to the ground. A way to improvise the stems would be to mask the word and add ink to the flourish at the end, remove the mask, and stamp. Check your stash to see if you have something on hand that could work.
I stamped Hello There with Blueberry Bushel ink on a strip of Balmy Blue cardstock.
I adhered the Blueberry Bushel rectangle to my card base with my favorite adhesive (Multipurpose Liquid Glue or Stampin’ Seal). I glued on my stamped panel to my Blueberry Bushel matte. I added my sentiment to my card using Stampin’ Dimensionals. As a final touch, I added a Brushed Brass Butterfly for a bit of shine.
To finish the card, I stamped a greeting on a 4″ x 5-1/4″ piece of Basic White Cardstock and glued it inside the card.
I hope you liked this quick and easy card!
For the complete supply list, click here.
