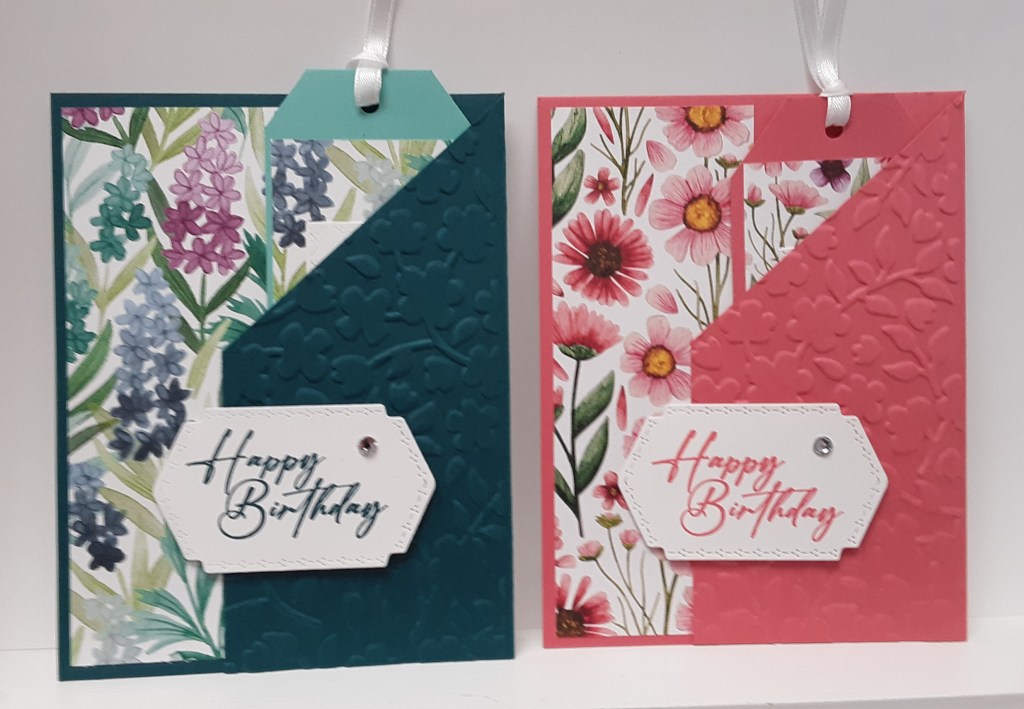
Today I have something a little different to share with you, a card featuring a bookmark! This is the perfect card for all of your bibliophile friends. The bookmark is a perfect gift for marking the pages of a book without folding the corner down or otherwise permanently defacing a book. As a bibliophile myself, I never fold down the corner. I generally use a Post-It flag, but I could be convinced to use this bookmark!
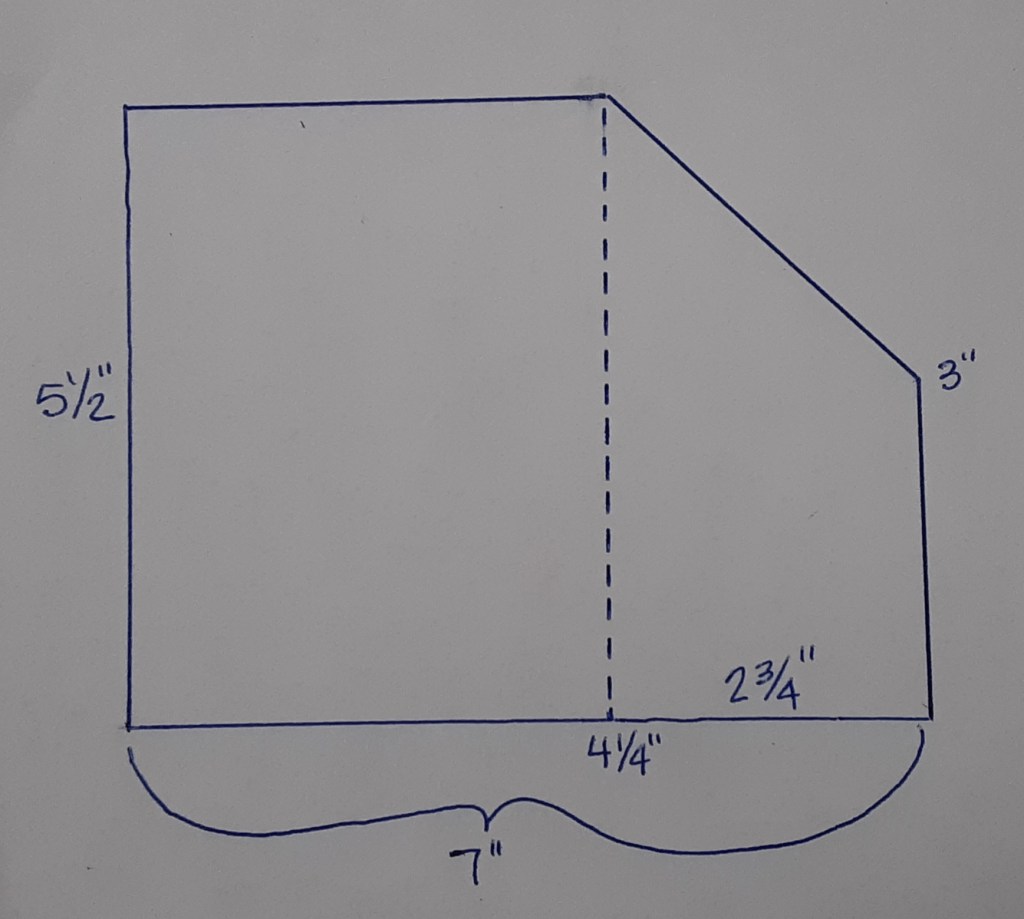
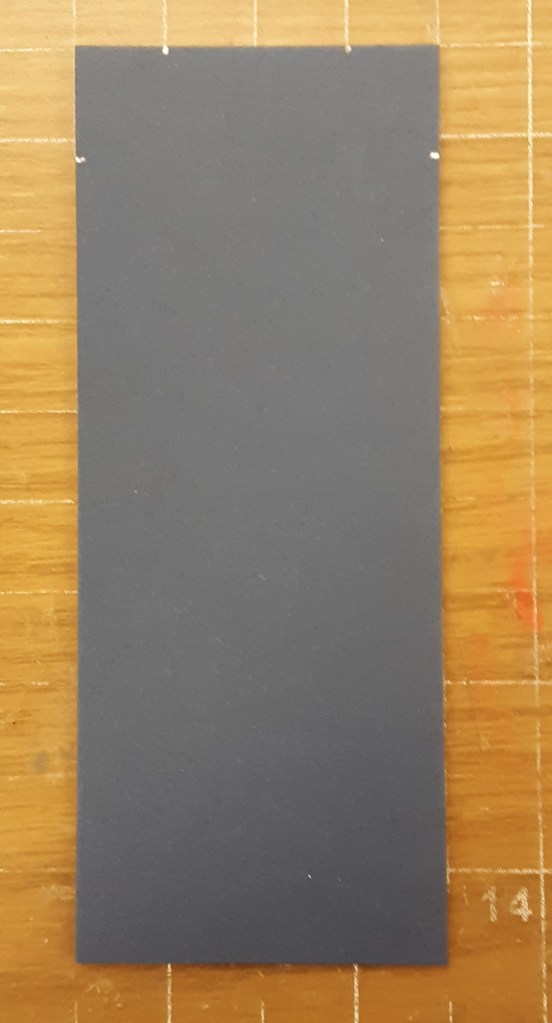
Our dimensions are a bit out of the ordinary for this card. To make the card base, I cut a piece of Night of Navy cardstock to 5-1/2″ x 7″ on my Paper Trimmer, scored and folded at 4-1/4″, and burnished with my Bone Folder. Below is a diagram of the cuts and score dimensions.
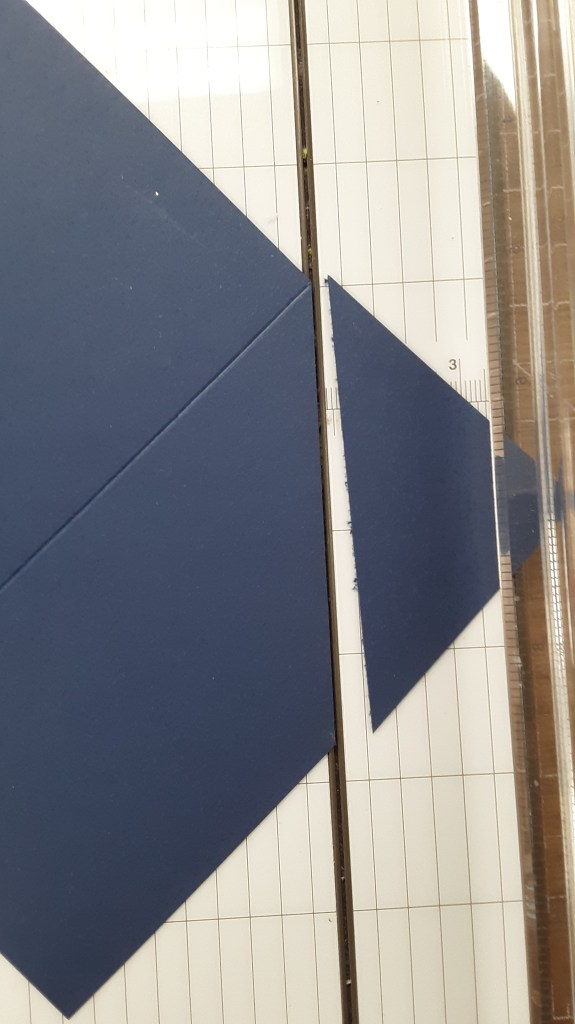
With the narrower side I made a pencil mark 3″ from the bottom.
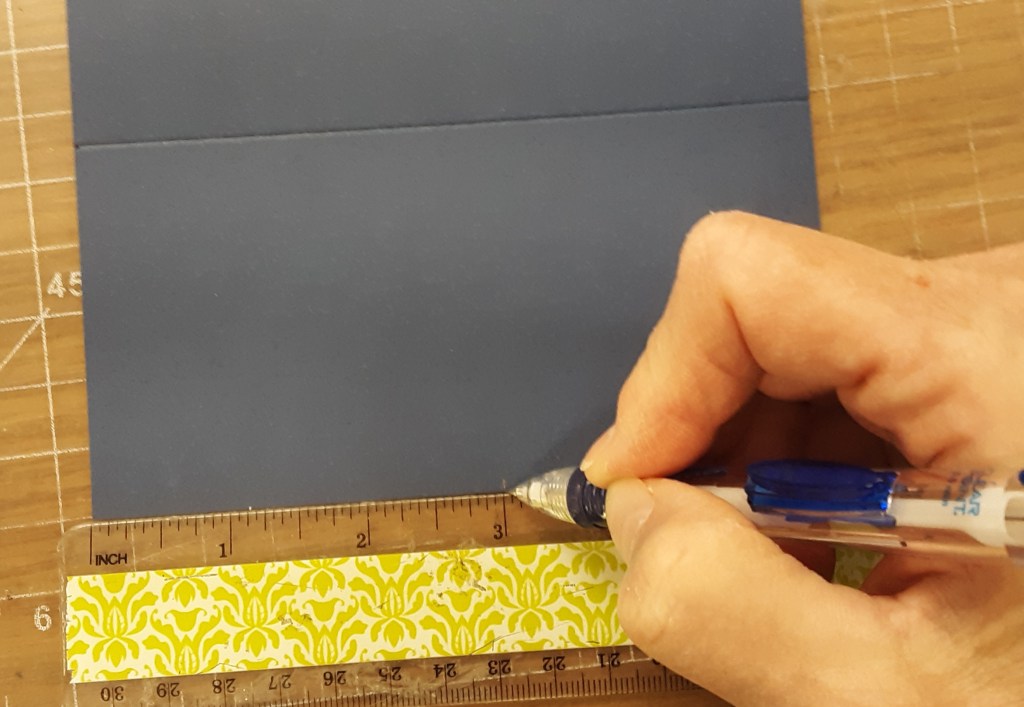
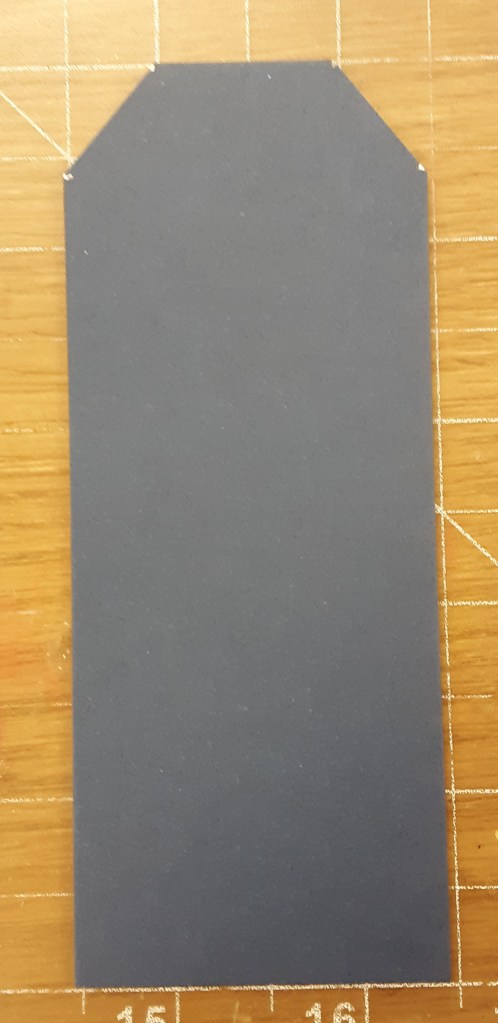
I lined up the card base in my Paper Trimmer so that the fold line and my pencil mark lined up in the track.
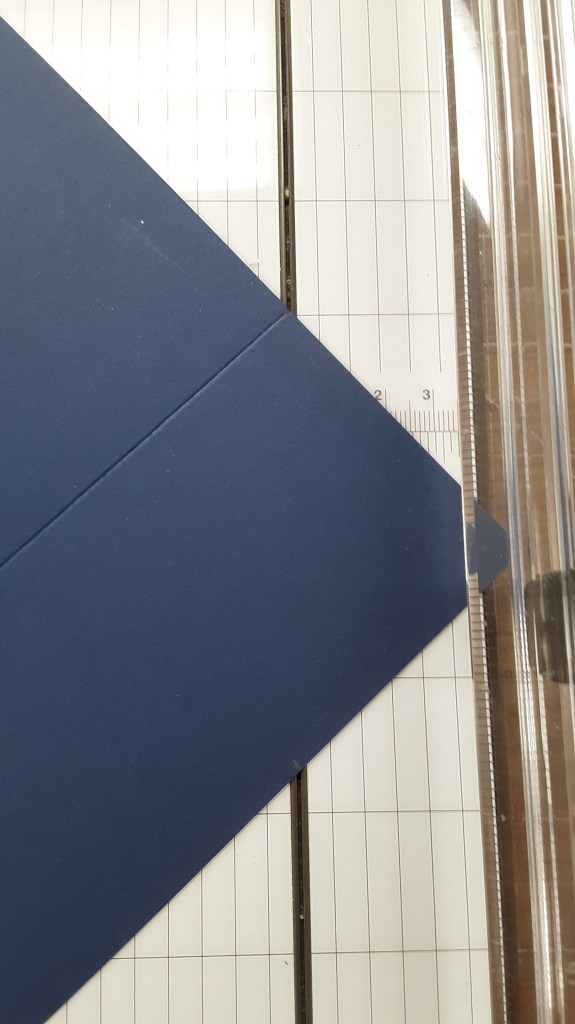
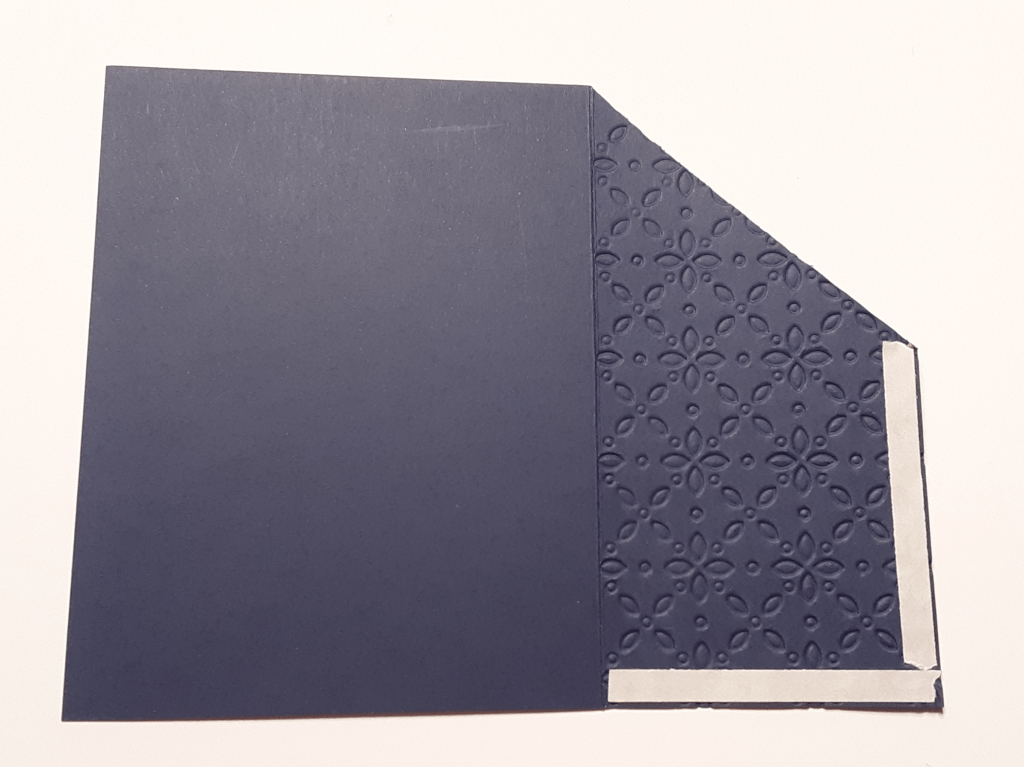
I cut off the angled piece. This section of the card will become a pocket for the bookmark.
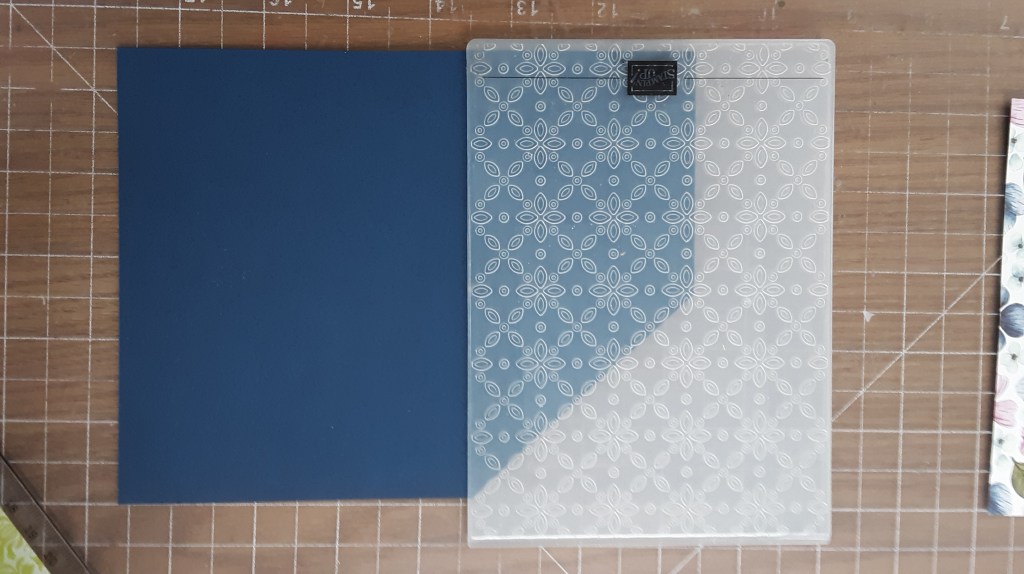
To give the pocket some texture, I ran it through my Eyelet 3D Embossing Folder on my Stampin’ Cut & Emboss Machine. Since I only wanted part of the card to be embossed, I lined up the folder with my fold line. I ran it carefully through my machine so that I wouldn’t damage the embossing folder. Be aware that the side of the embossing folder with the line and Stampin’ Up! logo is the top.
I applied Tear & Tape Adhesive to the edges of the pocket.
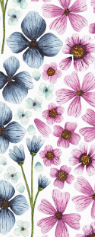
Using Floral Impressions DSP, I cut a piece to 5-1/4″ x 2″.
With another pattern from the pack, I cut a piece to 2″ x 5″ for the bookmark.
I adhered the larger piece to my card base on the left side with my favorite adhesive (Multipurpose Liquid Glue or Stampin’ Seal) leaving a 1/8″ border top, bottom, and left side.
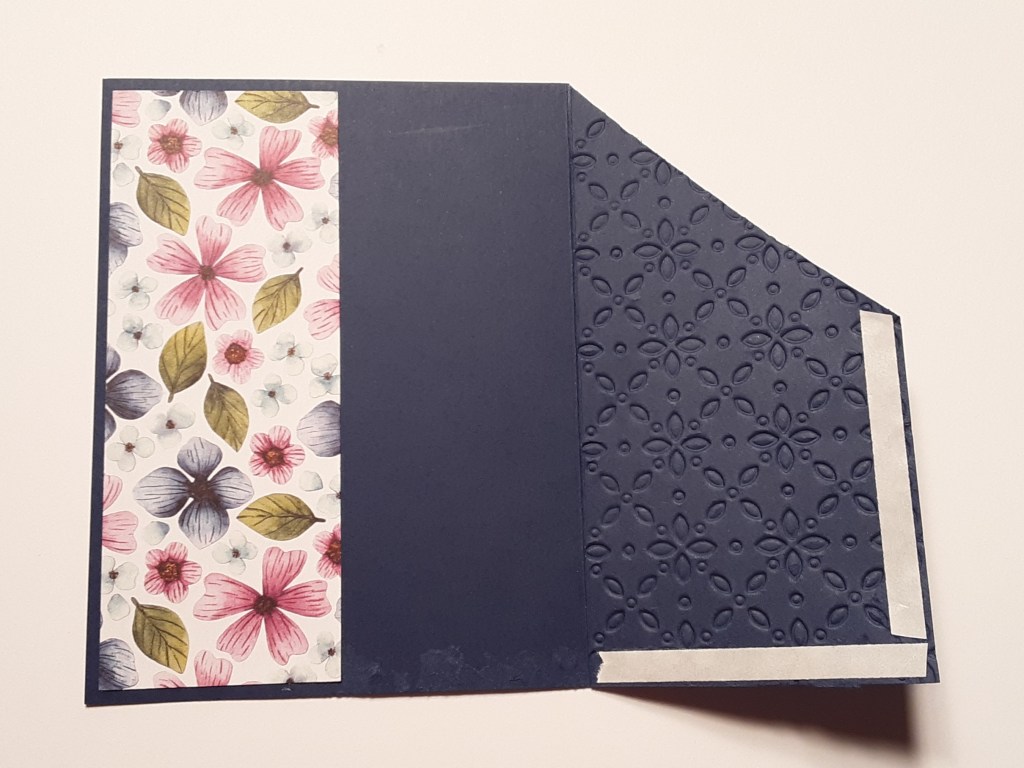
I removed the backing from the tape and folded the flap to the left, creating the pocket.
To make the bookmark, I cut a piece of Night of Navy cardstock to 2″ x 5″. To cut the corners, I marked 1/2″ in from each side at the top and 5/8″ down on either side. I used a white gel pen to show the marks. You can use a pencil. I was able to rub out the white markings with a sanding block after cutting between the markings.
I adhered the DSP to my bookmark centering bottom and sides. I punched a hole in the top of the bookmark and threaded a 5″ piece of folded Basic Beige Classic 3/8″ Ribbon through it to make a loop.
I stamped Happy Birthday from Unbounded Love Stamp Set with Night of Navy ink on a scrap of Basic White cardstock. I die cut this with the 1-3/8″ x 2-3/4″ rectangle die from Textured Notes dies. I also stamped Friends are flowers… from You Are Remarkable Stamp Set with Night of Navy ink on another scrap of Basic White cardstock. I die cut this with Mixed Labels dies.
I adhered the rectangular sentiment to the bookmark with glue. I adhered the greeting with Stampin’ Dimensionals. For a bit of sparkle, I added a Rhinestone to my card by the greeting.
To finish the card, I stamped a sentiment on a 4″ x 5-1/4″ piece of Basic White cardstock and glued it to the back of my card.
I hope you liked this fun and useful card!
For the complete supply list, click here.
Here are some other cards using different colors from the DSP pack.