
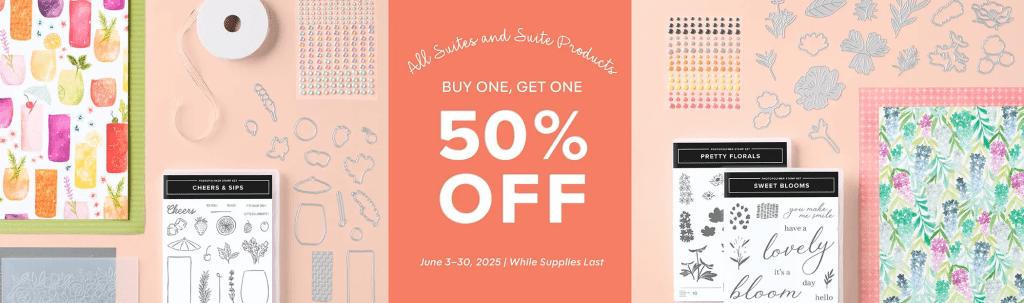
It’s June! Can you believe it? Yesterday Stampin’ Up! kicked off their latest promotion! Starting June 3, all available suites and suite products from the 2025–2026 Annual Catalog and Online Exclusives are buy one, get one 50% off! If you’ve had your eye on a new suite from the annual catalog or you really like the look of a stamp set from an Online Exclusives suite, you don’t have to choose—you can get both! If you were on the fence as to whether to order that suite or two, now is your chance to get them at a discount. Click here to go to my website and check out the qualifying suites and products. Some will go fast!
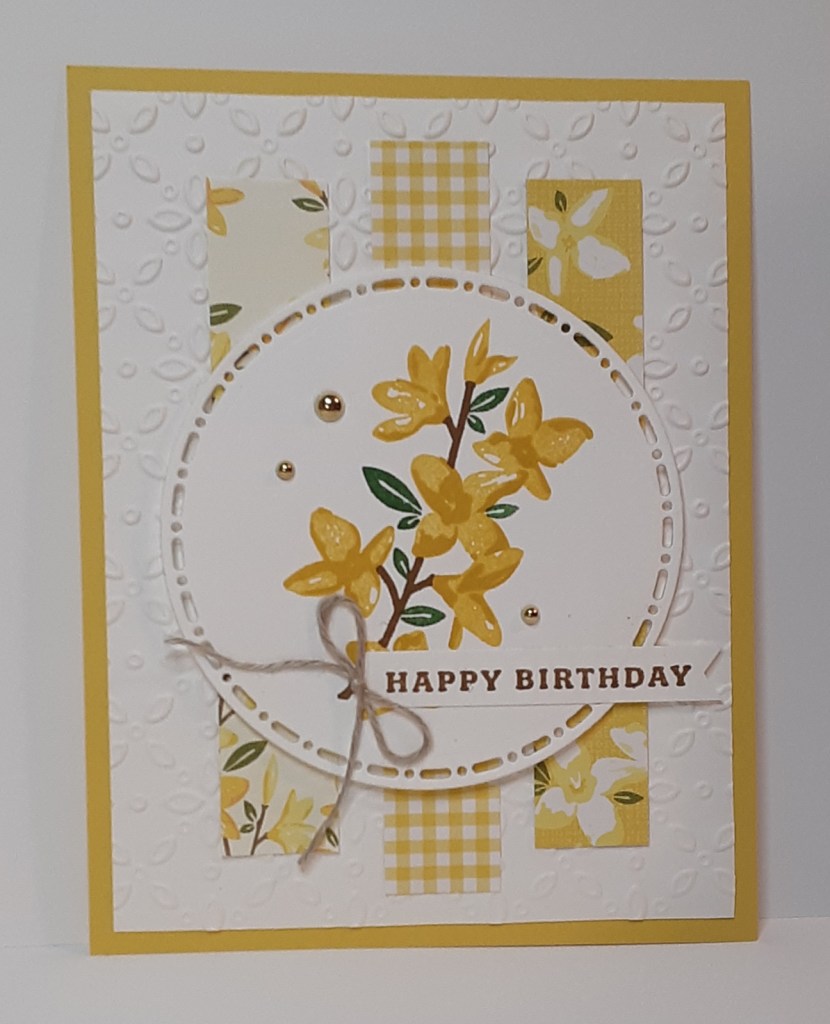
Today’s card uses the gorgeous Floral Delight DSP. I don’t think I’ve seen a card using this paper that wasn’t beautiful. Today’s card is no exception. The Delightful Wishes stamp set layers so that you don’t have to do any coloring to get beautiful images.
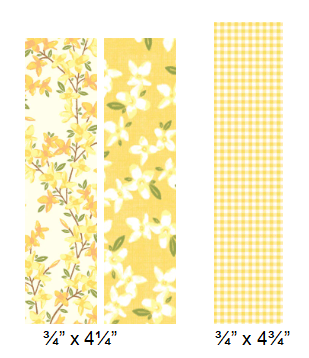
To make the card base, I cut a piece of Daffodil Delight cardstock to 4-1/4″ x 11″ on my Paper Trimmer, scored and folded at 5-1/2″, and burnished with my Bone Folder. I cut a piece of Basic White cardstock to 4″ x 5-1/4″ and ran it through my Eyelet 3D Embossing Folder on my Stampin’ Cut & Emboss Machine. I cut strips of the Floral Delight DSP. See below for the patterns I chose and their dimensions.
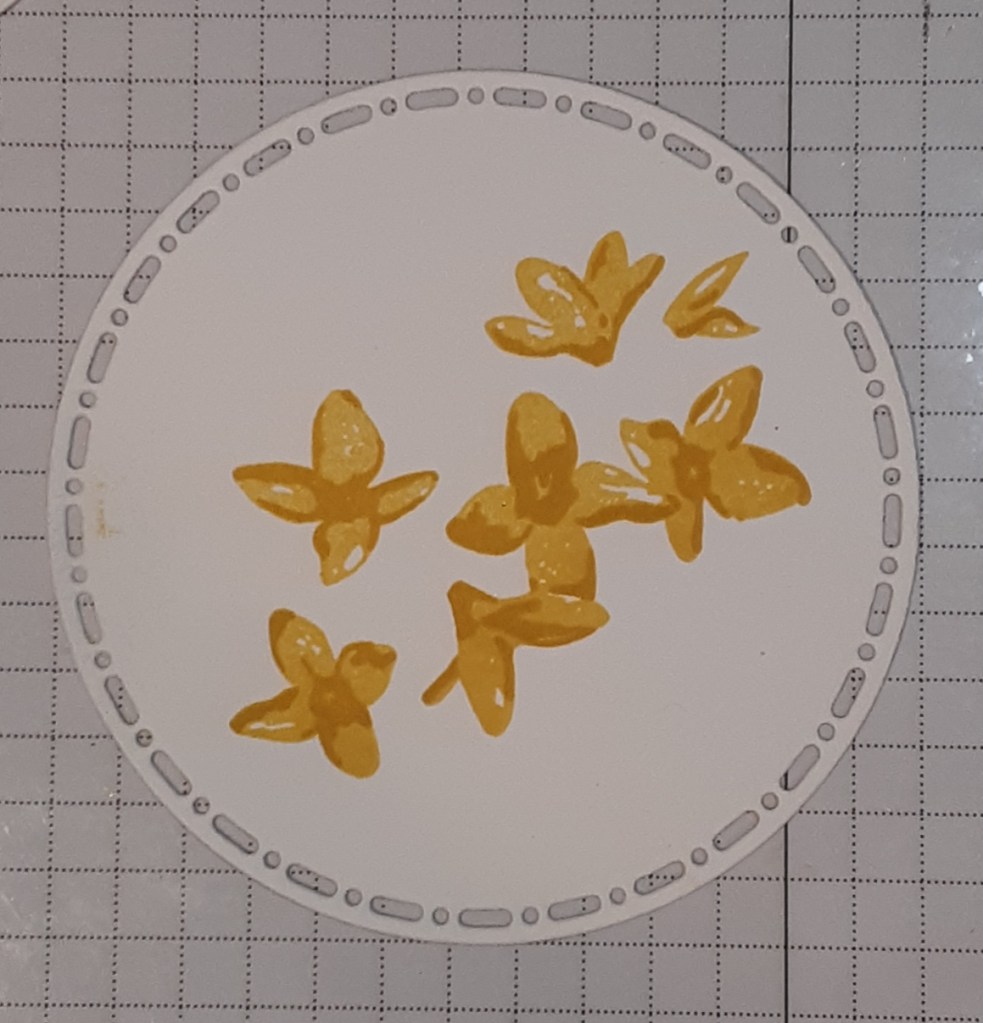
I die cut a circle from Spotlight on Nature dies in Basic White cardstock. In the middle of this circle, I stamped the detail image from Delightful Wishes stamp set in Crushed Curry ink. I find it easier to line up the lighter images once the darker image is down. It doesn’t look like much at this point.
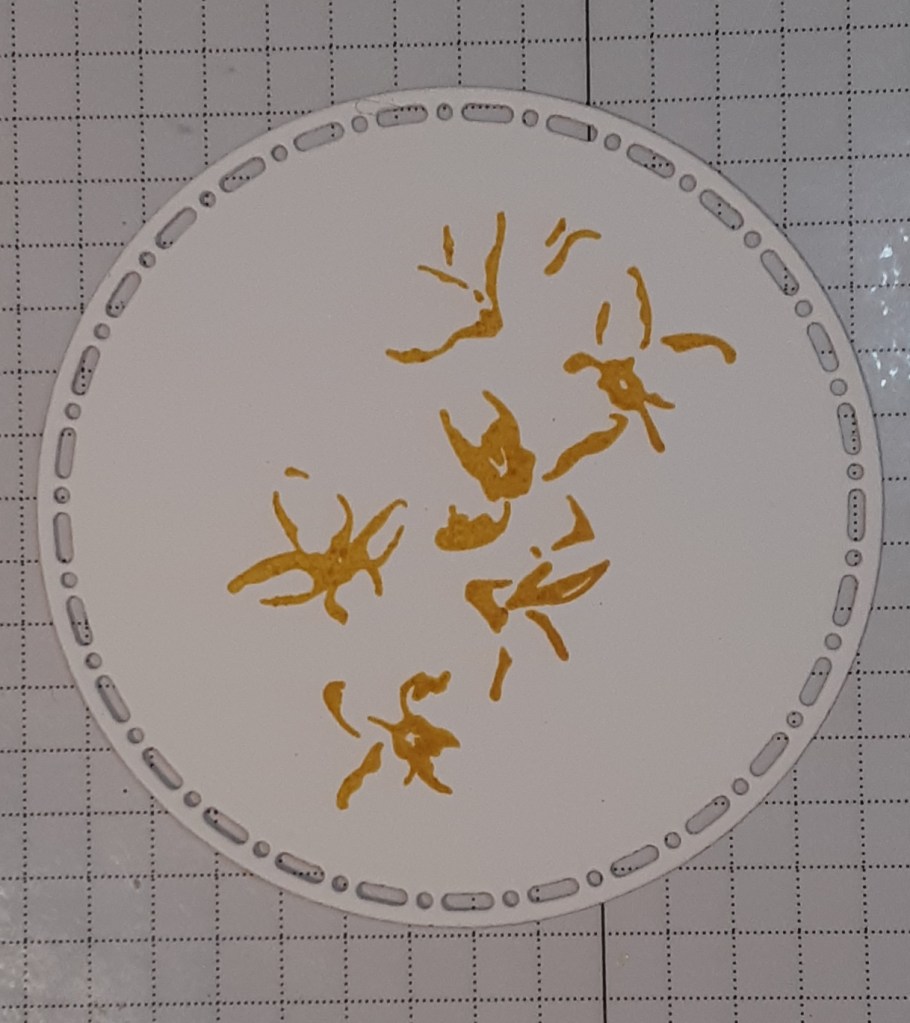
With Daffodil Delight ink, I stamped the solid image, lining up the images with what I’d already stamped. If you have a stamp positioner, you can test out where your image lands on a piece of clear acetate and adjust.
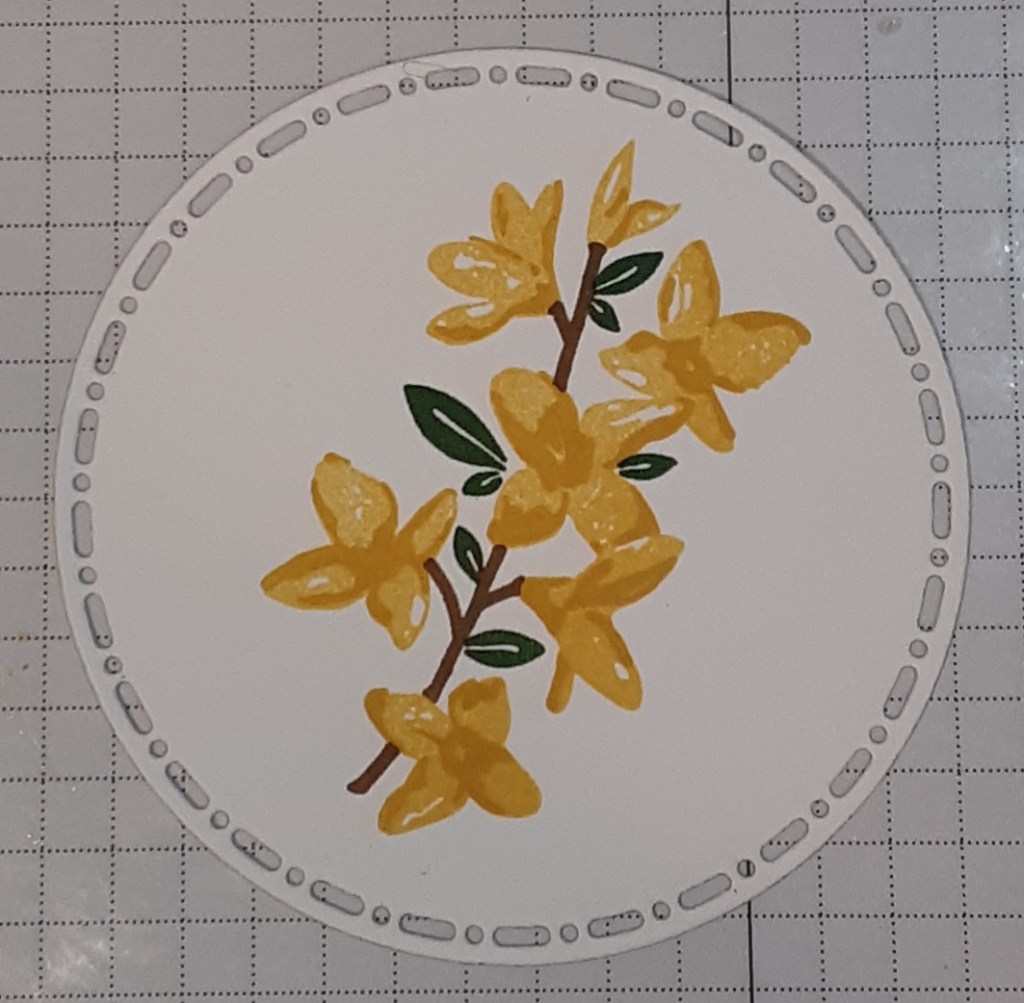
I stamped the branch with Pecan Pie ink and the leaves with Garden Green ink.
I stamped the Happy Birthday from the set in Pecan Pie ink by covering up the You a with a piece of tape before stamping. I show this technique in my post on May 28, 2025. Or you could cut the words off the stamp and go for it. I stamped the sentiment on a strip of white cardstock. I flagged the right end with my Paper Snips.
I adhered the embossed panel to my card base using my favorite adhesive (Multipurpose Liquid Glue or Stampin’ Seal) leaving even borders. Next, I glued the gingham pattern of the DSP down the middle of the card. This strip is 1/2″ longer than the other two strips. I adhered the other two strips on either side of the center strip with about 1/4″ separating the strips.

I adhered my stamped circle to the card using Stampin’ Dimensionals. I glued the sentiment towards the bottom of the circle. I tied a bow with Linen Thread and adhered it with a Mini Glue Dot. Finally, I added some gold gems from Blooming Pearls which are no longer available. I bought a substitute for the gold gems from my favorite hobby store.
To finish the card, I stamped a sentiment on a 4″ x 5-1/4″ piece of Basic White cardstock and glued it inside my card.
I hope you liked this card!
For the complete supply list, click here.
