
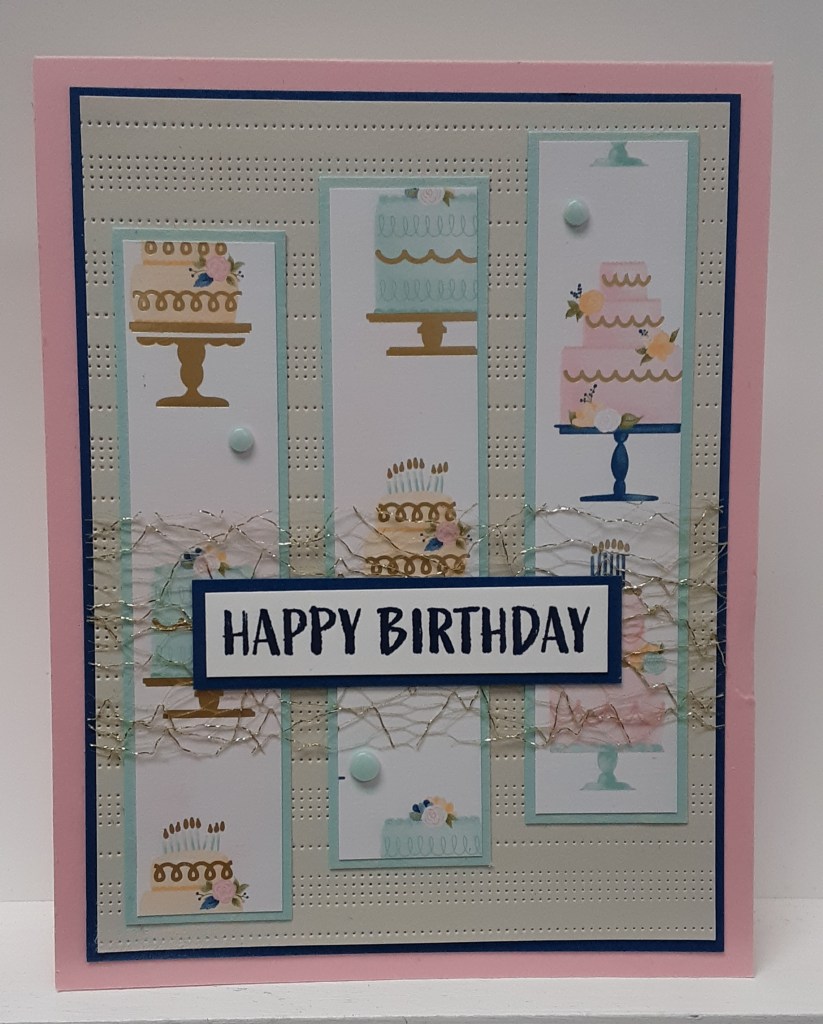
It’s Simple Saturday and today I have a quick and easy card. It does involve a bit of cutting, so a good Paper Trimmer will be an asset. Now on to the card!
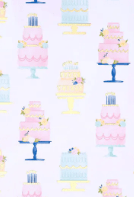
For the card base, I cut a piece of Pretty in Pink cardstock to 4-1/4″ x 11″ on my Paper Trimmer, scored and folded at 5-1/2″, and burnished with my Bone Folder. I cut a piece of Blueberry Bushel cardstock to 3-7/8″ x 5-1/8″. I cut a piece of Basic Biege cardstock to 3-3/4″ x 5″. I ran this piece through my Stampin’ Cut & Emboss Machine with my Pattern of Friendship die. This die is a cover plate (6″ x 6″) and cuts a pattern into the cardstock. I cut mine so the lines went horizontally. I cut three pieces of Pool Party cardstock to 1″ x 4-1/8″. Finally, I cut three pieces of Wildflower Birthday DSP to 7/8″ x 4″. Keep in mind the direction of the pattern when cutting these strips. Below I have an example of the pattern I used.
With a strip of Basic White cardstock, I stamped the Happy Birthday from the All Zipped Up stamp set with Blueberry Bushel ink. I trimmed the sentiment down and mounted it on a strip of Blueberry Bushel cardstock. I cut a piece of Gold Open Weave Trim to about 4″.
Now I had all my pieces and could assemble the card. I glued the embossed Basic Beige piece to my Blueberry Bushel piece using my Stampin’ Seal, leaving narrow 1/16″ borders. Tape runner is dry and won’t ooze through the holes created by my die. I adhered this panel to my card base with Multipurpose Liquid Glue. You could use Stampin’ Seal for this if you prefer.
I adhered the patterned paper strips to the Pool Party strips. I laid these strips on my card before adhering to make sure of my placement, as I wanted them to be evenly spaced. I adhered the outside strips first and then was able to adjust the center one accordingly.
I put a little tape runner down on the middle strip about 1-1/2″ from the bottom of the strip. I used this to tack down my Gold Open Weave Trim. I glued the sentiment strip down the middle of the trim. As a final touch, I added three Party Dots embellishments.
To finish the card, I stamped a sentiment on a 4″ x 5-1/4″ piece of Basic White cardstock and glued it inside the card.
I hope you liked this quick and easy card! It could easily be made into a congratulations or thinking of you card by changing the pattern of the DSP and the sentiment.
For the complete supply list, click here.
