
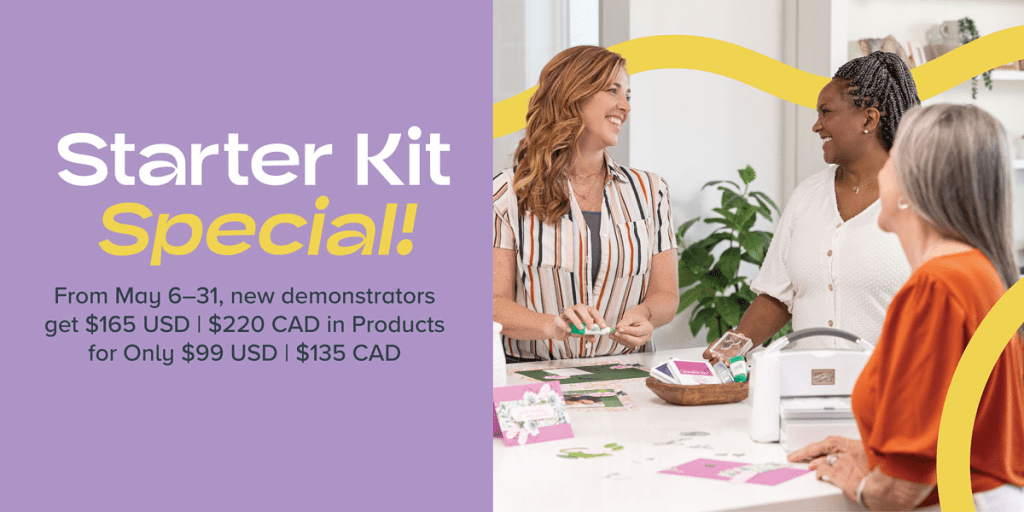
It is May and the new catalog AND new online exclusives are in full swing. Stampin’ Up! also has a promotion for new demonstrators with their starter kit special. If you have been on the fence on whether to sign up to be a demonstrator, now is a great time to join. Click here to join my team!
Now on to today’s card!
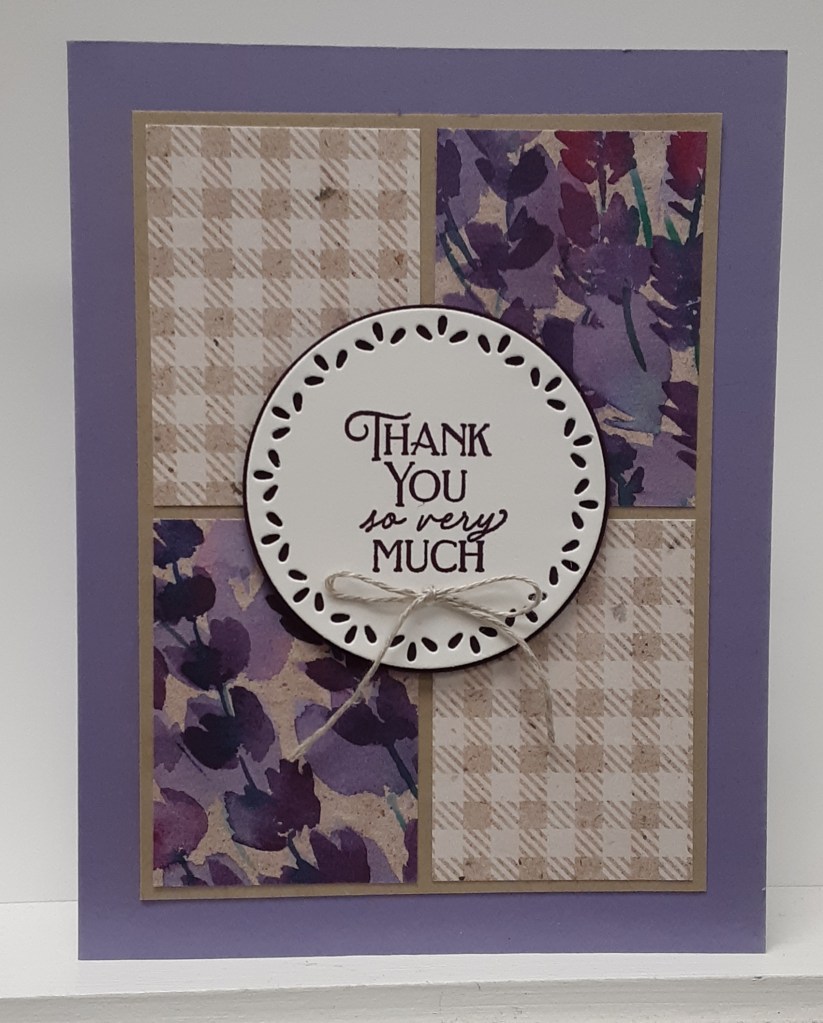
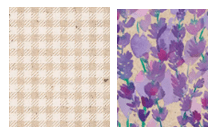
My card base started with a piece of Highland Heather cardstock cut to 5-1/2″ x 8-1/2″ on my Paper Trimmer, scored and folded at 4-1/4″, and burnished with my Bone Folder. I cut a piece of Crumb Cake cardstock to 3-1/2″ x 4-3/4″. I also cut two each of two designs from the Perennial Lavender DSP to 1-5/8″ x 2-1/4″ for a total of four. You could even use four different patterns if you’d like. Below are snips of the patterns I chose, but you could choose any of the patterns in the pack and it would be beautiful. Be aware of the direction your pattern might take before cutting.
From Basic White cardstock, I die cut the 2-1/8″ circle from Spotlight on Nature dies on my Stampin’ Cut & Emboss Machine. On this I stamped Thank You so very Much from Storybook Friends stamp set in Blackberry Bliss ink. I also punched a 2-1/4″ circle from Blackberry Bliss cardstock. You also use a 2-1/4″ die if you prefer.
Now I had all my pieces and was ready to assemble.
I laid my DSP pieces on the Crumb Cake piece to make sure I was satisfied with the placement before gluing them down with my favorite adhesive (Multipurpose Liquid Glue or Stampin’ Seal). If you have a directional pattern like I did, make sure it is going in the right direction. I glued this panel to my card base, making sure I had even borders. I adhered my two circles together and glued them to the middle of my DSP pieces with Stampin’ Dimensionals. I tied a bow with some Linen Thread and adhered it with a Mini Glue Dot.
To finish the card, I added a 4″ x 5-1/4″ piece of Basic White cardstock inside my card.
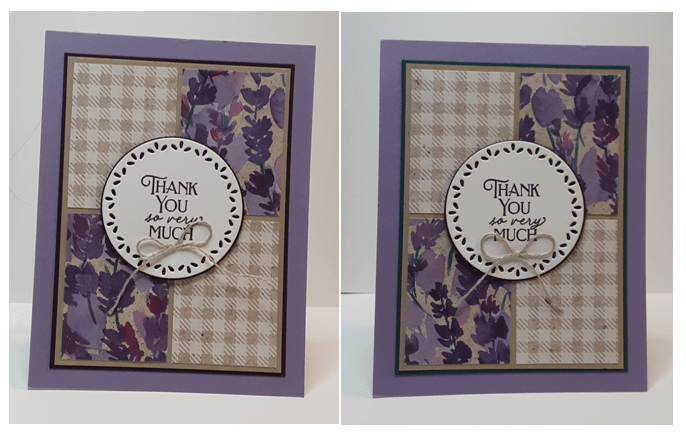
To add a bit of dimension, you could add another layer of cardstock between the Crumb Cake panel and the card base. Here are a couple examples of what that could look like. On one, I used a 3-5/8″ x 4-7/8″ piece of Blackberry Bliss cardstock. This color coordinated with the backing of the circle. On the other card I used Pretty Peacock cardstock to pull in the color from the DSP. I really like both and couldn’t decide which I preferred.
I hope you liked this quick and easy card!
For the complete supply list, click here.
