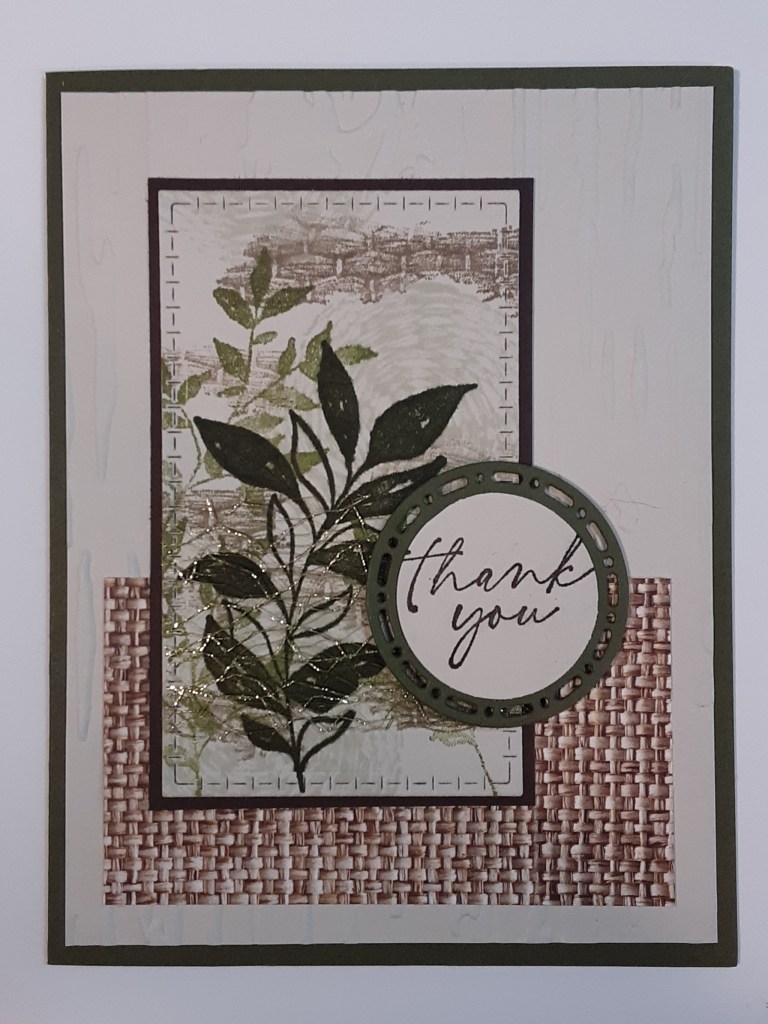
Today I have a simple collage card using the Textured Notes Stamp Set. This set lends itself to making a collage. I have made collage cards before, but I’ve cut the collage into strips. Today I’ll keep it intact. Marilyn here with a quick and easy thank you card.
To make the card base, I cut a piece of Mossy Meadow cardstock to 5-1/2″ x 8-1/2″ on my Paper Trimmer, scored and folded at 4-1/4″, and burnished with my Bone Folder. Next, I cut a piece of Basic Beige cardstock to 4″ x 5-1/2″. I ran this through my Birch Wood 3D Embossing Folder on my Stampin’ Cut & Emboss Machine. I cut a piece of Early Espresso cardstock to 2-3/8″ x 3-7/8″. This makes the perfect matte for my Basic Beige piece that I cut using the Textured Notes stamp and die bundle.

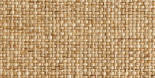
I cut a 2″ x 3-1/2″ piece of Woven Textures DSP. I used the burlap image. This DSP has 3 sheets of 4 designs instead of the usual 2.
I die cut a circle from Spotlight on Nature die set from Mossy Meadow cardstock.
Lastly, I stamped the Thank You sentiment from Textured Notes stamp set (part of the bundle) on a scrap of Basic Beige cardstock with Early Espresso ink. I used a 1-1/4″ circle punch to punch out the circle. You could also use circle dies if you have them.
To make the collage part of the card, I stamped the round image from the stamp set in Basic Beige ink. I made sure to go off the edges of the piece.
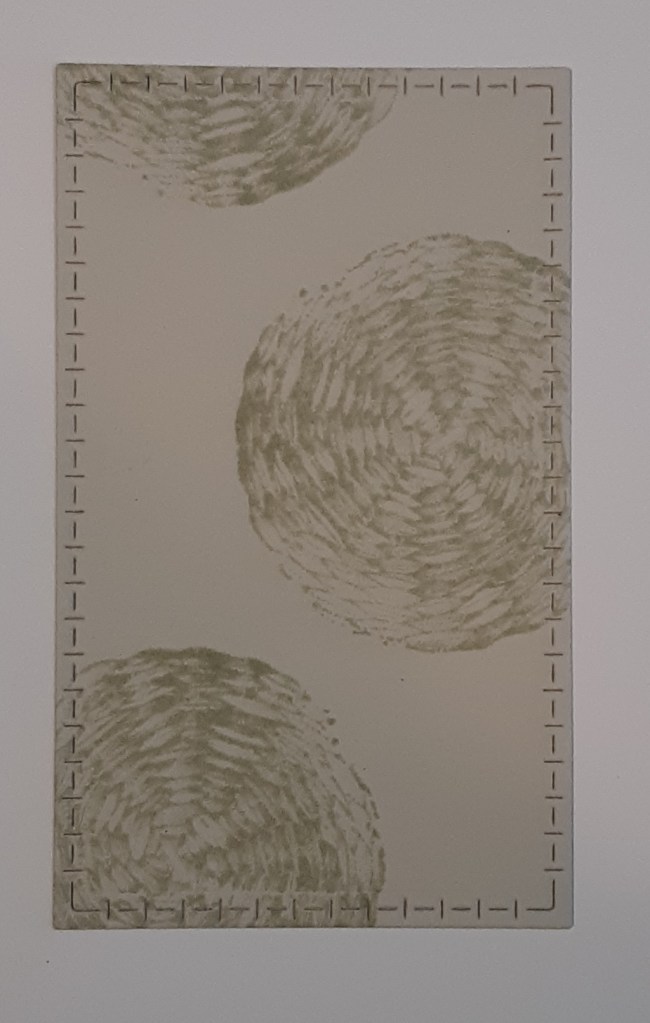
With Old Olive ink, I stamped the daintier leaf image.
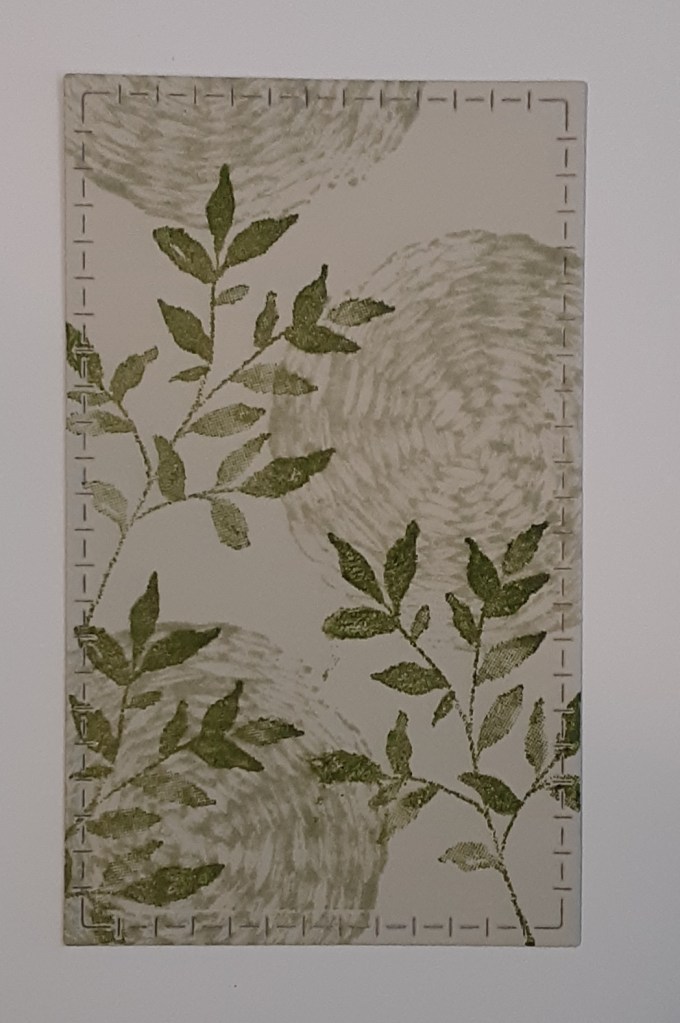
With Crumb Cake ink, I stamped the basket weave image. I stamped full strength and stamped off to give it some depth.

Finally, I stamped the larger leaf image with Mossy Meadow ink.

I glued this panel to the Early Espresso matte with my favorite adhesive (Multipurpose Liquid Glue or Stampin’ Seal).
To assemble the card, I adhered the embossed panel to my card base. I added the DSP piece to the bottom of the card with equal borders, bottom and sides. I adhered my stamped panel overlapping the DSP piece and having about 1/2″ border top and left side.
I cut a piece of Open Weave Trim to 2-1/4″. I added a bit of tape runner to the panel toward the right side and placed the trim in it. This adhesive will be covered by the sentiment circle, so it won’t have exposed adhesive. I added Stampin’ Dimensionals to the back of my sentiment and adhered it to the panel on the right side, making sure to cover the adhesive I put down to tack down my ribbon. I didn’t add any further embellishments to the card, but you could. I think the gold Bloomin Pearls (on the Last Chance List) would tie in well with the gold mesh. Rhinestones are a great neutral embellishment.
To finish the card, I added a 4″ x 5-1/4″ piece of Basic White cardstock inside the card.
For the complete supply list, click here.
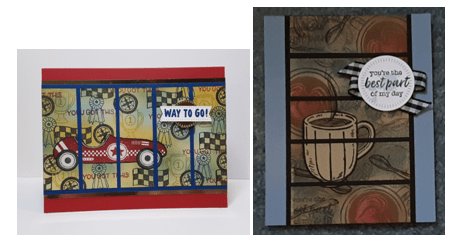
For other collage card ideas: