
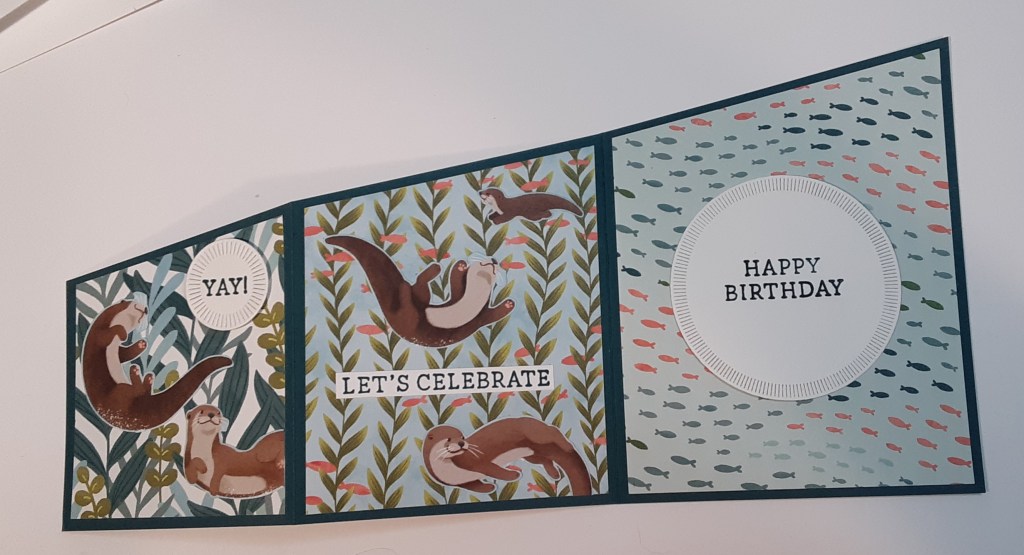
It’s Simple Saturday and today I have a super simple card. It may look challenging with all the angles, but I have a trick that makes it easy to cut. I used minimal supplies, primarily the Otterly Adorable DSP. The Otterly Adorable DSP, along with the coordinating stamp and die bundle are on the Last Chance List. If they are something you have wanted and have held off buying, now is the time to get them before they are gone!
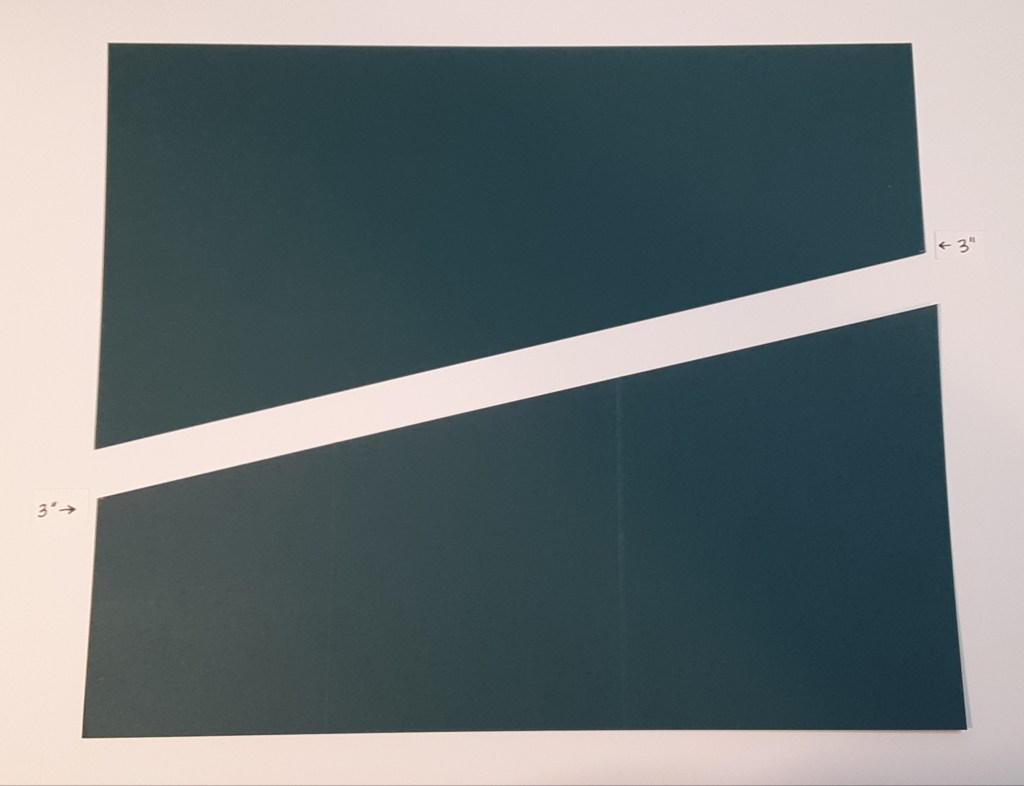
To make the card base, I took an 8-1/2″ x 11″ of Pretty Peacock cardstock. I measured up 3″ from the lower left-hand corner and down from upper right-hand corner on the 8-1/2″ side and made a tick mark. I cut diagonally from the two tick marks on my Paper Trimmer. This gives me two card bases.
On the 11″ side, I scored my card base at 3″ and 6-3/4″.
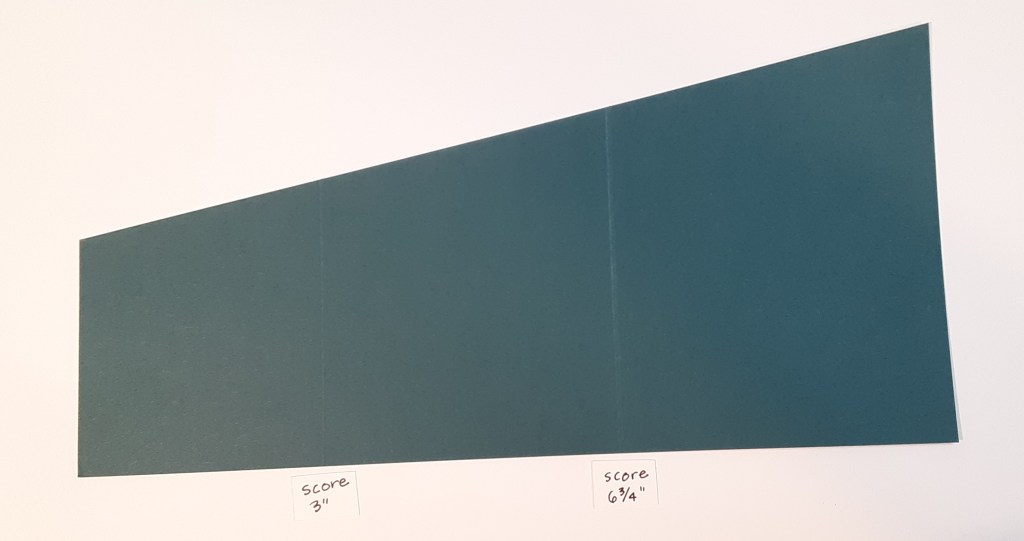
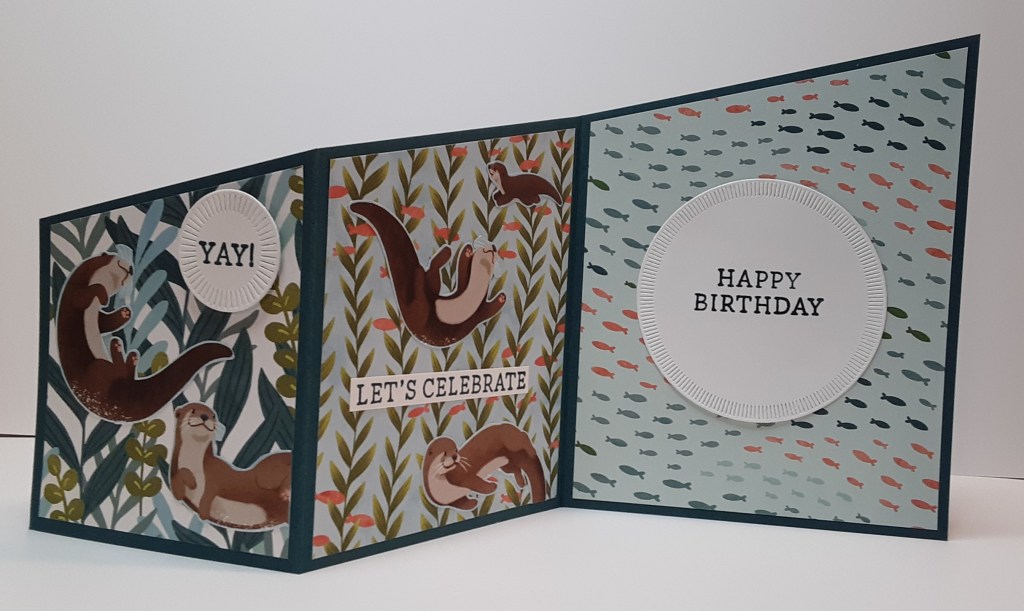
At the 3″ score line, I folded a mountain fold and at the 6-3/4″ score line, I folded a valley fold. I burnished my folds with my Bone Folder.

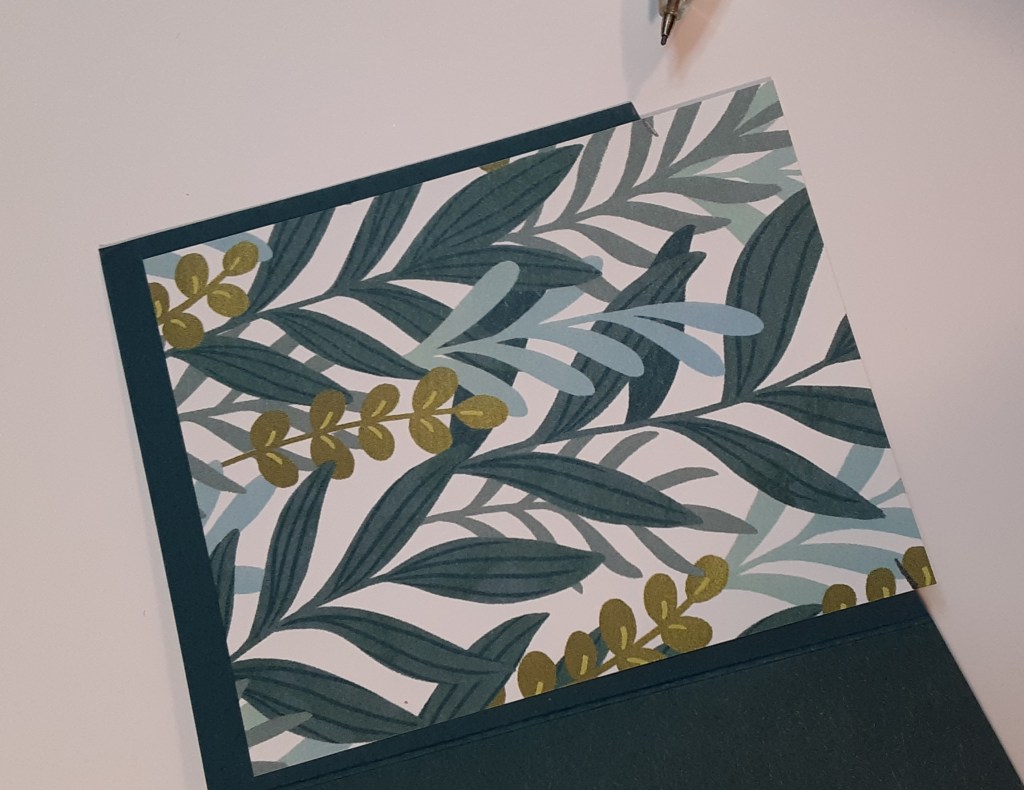
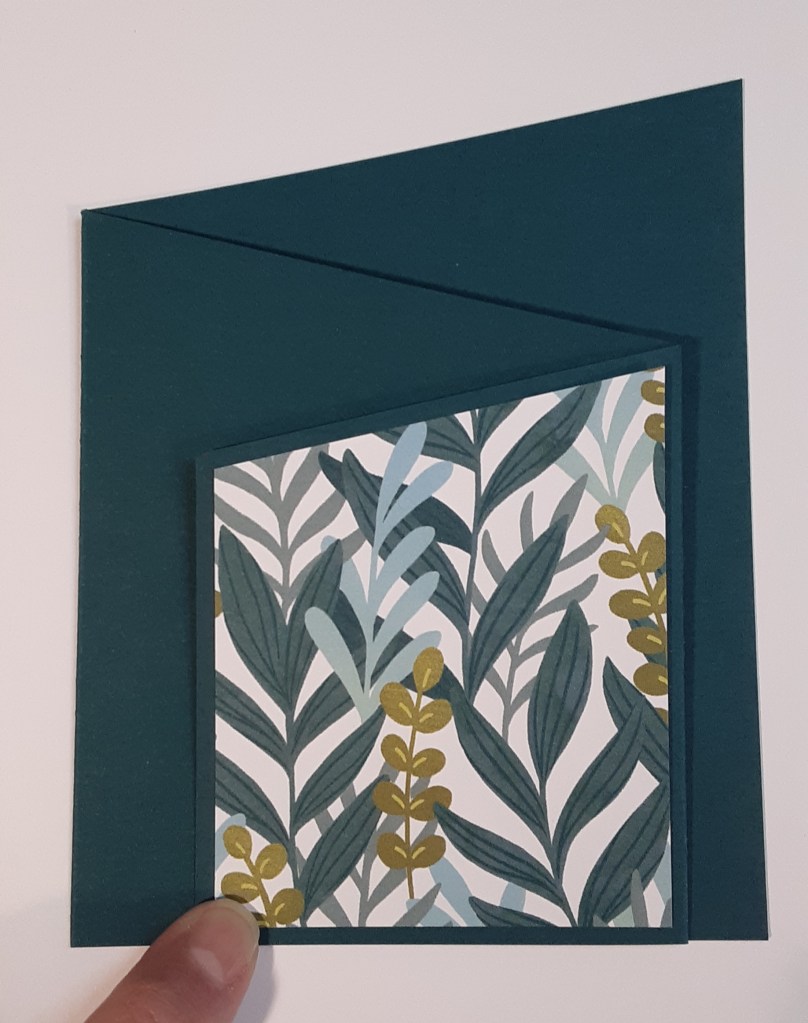
Now my card base is ready for some decoration. Because the angles are not square, here is a trick to get the correct angle. For the front piece I cut a piece of Otterly Adorable DSP to 3-3/8″ x 2-3/4″. Keep in mind the direction the pattern is going. I laid this piece on my panel and slid it up until the upper right-hand corner was even with the Pretty Peacock and made a tick mark with my pencil on the left side where the two pieces meet. (In the picture I hadn’t used a 3-3/8″ piece and made a tick mark on the upper right corner, too.) Cut from the tick mark to the corner. I adhered this to my panel using my favorite adhesive (Multipurpose Liquid Glue or Stampin’ Seal).
The middle panel is decorated on both sides. I started with 3-1/2″ x 4-1/4″ pieces of DSP. Laying the DSP where you want it to go and marking it helps guarantee that you cut the paper in the right direction. These two panels will be mirror images of each other.
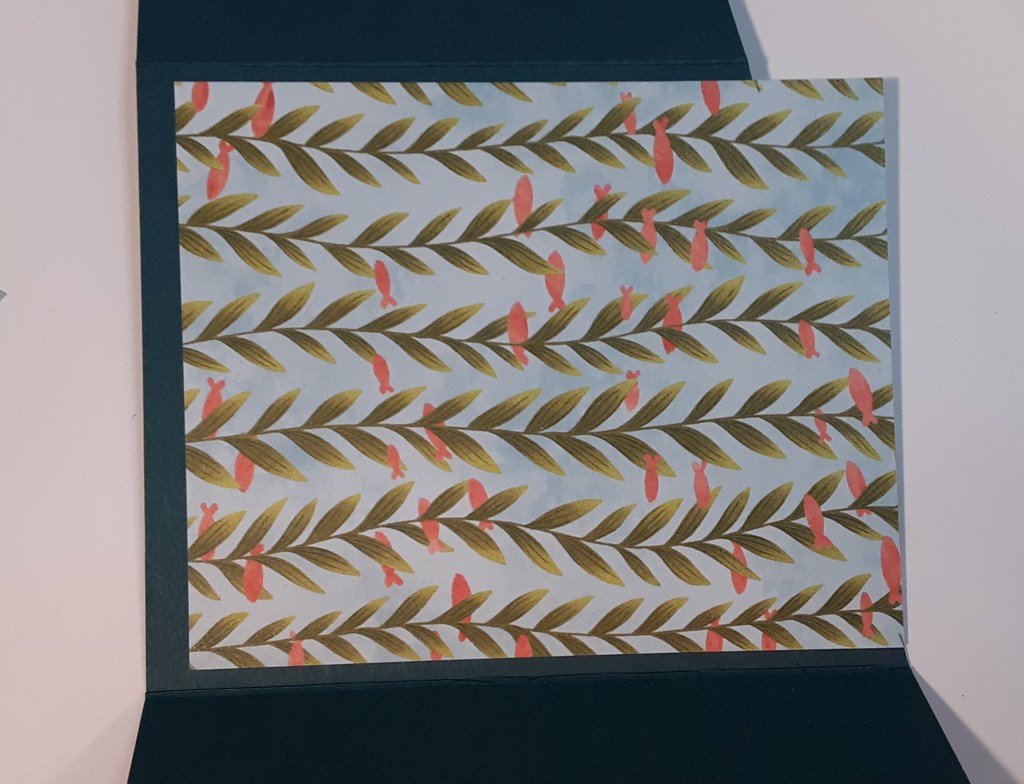
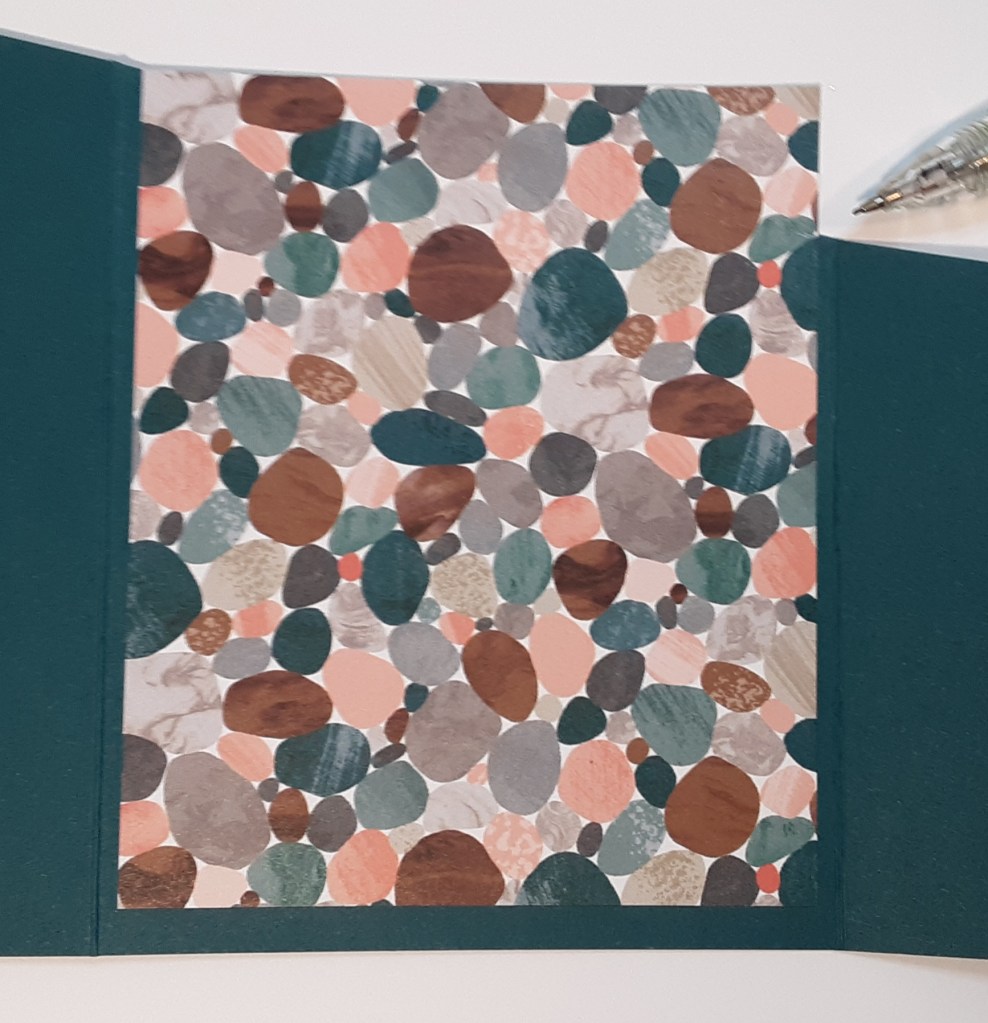
Adhere the DSP to the appropriate panel.
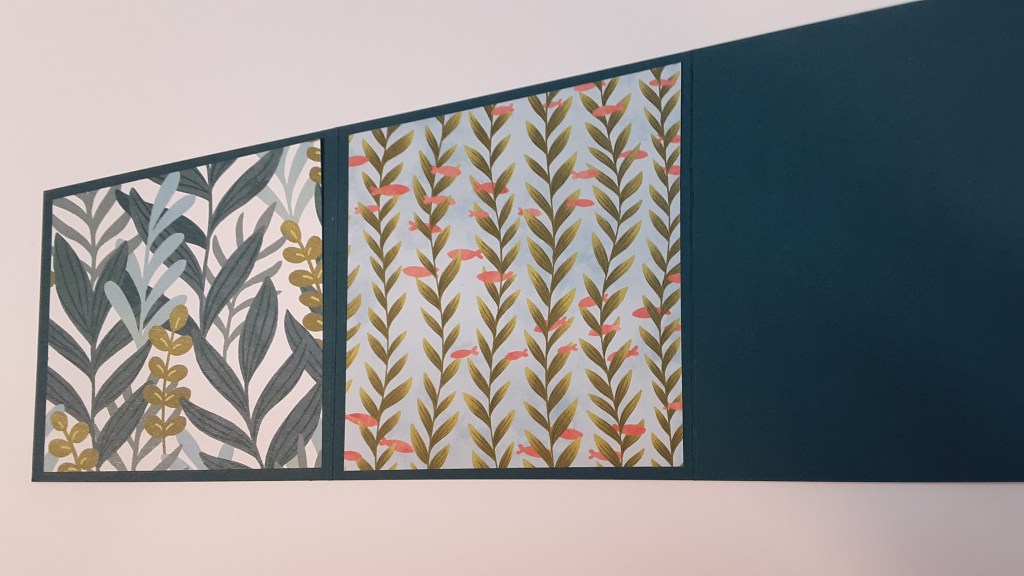
For the final panel, I cut the schooling fish pattern to 4″ x 5-1/4″ and repeated the marking trick and cut the piece. I adhered this to the last panel.
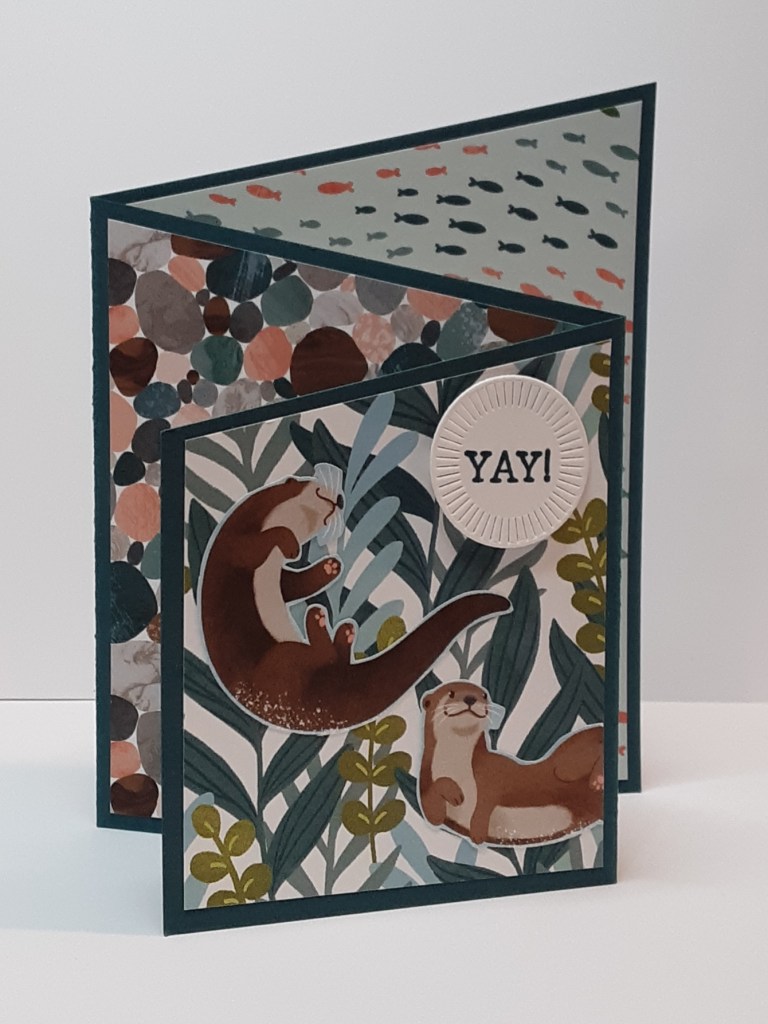
I fussy cut five otters from the DSP with my Paper Snips. I stamped Yay! from Simply Said stamp set with Pretty Peacock ink on a scrap of Basic White cardstock. I die cut it from the smallest circle in the Spotlight on Nature die set on my Stampin’ Cut & Emboss Machine. I stamped Let’s Celebrate in Pretty Peacock ink from the same set on a strip of Basic White. I trimmed it down close to the words on my trimmer. Finally, I stamped the Happy Birthday on a Basic White circle cut from the Spotlight on Nature dies. You will notice in the stamp set that Happy Birthday is in a line. This was too wide for my circle, so I could cut the stamp apart OR I could mask the Birthday, ink up Happy, remove the mask, and stamp. Then clean the stamp, mask Happy, ink up Birthday, remove the mask and stamp Birthday under Happy.
I arranged my otters and sentiments on my card before glueing. I thought it looked like a party with the otters frolicking around. I did pop up the Yay! circle with a Stampin’ Dimensional. If you want to add additional embellishments make sure you only add them on the areas that are exposed when the card is folded, such as the small front panel.
I hope you liked this card!
For the complete supply list, click here.
