
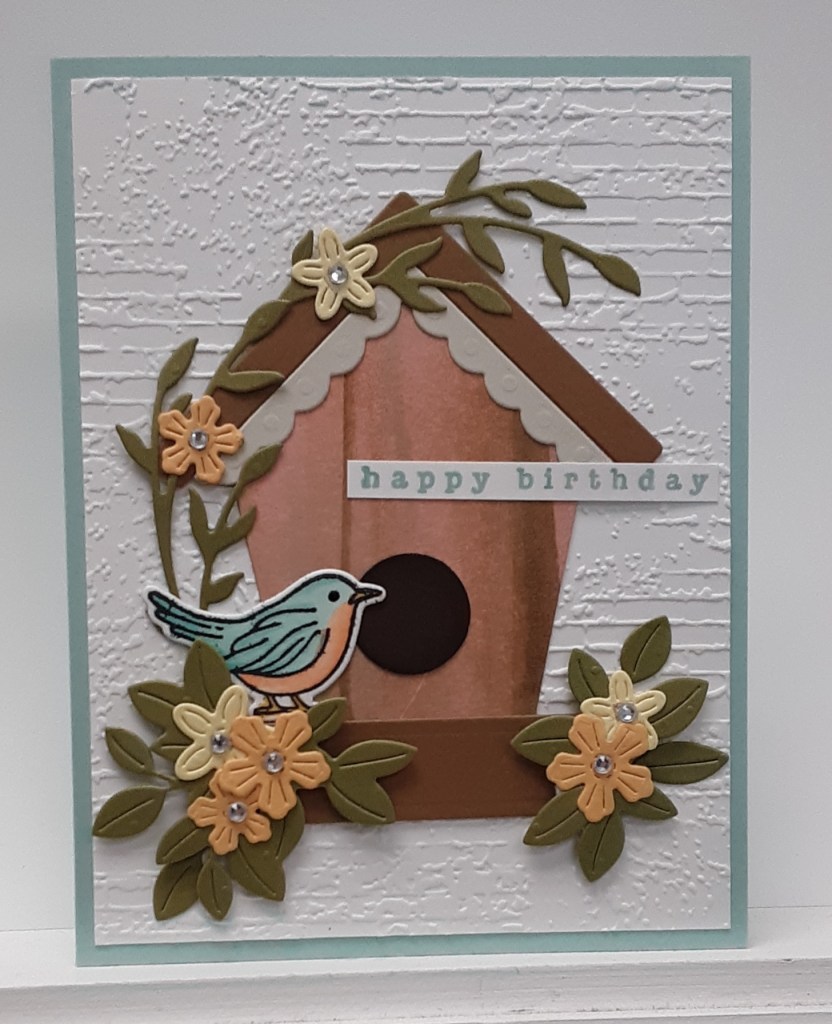
I have had the Country Birdhouse bundle for a while and finally decided to use it. It is on the Last Chance List, so get it while you can. If you are thinking of getting cardstock, now is the time to make the investment. The price of cardstock is going up to $14/pack on May 6 with the introduction of the new catalog. Marilyn here with another fun card.
For the card base, I cut a piece of Pool Party cardstock to 5-1/2″ x 8-1/2″ on my Paper Trimmer, scored and folded at 4-1/4″, and burnished with my Bone Folder. I cut a piece of Basic White cardstock to 4″ x 5-1/4″ and ran it through the Exposed Brick Embossing Folder on my Stampin’ Cut & Emboss Machine. I punched a 3/4″ circle from a scrap of Early Espresso cardstock. You could use a 3/4″ circle die if that is what you have. I used a Sponge Dauber to apply Early Espresso ink around the edge of the circle.
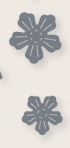
From Lemon Lolly cardstock, I die cut the flowers from Country Flowers die set.

I also cut all the leaf pieces from Country Flowers dies from Old Olive cardstock.
I cut the flowers from Country Birdhouse from Peach Pie cardstock twice.
I cut the leaves from Country Birdhouse from Old Olive cardstock. I also cut the spray of leaves from Delicate Forest die set (Last Chance product!) from Old Olive cardstock twice so that I had two.
I stamped the bird from Country Birdhouse stamp set with Momento Tuxedo Black ink on Basic White cardstock. I colored in the bird with Stampin’ Blends: Pool Party, Peach Pie, and Daffodil Delight. I die cut it with coordinating die.
For the birdhouse itself, you could use the Country Woods DSP, but I decided I wanted a pink birdhouse. With a piece of Pretty in Pink cardstock (I used a piece 4-1/4″ x 11″), I dragged the upper edge of my Pecan Pie ink pad on the cardstock. This is called the direct to paper method. You want a firm grip on the ink pad and the paper. The foam has a tendency to grab the paper. This is what happens (or worse) when the ink pad decides to grab:
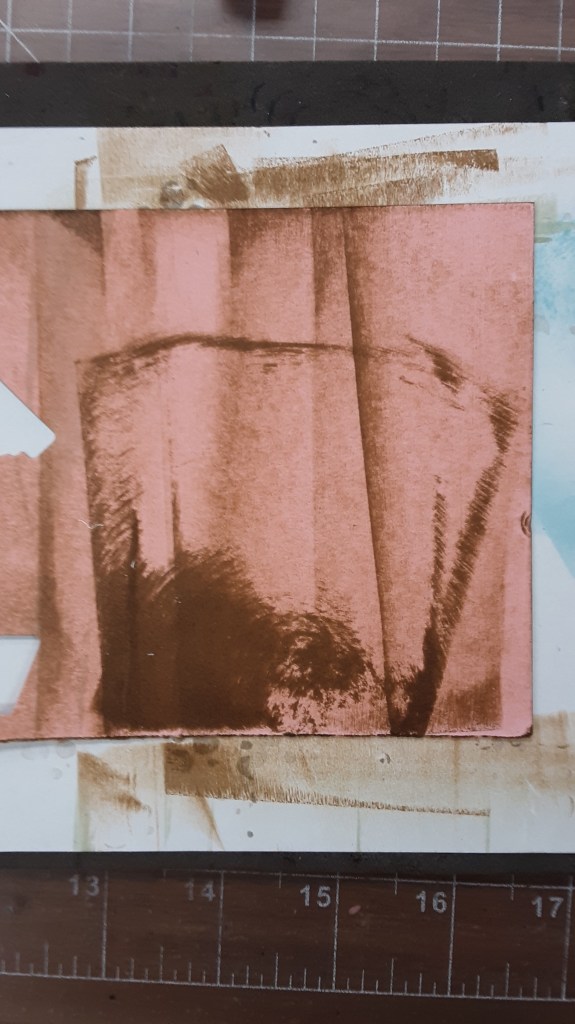
You can use the right or left edge of the pad to create stripes, also. You may want to practice a bit on a scrap piece of paper. It took me five tries to get the look I wanted. I repeated this process with Basic Beige ink. I cut the birdhouse out of my “masterpiece.” I cut the scalloped decorative piece from Basic Beige cardstock, and the roof and perch from Pecan Pie cardstock. Using my favorite adhesive (Multipurpose Liquid Glue or Stampin’ Seal) I adhered the pieces of my birdhouse together. They fit together quite nicely. I glued on the Early Espresso circle about 1/2″ above the perch.
I glued my embossed panel to my card base and then glued the birdhouse to the panel about an inch from the bottom. I glued my Old Olive leaf sprays together to create an arch. I glued this to my card with the bottom close to the perch and the top extending over the roof of the birdhouse. I glued my bird on the perch to the left. The bird’s tail covered the end of the spray.
I arranged my flowers and leaf pieces in clusters on either side of the perch. When I was satisfied with the results, I carefully glued the pieces together, but not to the card. I added some Stampin’ Dimensionals and Mini Dimensionals to the back of each cluster and adhered them to the card. I had three single leaves left and tucked them under the clusters of flowers with glue, directly on the embossed panel. It gave the clusters a bit of depth. For a bit of sparkle, I added a Rhinestone to the center of each flower.
I stamped the Happy Birthday from the set with Pool Party ink on a strip of Basic White cardstock and trimmed it down close to the word. I added this to the birdhouse, extending near to the right edge of the card.
To finish the card, I stamped a sentiment on a 4″ x 5-1/4″ piece of Basic White cardstock and glued it inside the card.
I hope you liked this card!
For the complete supply list, click here.
