

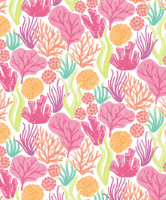
Hopefully you weren’t fooled by anyone yesterday with April Fool’s Day antics. Instead, we can wish Terry a very Happy Birthday today! Marilyn here, with a colorful and fun card. Who can resist the vibrant colors in the Friends of the Ocean DSP? I jazzed it up with a fun interactive feature. While the card looks complicated, it really isn’t. I know, famous last words. I’ll be your cheerleader: You can do it! And I’m here to show you how.
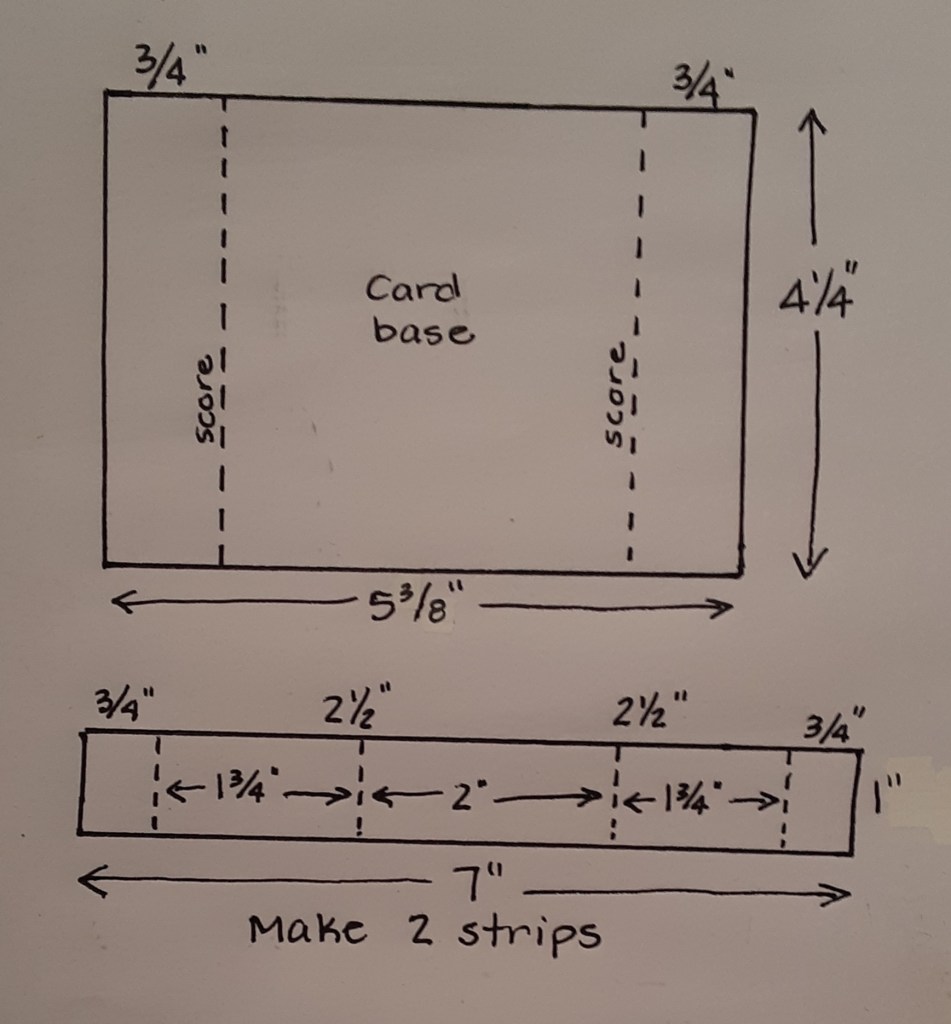
The card base begins with a piece of Summer Splash cardstock cut to 4-1/4″ x 5-3/8″ on my Paper Trimmer, scored and folded at 3/4″ on each end of the 5-3/8″ side, and burnished with my Bone Folder. I cut a piece of Lemon Lime Twist cardstock to 2-1/2″ x 3-1/2″ and a piece of Basic White cardstock to 2-1/4″ x 3-1/4″. I also cut two 7″ x 1″ strips from Summer Splash cardstock.
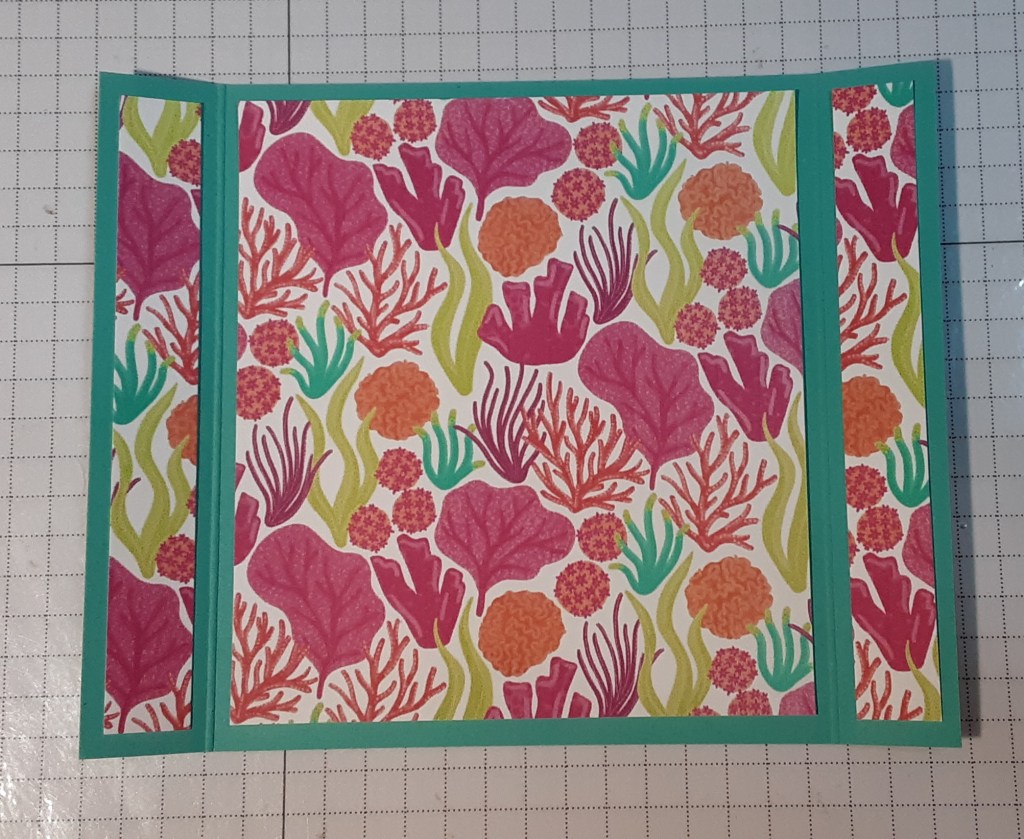
I cut one 3-5/8″ x 4″ and two 1/2″ x 4″ pieces from Friends of the Ocean DSP. Before cutting, be aware of the direction of the pattern. Our card is 4-1/4″ tall, so make sure the 4″ side is the vertical side of the DSP.
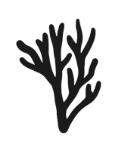
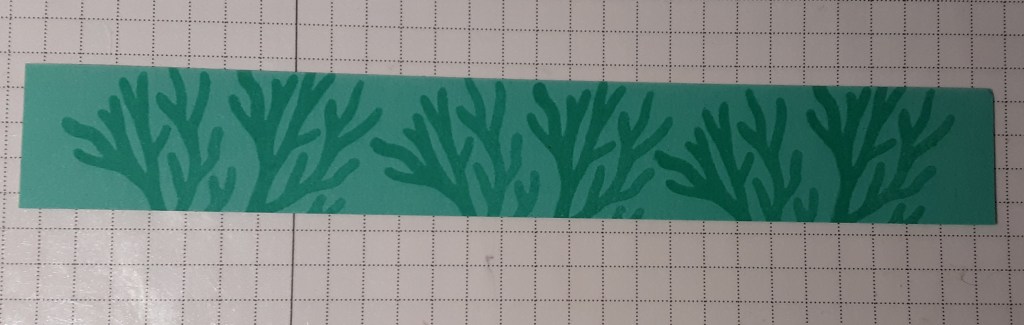
Before scoring my Summer Splash strips, I stamped the coral image from Ocean Friends stamp set and die bundle in Summer Splash ink on one of them.
Then, I scored them both at 3/4″ and 2-1/2″ on each end for a total of four score lines. See the diagram below for the all the dimensions and score lines for the different pieces.
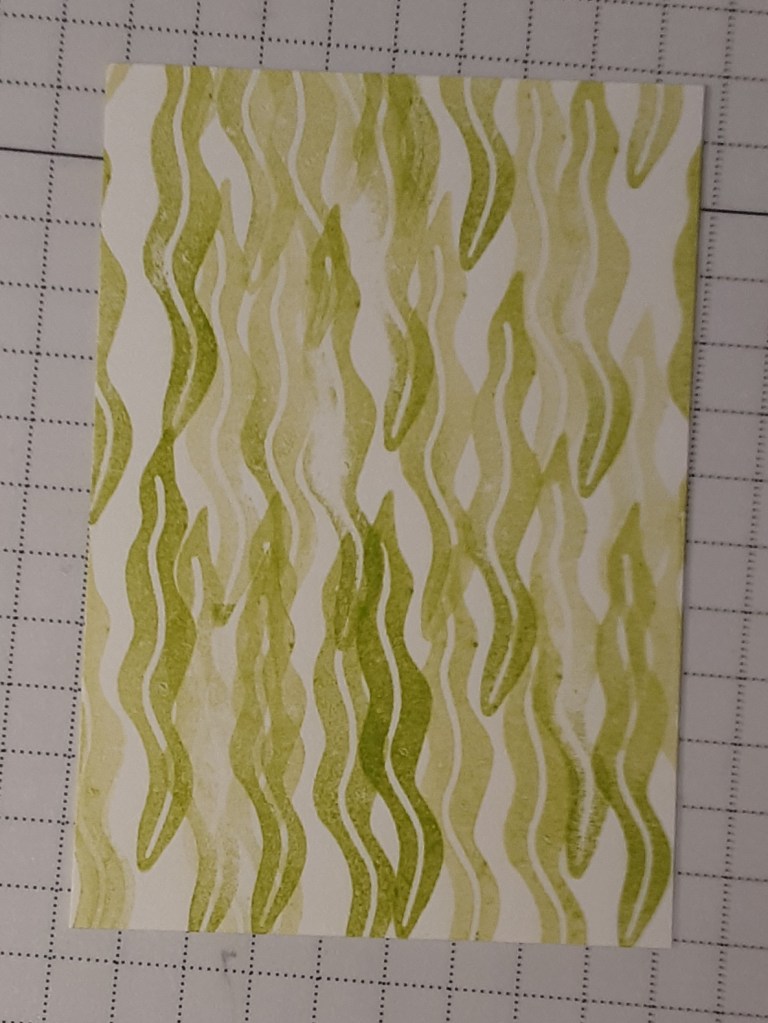
With my Basic White piece, I stamped the seaweed image with Granny Apple Green ink and Lemon Lime Twist ink, varying the placement, overlapping images, and stamping without re-inking to give it more depth. When stamping without re-inking, make sure that you don’t restamp an image that you went off the paper with because there will be a line of darker and lighter ink.
I stamped the crab outline with Calypso Coral ink on a scrap of Basic White ink. Then, I stamped the filler image with Peach Pie ink. I really like how these two colors go together. I adhered this to my Lemon Lime Twist matte with my favorite adhesive, Multipurpose Liquid Glue or Stampin’ Seal.
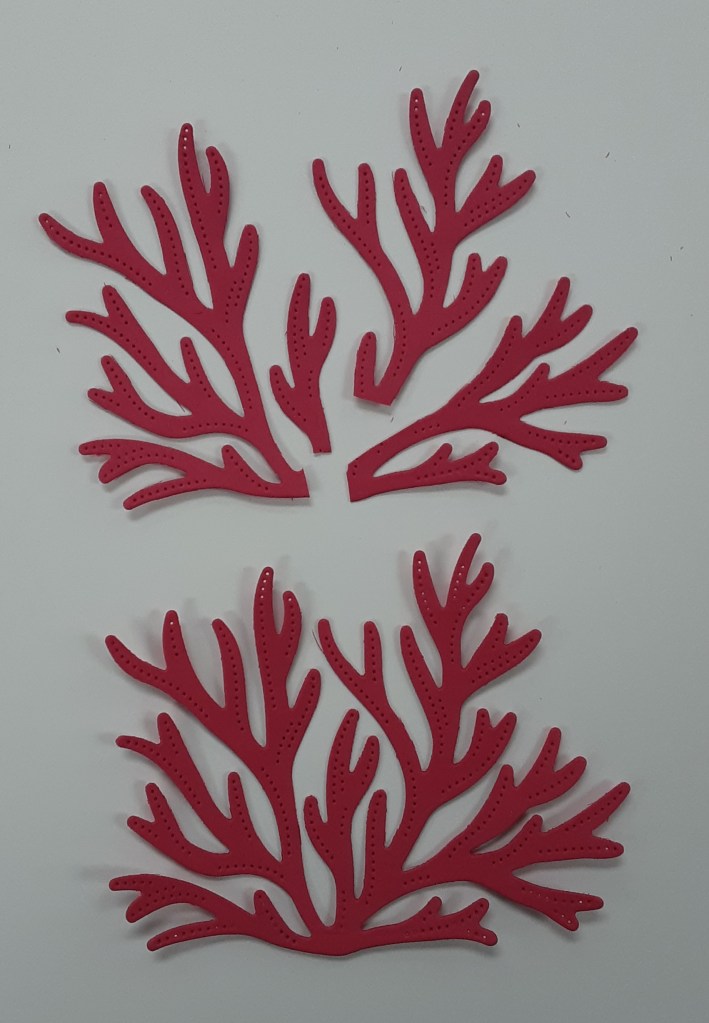
Using my Stampin’ Cut & Emboss Machine, I die cut the crab out using the Ocean Friends dies from the bundle. I also die cut the coral from Melon Mambo cardstock.
I stamped the Happy Birthday from the Simply Said stamp set in Summer Splash ink on a strip of Basic White cardstock. I trimmed it down close to the words. I mounted this to a 1/2″ strip of Summer Splash cardstock.
To assemble the card, I glued my DSP pieces to my card base.
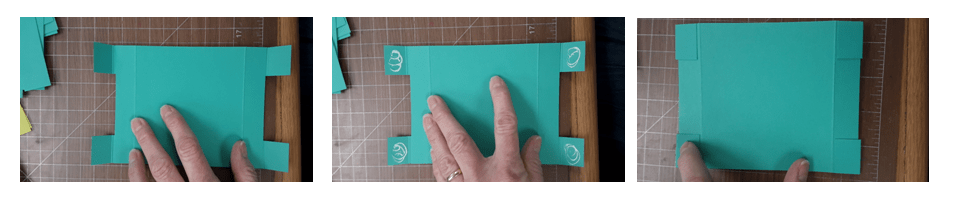
Next, I glued my strips to the top and bottom of the card base, being cognizant of the direction of the images. I didn’t want to adhere my coral pieces upside down. I centered my card base on the strips, with the top and bottom flush. I applied my glue and folded the tabs in. You could do the strips one at a time, if that is easier.
I trimmed the Melon Mambo coral piece into 4 pieces with my Paper Snips.
I glued the piece on the left to the left side of the card, making sure to put glue only on the part of the coral that comes in contact with the strip. I glued the upper right-hand piece to the right side of the card, again, being careful to put glue only on the part that connects to the strip.
I adhered my seaweed panel to the card, connecting the top and bottom strips. I put a thin line of glue on the Summer Splash strips between the score lines to make sure I didn’t add too much. The seaweed panel is wider than the space between score lines and we want the card to pop. I added the remaining two pieces of coral to the front of the card. I popped the crab on with Stampin’ Dimensionals. I adhered my sentiment strip above the crab with Stampin’ Dimensionals, being careful not to put the Dimensionals to close to the ends since the sentiment is wider than my panel.
For a little bit of sparkle, I added three Rhinestones to the seaweed panel.
I stamped a sentiment on a 4″ x 3-5/8″ piece of Basic White cardstock and adhered it to the back of my card.
I hope you liked this fun and colorful card!
For the complete supply list, click here.
