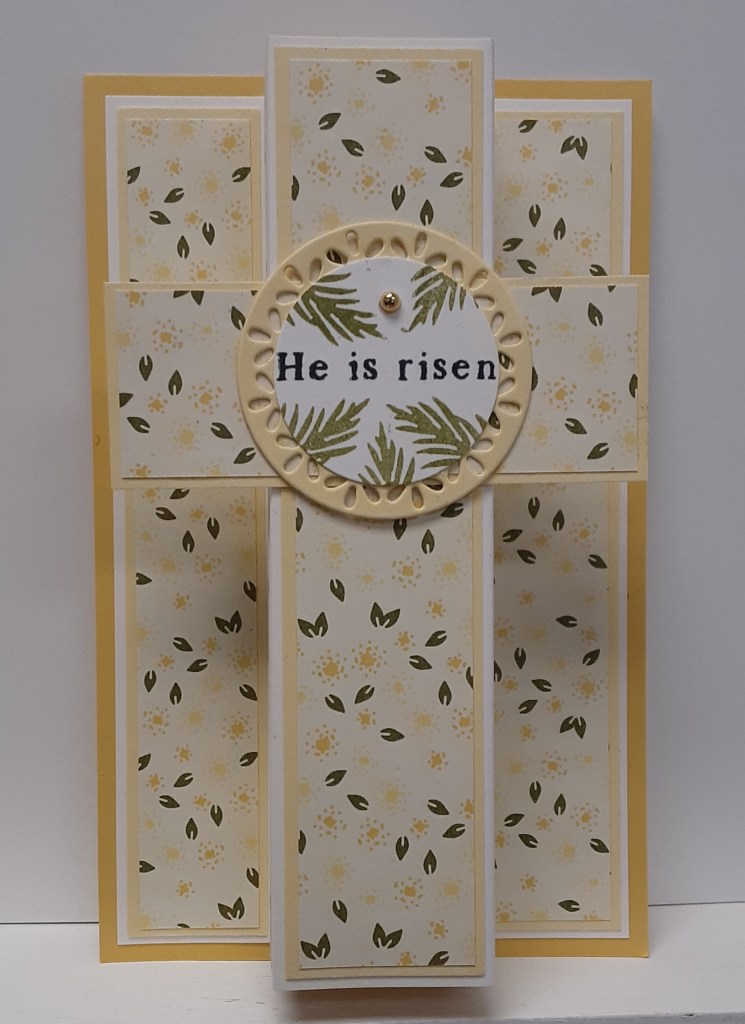
Spring has finally arrived! I know this because my daffodils are coming up and I love their pop of color in my flower beds. Along with spring comes Easter. Easter is late this year and still a few weeks away, but I thought I would be a little proactive and get started on my Easter cards. Marilyn here, with a fun and easy pop-up card. It folds flat and fits in an A2 envelope.
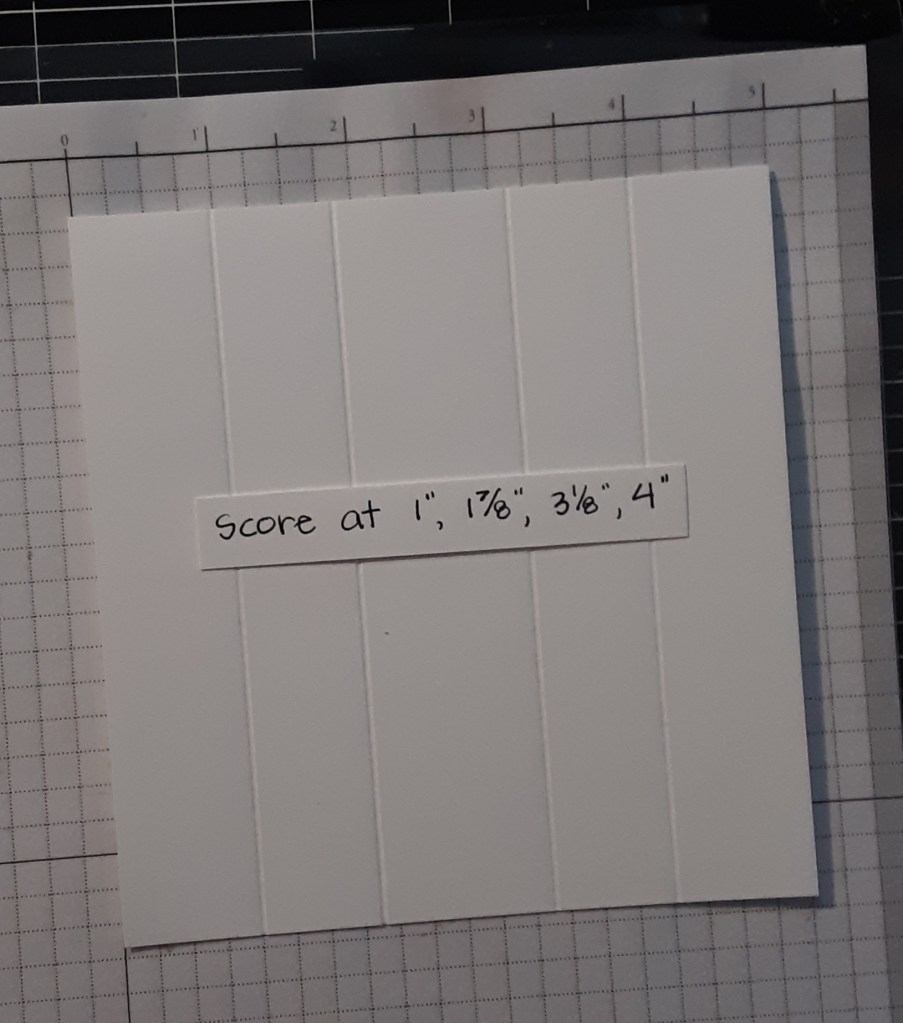
To make the card base, I cut piece of Daffodil Delight cardstock to 3-1/2″ x 5-1/2″ on my Paper Trimmer. There is no scoring or folding on this piece. To make the pop-up mechanism, I cut a piece of Basic White cardstock to 5″ x 5-1/4″, and scored along the 5″ side at 1″, 1-7/8″, 3-1/8″, and 4″.
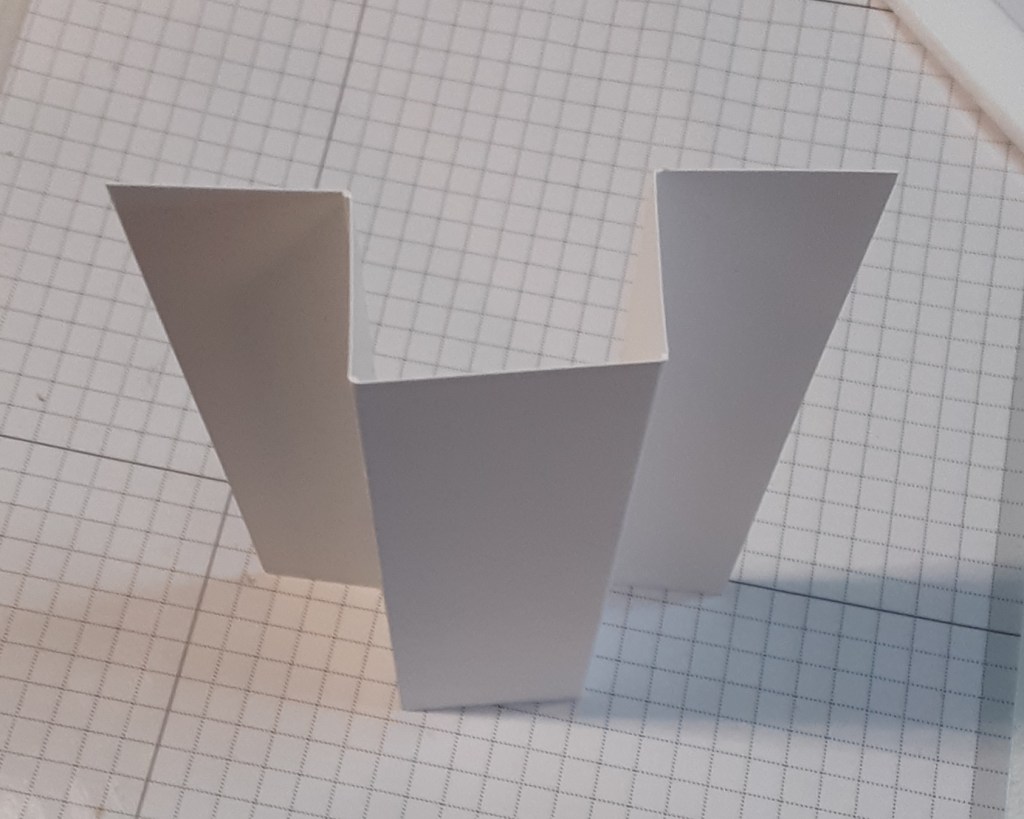
I folded on the score lines and burnished the folds with my Bone Folder. You really want to have crisp folds. The score lines on either end are valley folds and the score lines in the middle are mountain folds. It will look like the picture below when folded.
I cut Lemon Lolly cardstock into several pieces: two at 5-1/8″ x 7/8″, two at 5-1/8″ x 5/8″, one at 5-1/8″ x 1-1/8″, and one at 1-1/8″ x 3″. These pieces will act as a matte layer under the DSP. It has a narrow border, and you could skip this layer to save paper and cutting. You would still need to cut the one at 1-1/8″ x 3″.
I cut Floral Delight DSP into several pieces: two at 5″ x 3/4″, two at 5″ x 5-1/2″, one at 5″ x 1″, and one at 2-7/8″ x 1″. These would be glued with your favorite adhesive (Multipurpose Liquid Glue or Stampin’ Seal) to the matte pieces.
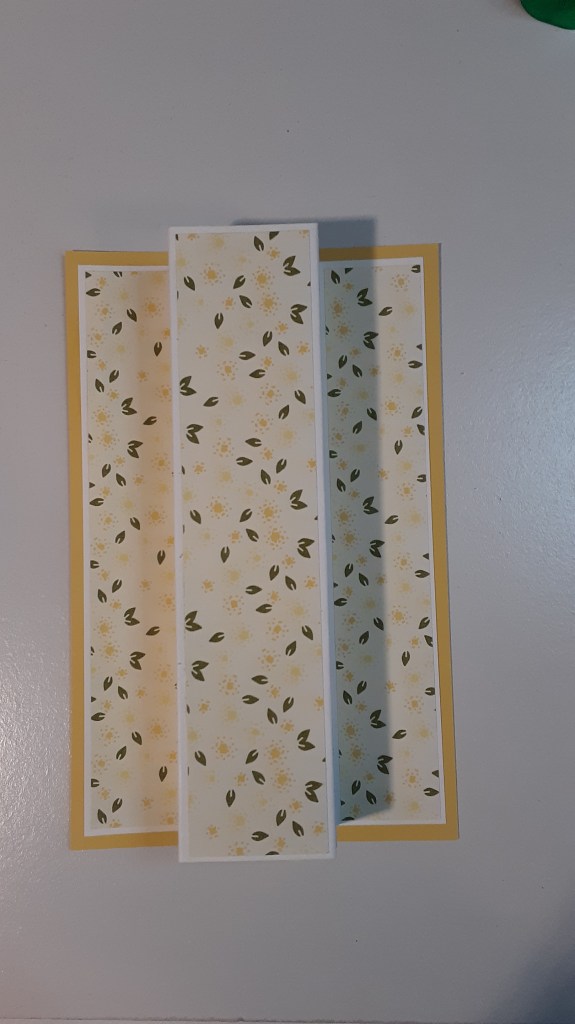
To skip the matte layer, cut Floral Delight DSP into several pieces: two at 5-1/8″ x 7/8″, two at 5-1/8″ x 5/8″, one at 5-1/8″ x 1-1/8″, and one at 2-7/8″ x 1″. These pieces would be adhered directly to the white scored piece, with the exception of the last piece. That needs to be layered on the Lemon Lolly cardstock strip. Below I show a comparison of the two. The first one has the Lemon Lolly matte and the second does not. I use them interchangeably in the photos throughout this tutorial.

I die cut the 1-5/8 circle from Spotlight on Nature dies from Lemon Lolly cardstock on my Stampin’ Cut and Emboss Machine. If you don’t already have these dies and would like them, I recommend you order them soon before they go away.

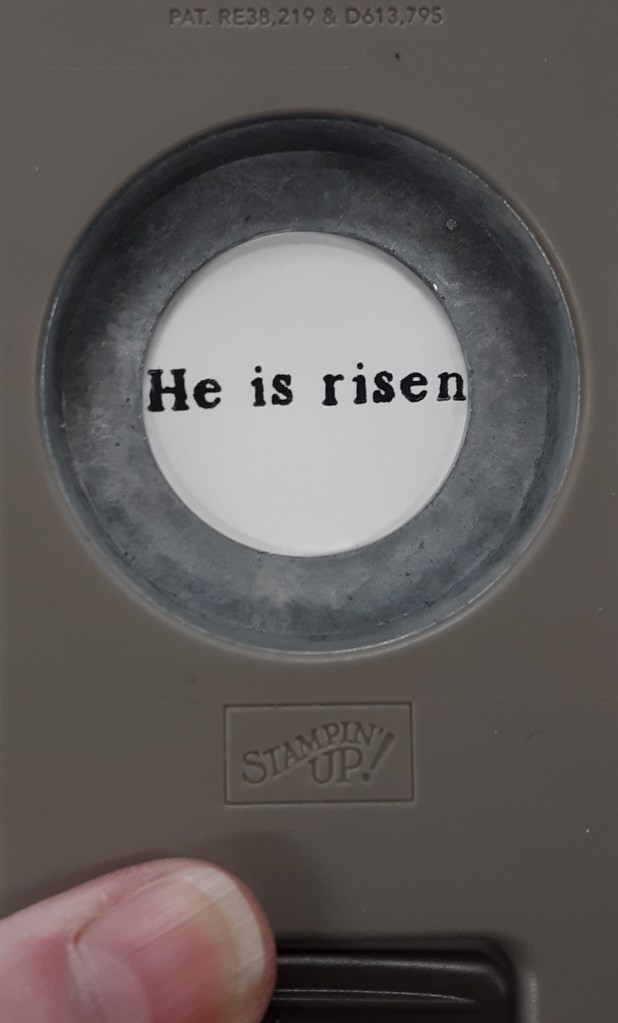
I stamped “He is risen” from Faith Collection stamp set in Momento Tuxedo black ink on a scrap of Basic White cardstock. I punched it out with a 1-1/4″ circle punch. It’s a bit of a tight squeeze, but doable. I stamped the palm fronds in Old Olive ink around the sentiment.
I adhered the two circles together.
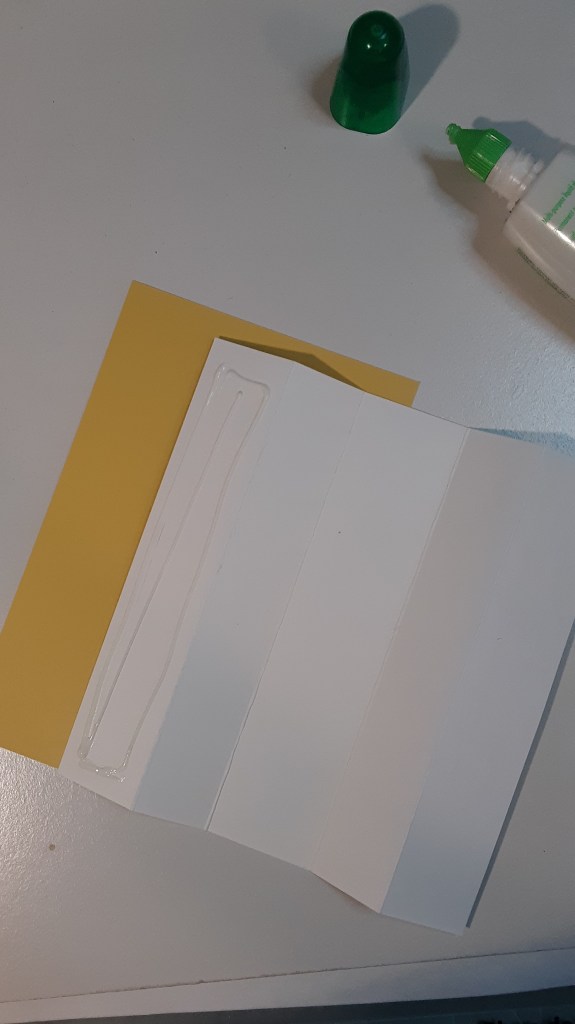
To assemble the card, I adhered the scored and folded panel to my card base, being careful to only put glue on the first section and gluing it to the left side of the base.
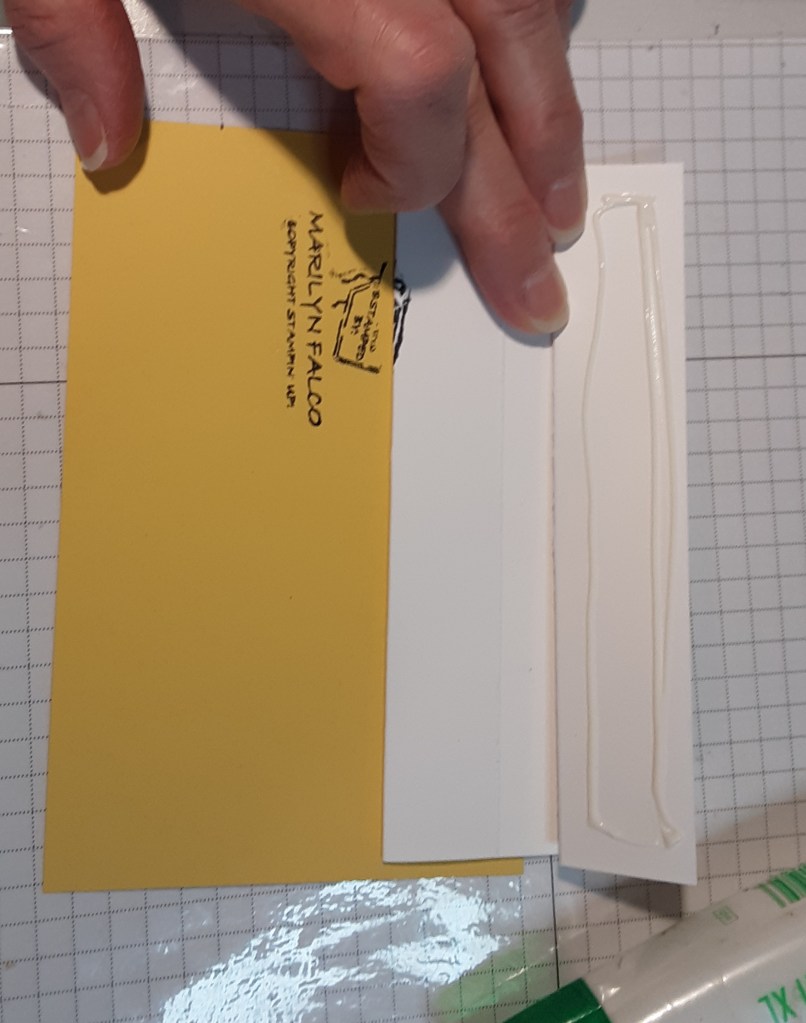
I tucked in the right side so that I could center the panel on the card base. The right side does not have any glue on it. I was going for even borders.

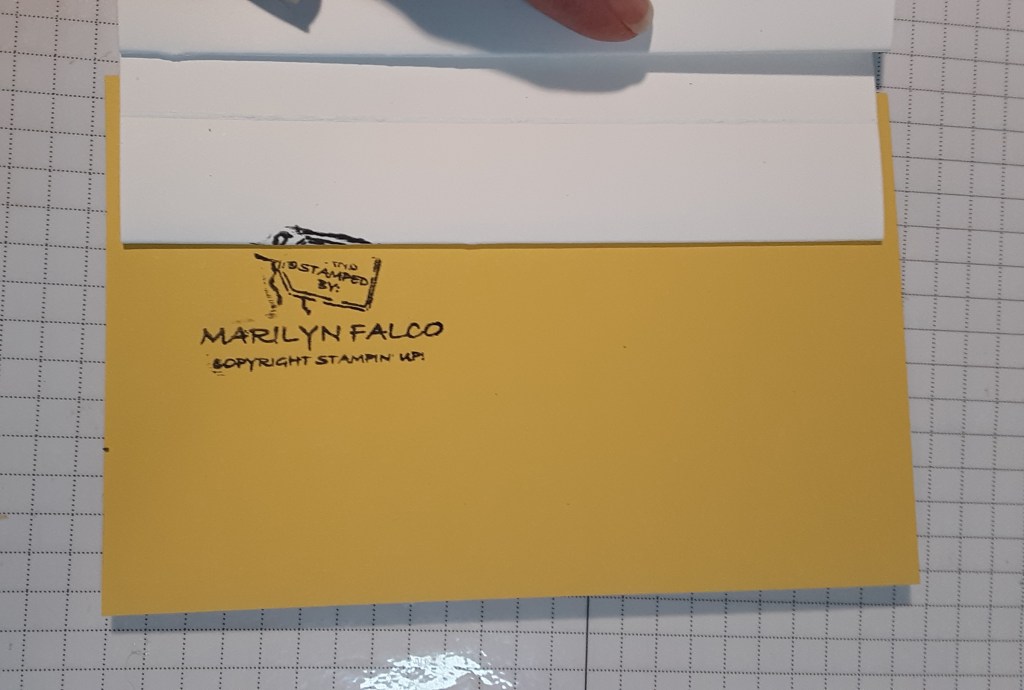
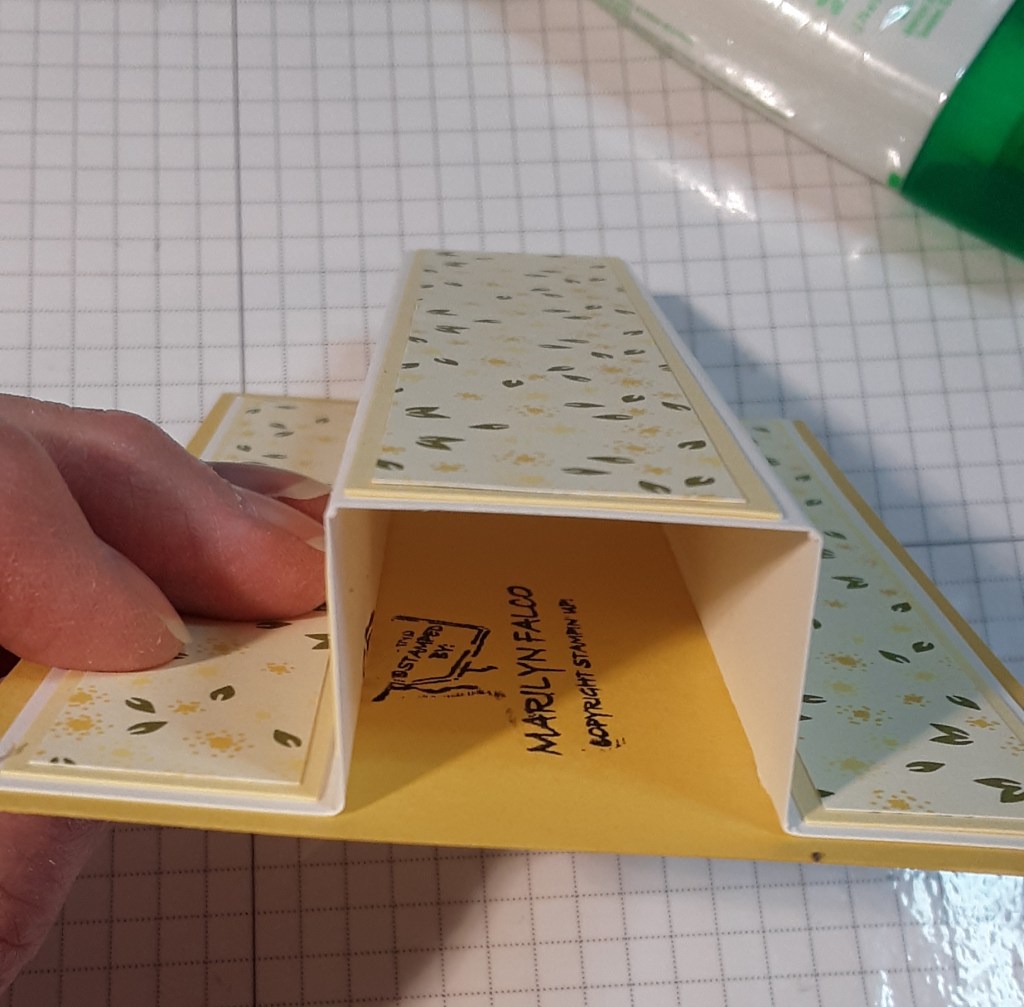
If you want to put your hand stamped by… on your card, you can do that now by stamping inside the future tunnel.
I added glue to the right section of the panel and glued it to the card base. I used a bit too much glue and it smooshed out. You can clean up excess glue after it dries with a gum eraser.
The card should pop up in the middle.
As you can see, my Hand Stamped by… stamp is hidden in the tunnel we created.
The pop-up section should easily fold to the left or right side of your card. Now to add the horizontal piece to create the cross. I added glue to the middle of the 3″ strip piece. Make sure you don’t put glue on the whole thing, or the mechanism won’t work. It should only attach to the pop-up section. I used my grid sheet to make sure it didn’t put it on crooked, about 1-1/2″ down from the top. Folded flat, the card does not extend beyond 4-1/4″ and will fit into a regular envelope.

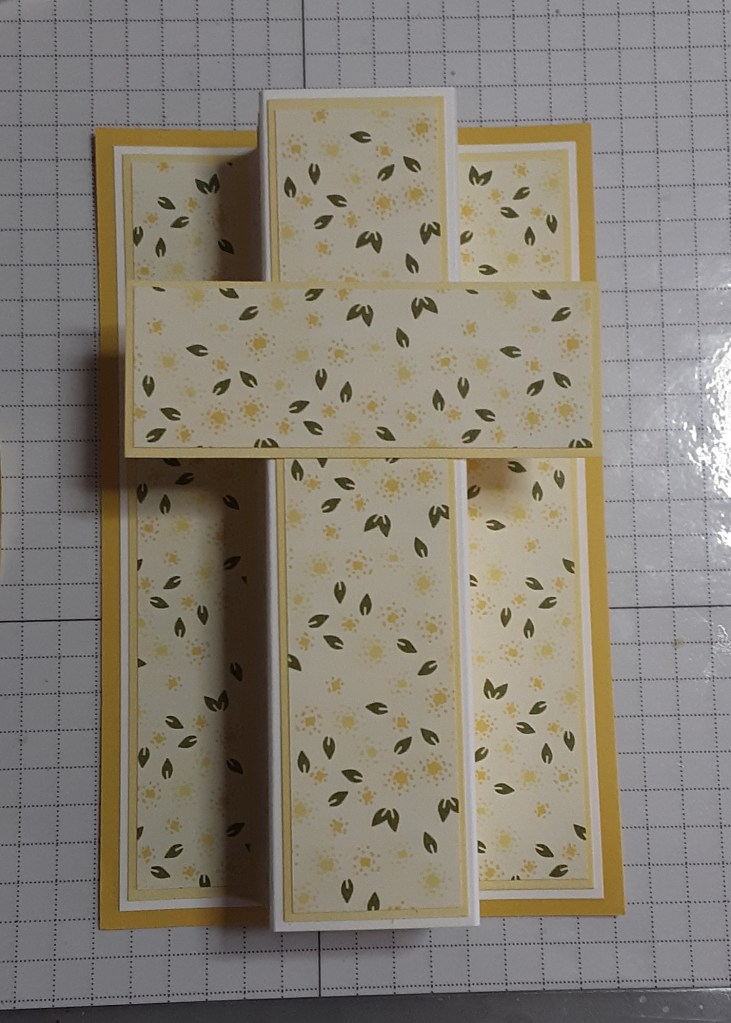
The card pops right up! To hide the seams in the middle of the cross, I adhered the circle with my sentiment. For a tiny bit of bling, I added one gold Blooming Pearl to the circle.
Finally, I stamped Easter Greetings in black ink from the Storybook Friends stamp set on a piece of 3-1/4″ x 5-1/4″ Basic White cardstock and adhered it to the back of my card.
I hope you liked this card!
For the complete supply list, click here.
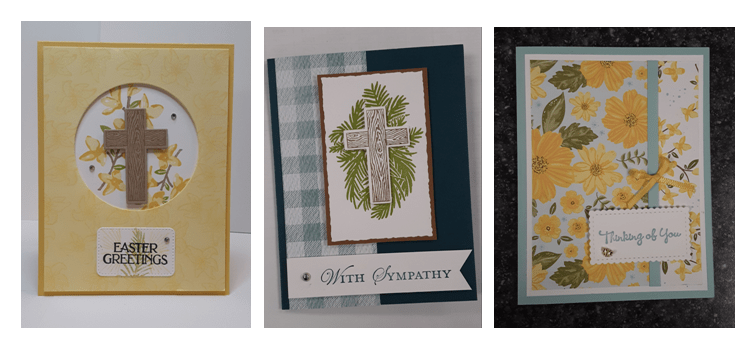
You may also like: