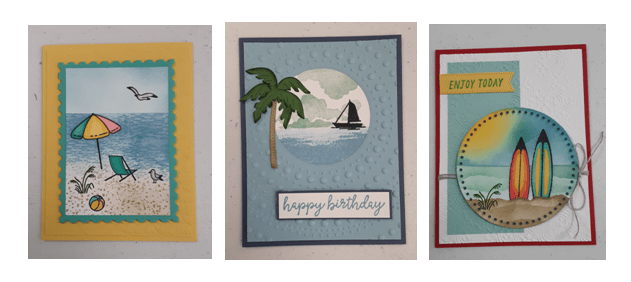
It’s March and with March comes Spring Break! Well, for some of us anyway. Today’s card makes me wish I was in a tropical paradise, enjoying the warm temperatures and sunshine. Marilyn here, with a fun ink blended card. Today’s card is mainly about the dies. The only stamped part is the sentiment. I will show you how to make the most of those die cut images.
To make the card base, I cut a piece of Peach Pie cardstock to 5-1/2″ x 8-1/2″ on my Paper Trimmer, scored, and folded at 4-1/4″, and burnished with my Bone Folder. Next, I cut a piece of Basic White cardstock to 4″ x 5-1/4″, a piece to 3-5/8″ x 3-1/8″ (or cut five pieces to3-5/8″ x 5/8″), and a piece to 3-1/2″ x 3/4″. I ran the 4″ x 5-1/4″ piece through my Distressed Tile Embossing Folder (I love this embossing folder!) on my Stampin’ Cut & Emboss Machine. I trimmed it down to 3-7/8″ x 5-1/8″. The 3D embossing folder changes the size of the piece, so I give it a smidge extra and cut it to the size I really want.
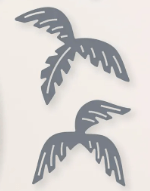
For the die cut pieces, I cut the palm fronds in the Beach Day die set from Granny Apple Green cardstock. I cut three sets. I cut the palm tree trunk from Pecan Pie cardstock. I cut three of these, also. Lastly, I cut the second smallest circle die in the Stylish Shapes die set from Lemon Lolly cardstock. To reduce the amount of cranking on my machine, I cut all three colors at one time. I used scraps of cardstock and they all fit on my cutting plate. Three passes and I was finished!
I used a Sponge Dauber to add Granny Apple Green ink to the edges of the palm fronds. This gives a bit of dimension. You could skip this step if want. I also added Pecan Pie ink to the edges of the trunks with a sponge dauber. This was a little tricky since the trunk is so narrow. My fingers were pretty inky when I finished. Again, you could skip this step if you prefer. Here is a picture showing the difference between inked and un-inked. The ones of the left are inked. It is a little difficult to see in the photo, but I think it really makes a difference.

Next, I ink blended the 3-5/8″ x 3-1/8″ piece. You could also use five 3-5/8″ x 5/8″ strips instead, if you want to get rid of some of your strip scraps. I blended on some Lemon Lolly ink with my Blending Brush. I was a little random, not covering the whole piece and varying my pressure and intensity. If you are using strips, just randomly add the ink. Before applying the ink to the cardstock, I did tap off some excess so it wouldn’t blob on the card. (In all honesty, I forgot to tap it off on my first effort and got a blob and had to conceal the blob under another ink color. The photo below is not my first attempt.)

Next, I blended on some Daffodil Delight ink, mainly in the center. If you’re using strips, just add it to two or three strips.
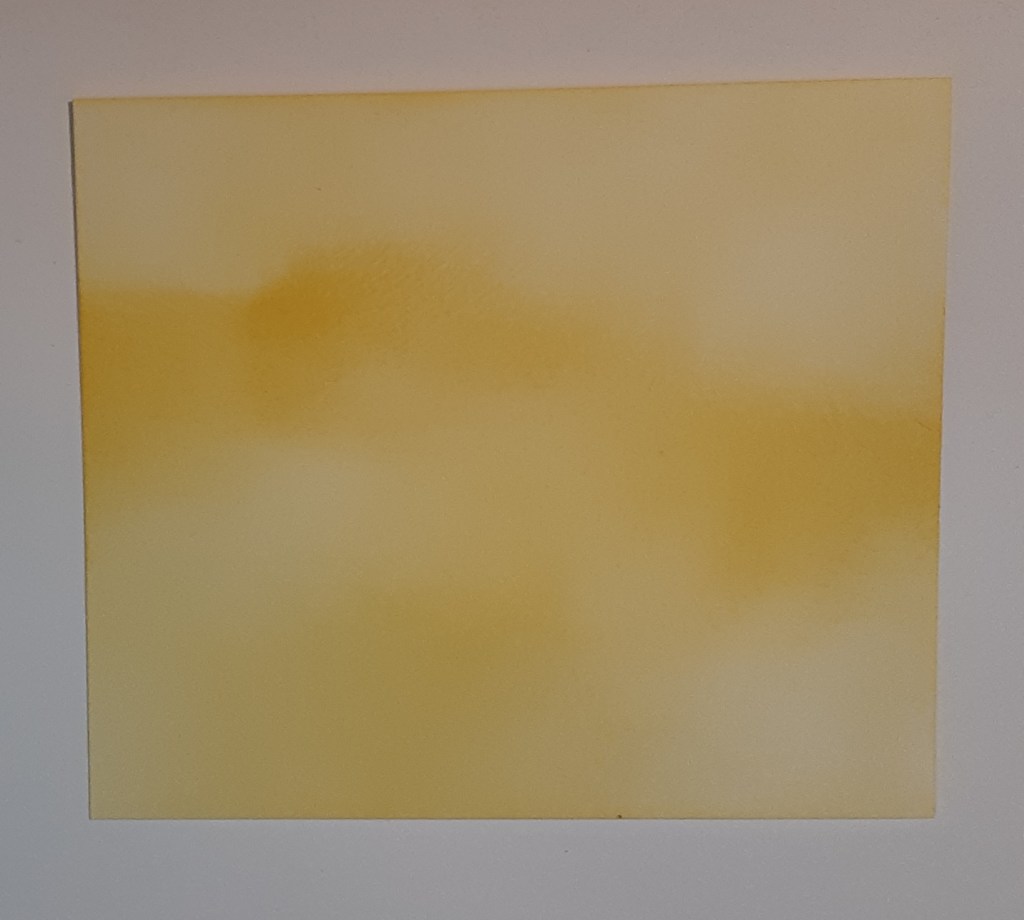
I added some Peach Pie ink, filling in some of the lighter spaces. With strips, add the ink in a variety of areas, not making the all the same. The key is to make each strip unique.
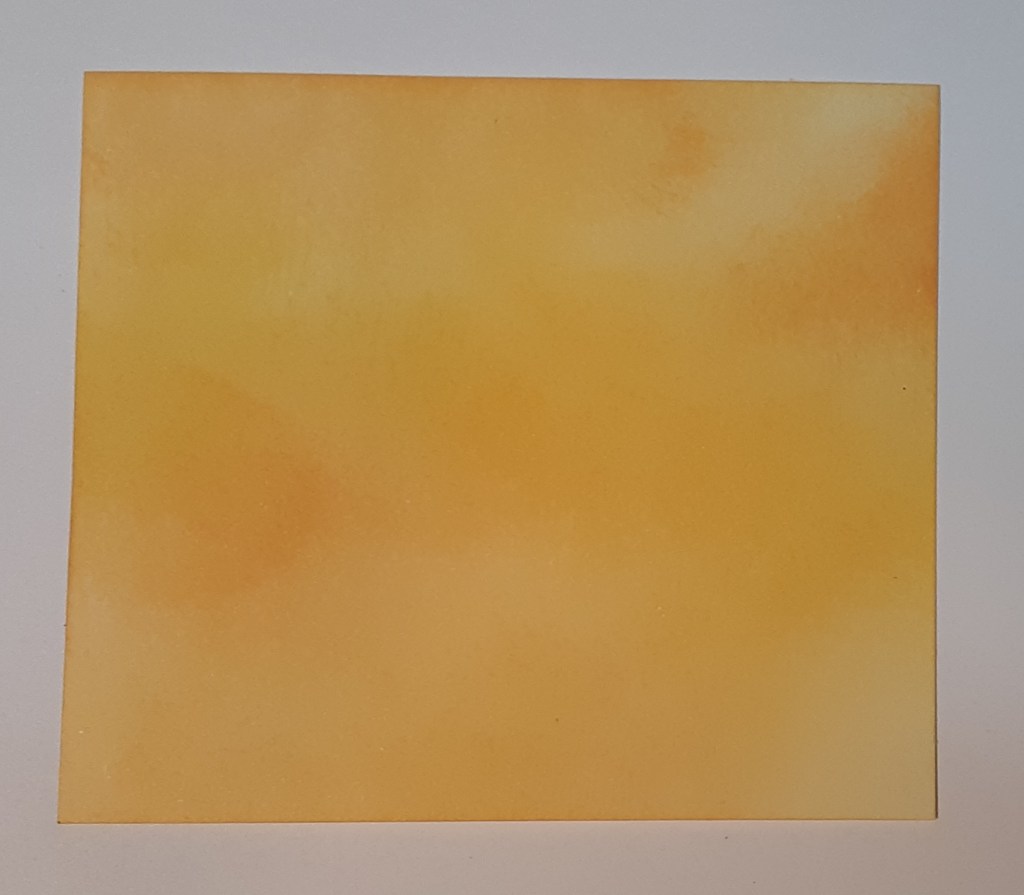
When I first made the card, I added my Melon Mambo ink before I cut the strips. I didn’t like it as much, so I recommend cutting this piece into the five 5/8″ strips now. Cut on the 3-1/8″ side so the strips are 5/8″ x 3-5/8″. I added Melon Mambo ink randomly to the strips. I applied the ink heavier in some areas than others. The first time I made the strips, I thought I wanted them to be cohesive and in order, but I really prefer the randomness of the pinks.

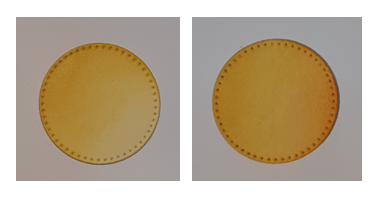
I added Daffodil Delight ink to the Lemon Lolly circle die cut. I also added a little Peach Pie ink to one side of the circle.
The last step before assembly was to stamp Happy Birthday from Beach Day stamp set with Azure Afternoon ink on the 3-1/2″ x 3/4″ strip.
I adhered my embossed panel to my card base using my favorite adhesive (Multipurpose Liquid Glue or Stampin’ Seal) leaving a 3/16″ border all around. If you don’t cut your embossed piece after embossing, this border may vary.
Next, I laid out my blended strips until I liked how they looked. I adhered them to my card using Stampin’ Dimensionals. I also used a T-ruler so my strips would be straight. I decided to do that because some of my strips were a little cattywampus and I have issues. The strips do not go to the bottom of the card. There is about 1-1/2″ gap.
I added my ink blended sun with the Peach Pie toward the bottom. Next, I glued my palm trees together and added them to the card. The palm fronds are slightly different. In the picture, the top one goes in the back.
I used Stampin’ Dimensionals to add the sentiment to the card under the colored strips. For a little bling, I added three of the gold Neutrals Adhesive Backed Sequins. You could add Rhinestones if you prefer.
I stamped a sentiment on a 4″ x 5-1/4″ piece of Basic White cardstock and glued it inside the card.
I hope you enjoyed this card and were transported to your own tropical paradise!
For the complete supply list, click here.
For additional inspiration: