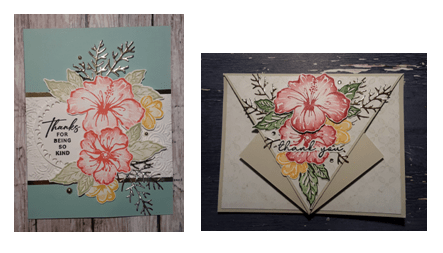
If you haven’t noticed yet, I love this stamp set! It is so pretty and versatile. Marilyn here with another card using the Happy Hibiscus stamp set. I also wanted to remind you that Stampin’ Up! released more free Sale-abration product yesterday. Don’t forget to check it out!
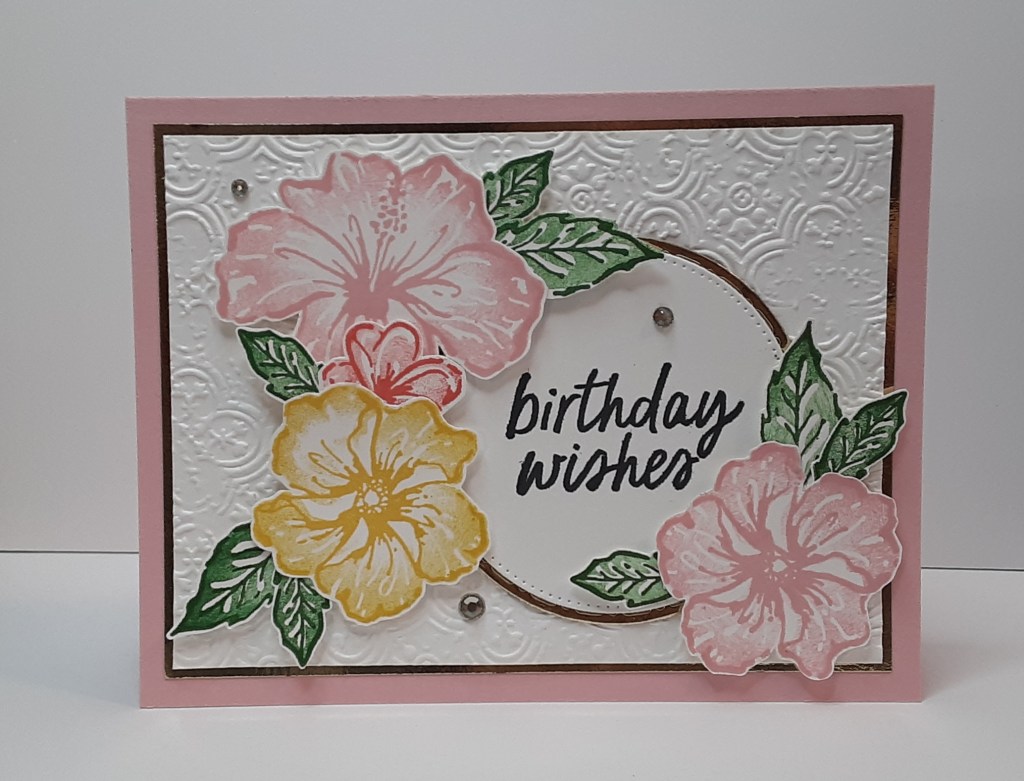
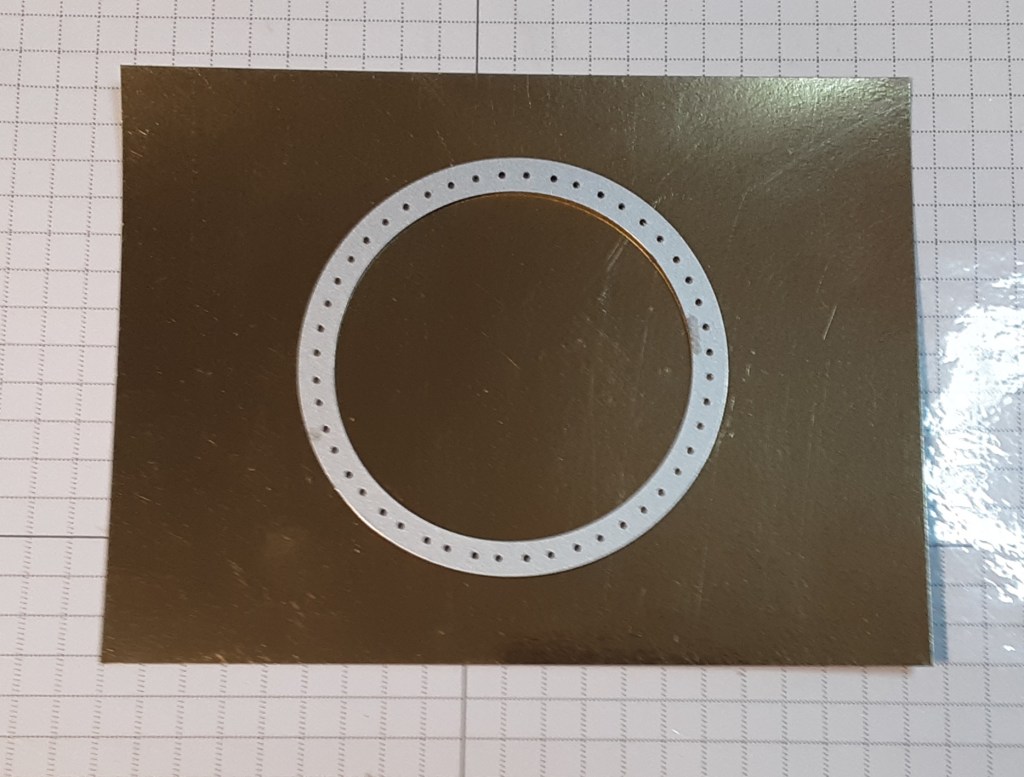
For my card base, I cut a piece of Pretty in Pink cardstock to 8-1/2″ x 5-1/2″ on my Paper Trimmer, scored and folded at 4-1/4″, and burnished with my Bone Folder. I cut a piece of Gold Foil sheet to 5-1/8″ x 3-7/8″. I cut a piece of Basic White cardstock to 5″ x 3-3/4″. I ran the Basic White piece through my Distressed Tile Embossing Folder on my Stampin’ Cut & Emboss Machine. I cut the 2-3/4″ circle from Spotlight on Nature die set from the middle of my Gold Foil piece. You could also cut it from a separate piece of the Gold Foil if you prefer. I’m sorry the perspective on my photos is a little off. I was trying to minimize the glare on the foil.
I cut the 2-1/2″ circle with the Stylish Shapes dies from Basic White cardstock.
Now for the stamping. I stamped the outline floral image from Happy Hibiscus stamp set with Pretty in Pink ink on Basic White cardstock. The stamp has the three floral images together on one stamp to facilitate die cutting it. I don’t have the dies (yet!), so I cut them out later with my Paper Snips. I cleaned the stamp and stamped the image on another piece of white cardstock with Daffodil Delight ink. Finally, I cleaned the stamp again and stamped it with Calypso Coral ink. I stamped the leaf outline image with Garden Green ink, three of the larger leaf and five of the smaller leaf.
The filler stamps for the flowers are all separate, so it is a little easier because you only have to change the color once, for the medium-sized flower. I used a Sponge Dauber to apply the ink to the flowers. I used the matching ink color for each of the flowers, applying the ink more heavily on the outside edges of the stamps. They were easy to line up and stamp. I used Sponge Daubers to apply the Garden Green ink to the leaf images. I stamped Birthday Wishes from the Simply Said Mix & Match Stamp set on the white circle with Momento Tuxedo Black ink.
After I finished inking my flowers and leaves, I cut them out. If you have the dies and embossing folder, use them! The added texture from the embossing folder would really pop the flowers up and look more realistic. You will have extra flowers to make another card. Yay!
I adhered my Gold Foil piece to my card base using my favorite adhesive (Multipurpose Liquid Glue or Stampin’ Seal). Before I adhered the white embossed piece to the gold foil, I checked the sizing to make sure the borders were even. Sometimes the embossing folder changes the size a bit. I trimmed it so the borders were even and adhered it to the gold foil piece. It had a narrow 1/16″ border. I adhered the white circle to my gold circle. The decorative trim on the gold circle doesn’t really show up because of the narrowness of the border. If you would like a wider border, cut a smaller white circle.
I arranged my flowers around my circle until I was satisfied with the placement before adhering. I glued the circle on my card base. I used Stampin’ Dimensionals to adhere my florals. If you die cut and embossed the florals, you would definitely want to use Dimensionals to get the full effect of the dimension.
To add a little sparkle, I added three Rhinestones to the card.
To finish the card, I glued a 4″ x 5-1/4″ piece of Basic White cardstock inside my card after stamping a sentiment.
I hope you liked this fun card!
For the complete supply list, click here.
For additional inspiration: