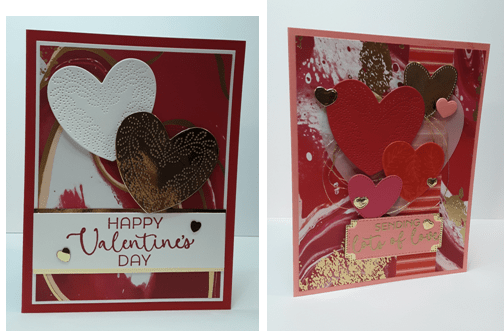
Hopefully you were able to enjoy the warmer weather over the weekend despite the rain. The extreme cold we are feeling now reminds us that we are still in the throes of winter. But February is right around the corner, so hopefully our weather won’t have such extremes in store for us. Marilyn here, with a simple Valentine card that features flowers instead of hearts. My card was inspired by a card by Julie Gilson.
To make the card base, I cut a piece of Real Red cardstock to 5-1/2″ x 8-1/2″ on my Paper Trimmer, scored and folded at 4-1/4″, and burnished with my Bone Folder. This is a top folding card.
With a piece of Basic White cardstock, I cut a rectangle to 4-1/2″ x 3-1/4″ and another to 4-1/4″ x 3.” I ran the smaller rectangle through my Distressed Tile Embossing Folder on my Stampin’ Cut & Emboss Machine. Next, I cut a piece of Gold Foil sheets to 4-3/8″ x 3-1/8″. From the center of my Gold Foil piece, I cut a label (the second smallest) from Countryside Corners dies. This will reduce some of the bulk from the card and save on cardstock.

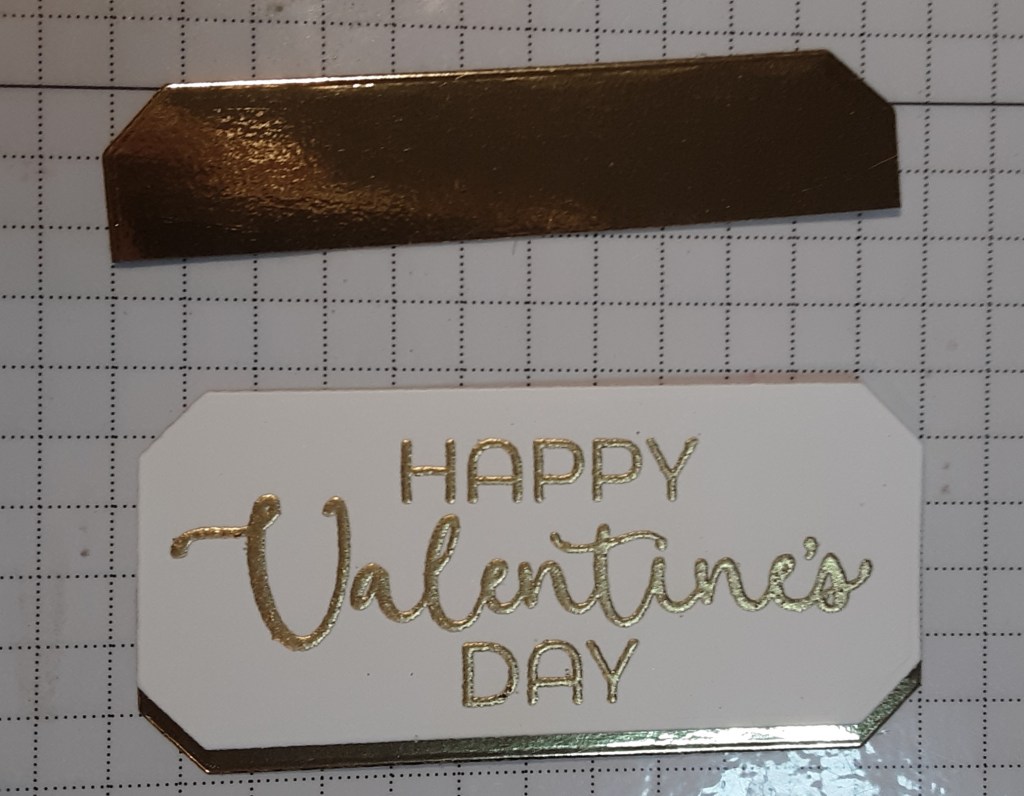
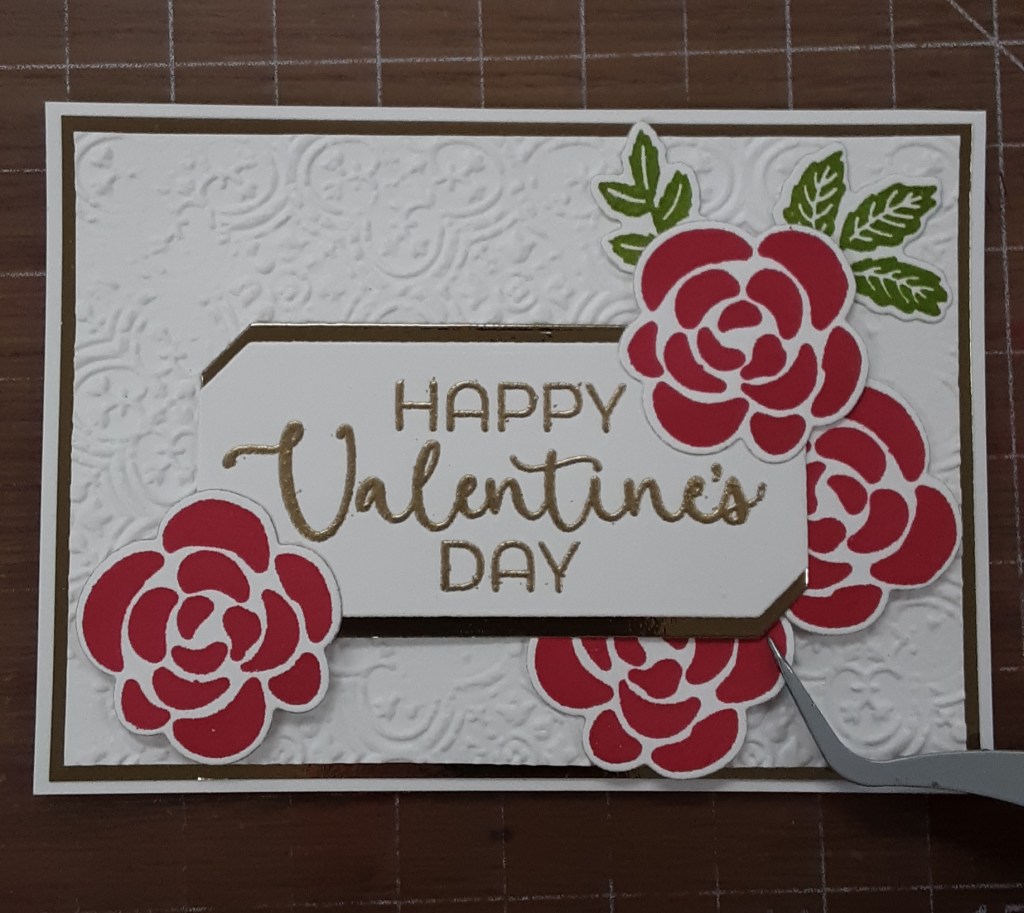
I cut another of the same label from Basic White cardstock. I applied some antistatic powder to the label. After stamping “Happy Valentine’s Day” in Versamark ink, I added Gold Embossing Powder from the Metallics Embossing Powder pack, and heat set it with my Heat Tool.
I stamped five of the flower image from Hearts of Elegance stamp set (save 10% with the bundle) in Mambo Melon ink. I die cut them out with the Hearts of Elegance dies. I stamped the three of each of the leaves from the set in Granny Apple Green ink and die cut them out.
Now that I had all my pieces, they were easy to assemble. I glued my Gold Foil to the plain Basic White piece, using my favorite adhesive (Multipurpose Liquid Glue or Stampin’ Seal), leaving a narrow 1/16″ border. I adhered the embossed piece on top of this, again with a narrow border. You may want to check before gluing that the borders are even since this piece was embossed, and the size may have changed a little.
I cut the gold label in half horizontally in the middle and adhered, the embossed label to the gold foil label, leaving a narrow border on top and bottom.
I glued two of my flowers to the label in the upper right and lower left corners. I added another flower to the label on the right side, peeking from behind.
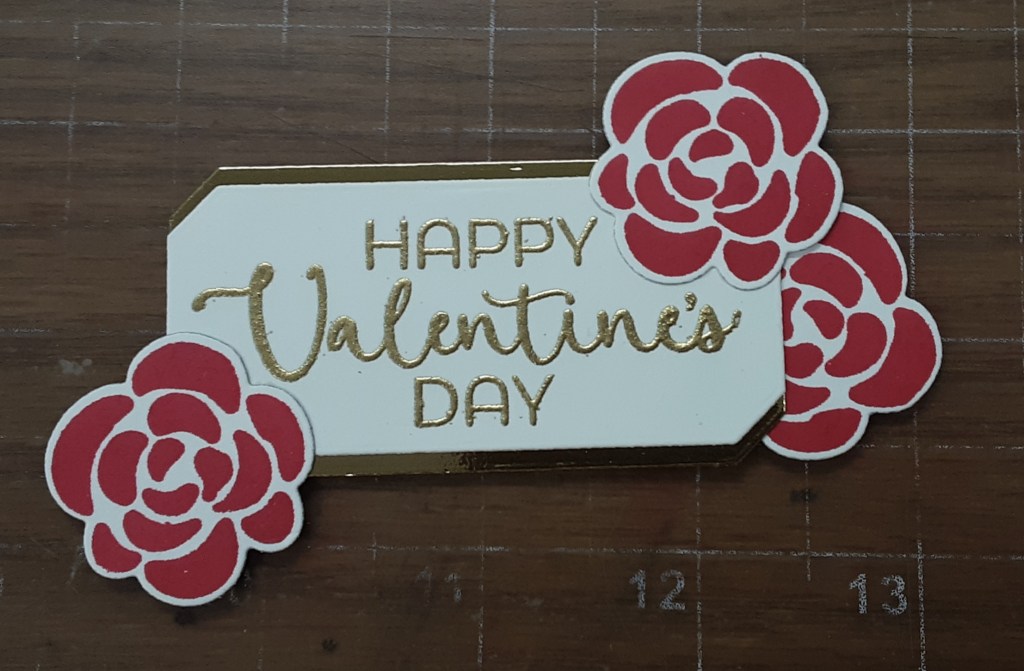
Without adhering my label, I placed it on my embossed panel and slid my other flowers and leaves under it where I wanted them to be. Self-locking tweezers were helpful in positioning the flowers and leaves. I used glue so I could wiggle them if necessary.
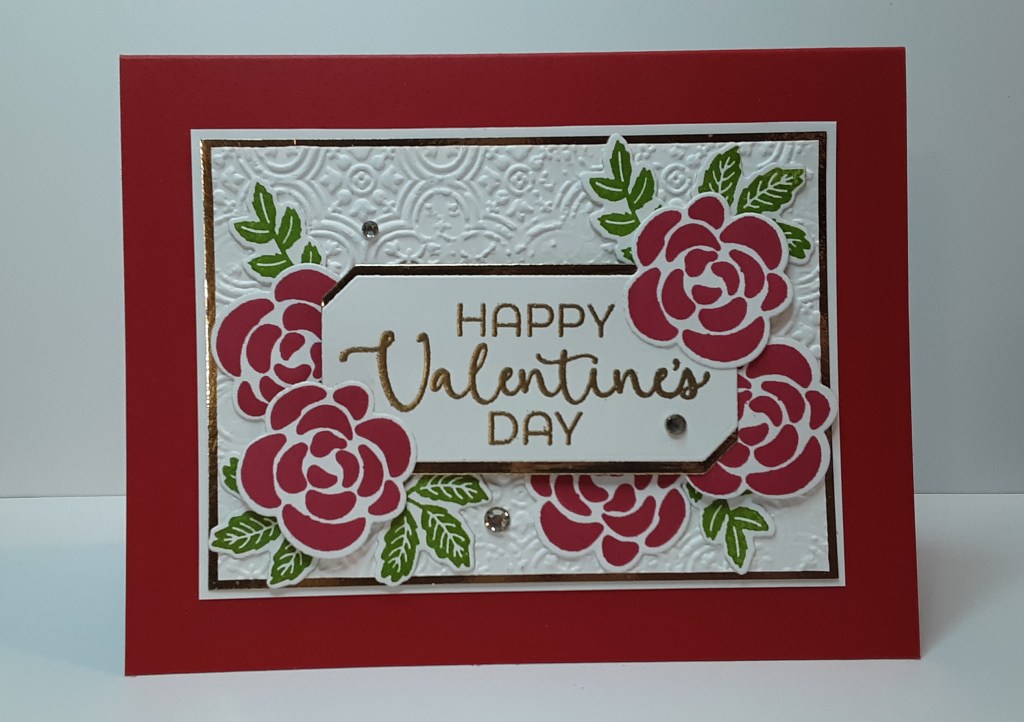
I added Stampin’ Dimensionals to the back of my focal image and adhered it to my panel. I glued the panel to my card base. For a little sparkle, I added three Rhinestones to the card.
To finish the card, I stamped my sentiment on a 4″ x 5-1/4″ piece of Basic White cardstock and glued it inside my card.
I hope you liked this card!
For the complete supply list, click here.
For additional inspiration: