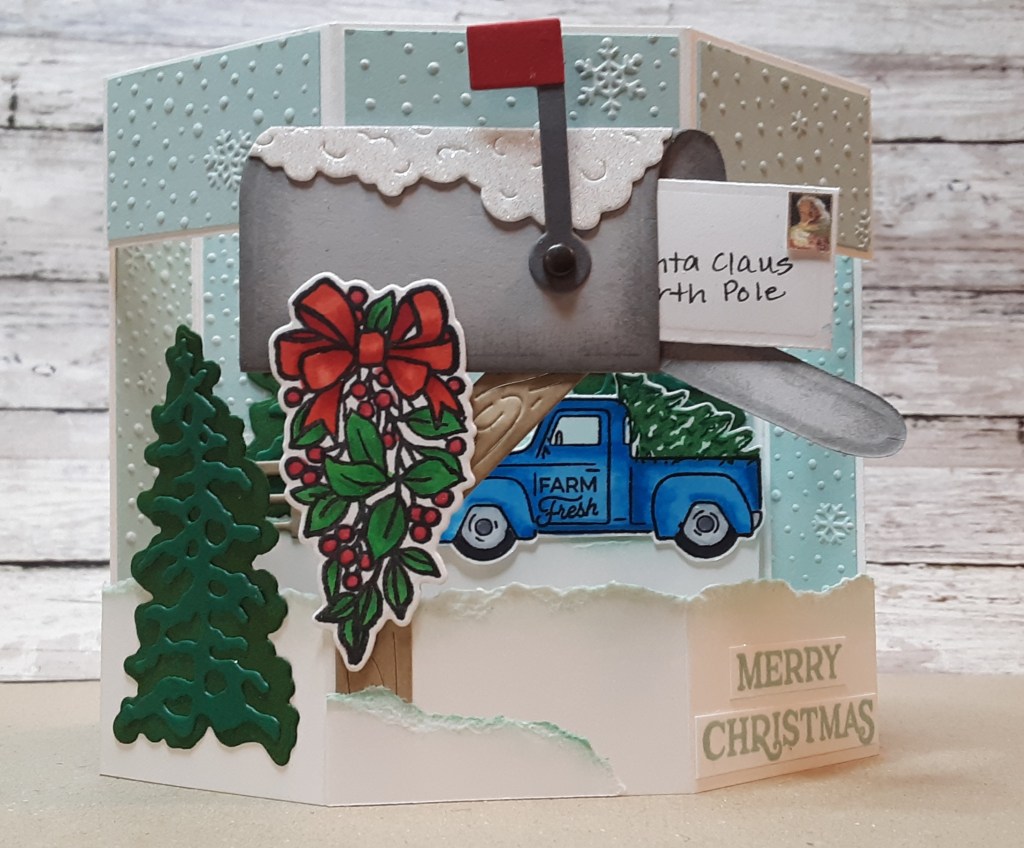
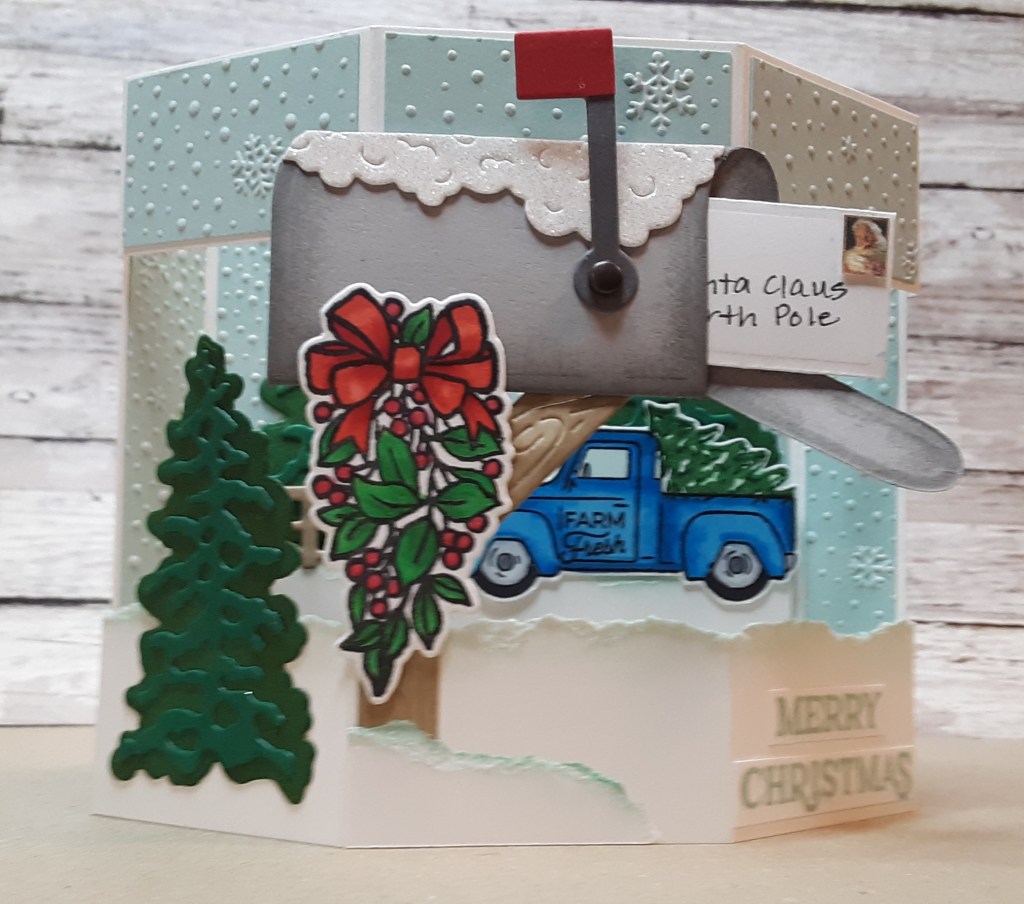
Christmas is only two weeks away and today I have an over-the-top kind of card. Marilyn here, and I have been working on this card for the past week or so. I like how it finally came together. The base design of the card is from Susan Campfield, but I added all the bells and whistles myself. This is a card you might send to very special people.
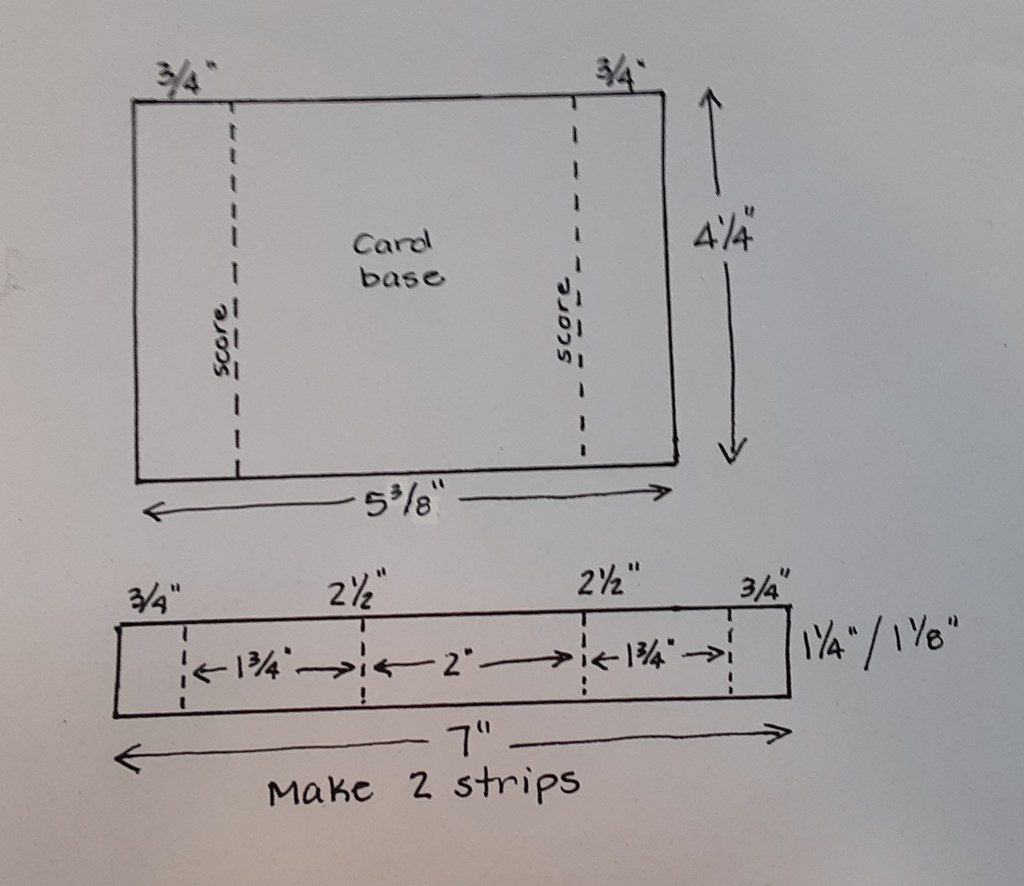
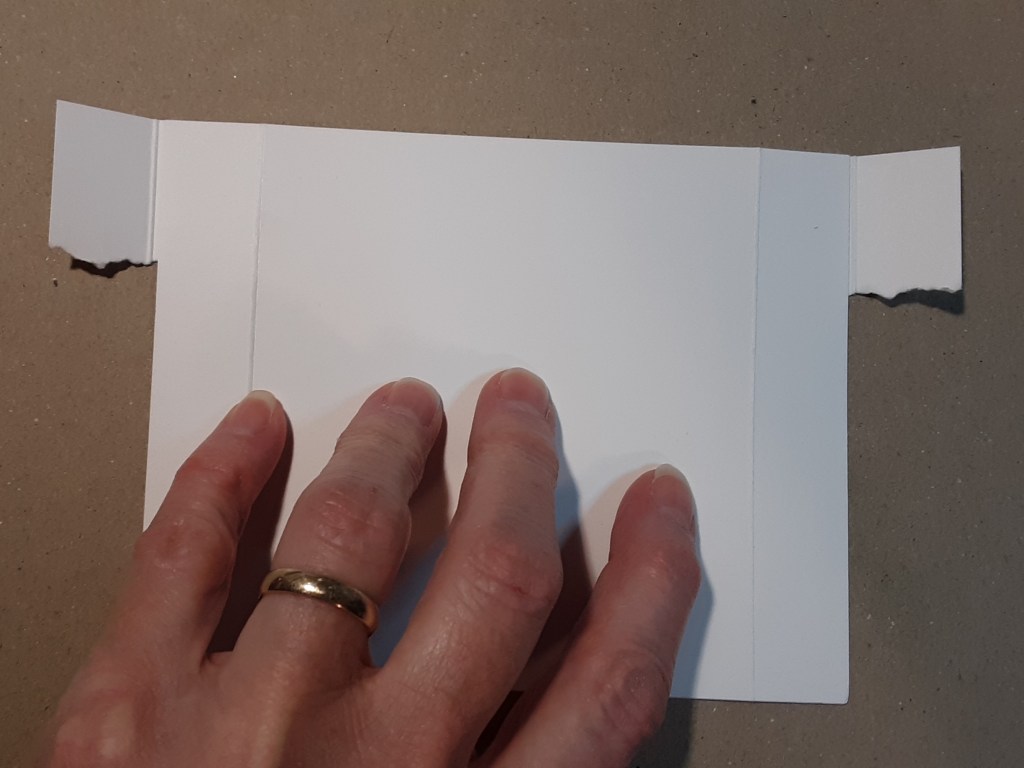
To begin, I cut the card base from Thick Basic White cardstock to 4-1/4″ x 5-3/8″ with my Paper Trimmer, scored at 3/4″ on each of the short ends. I cut a strip of Thick Basic White cardstock to 1-1/4″ x 7″ and another to 1-1/8″ x 7″. I scored both strips at 3/4″ and 2-1/2″ on each end. I’ve included a diagram of the three pieces. Fold the pieces on the score lines.
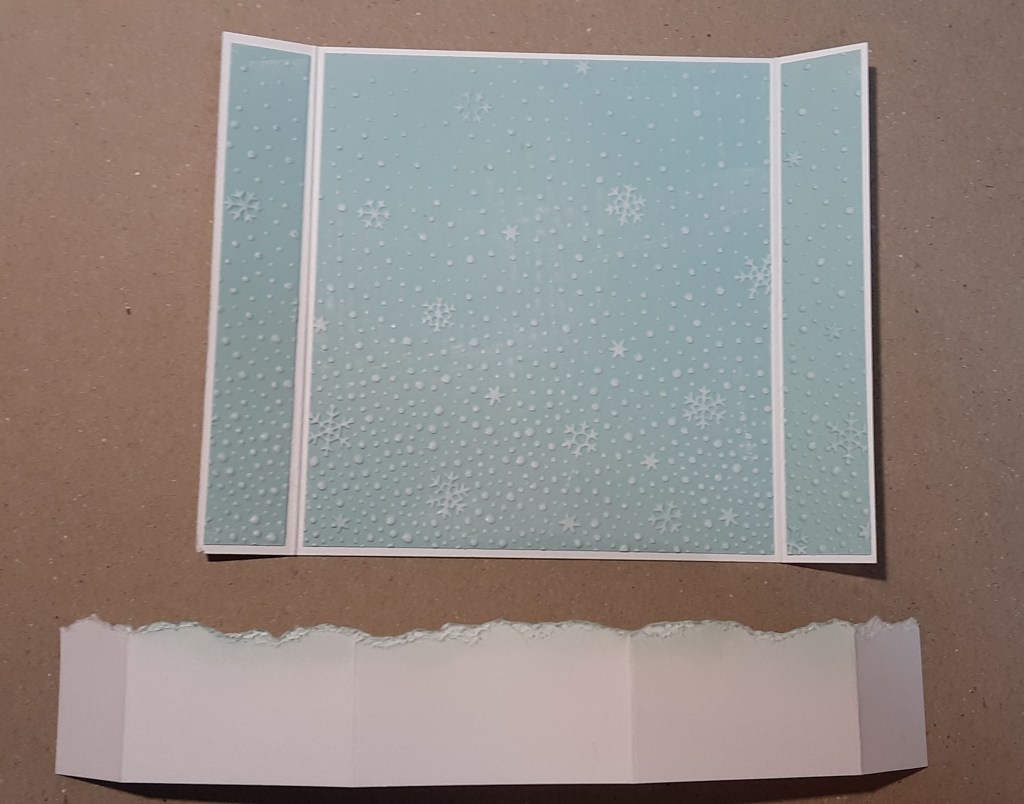
I cut two pieces of Pool Party cardstock to 4-1/8″ x 5-1/2″ and ran them through my Snowflake Sky 3D Embossing Folder with my Stampin’ Cut & Emboss Machine. With my White ink pad, I lightly dragged the ink pad across the raised images until I was satisfied with the color and then heat set the ink with my Heat Tool. You could also let it dry on its own, but the ink needs to be dry, or it will rub off. Once the ink is dry, you can cut one piece down to (2) 3/4″ x 4-1/8″ pieces and (1) 3-3/4″ x 4-1/8″ piece. The other piece can be cut into (2) 1″ x 1-5/8″ pieces and (1) 1″ x 1-7/8″ piece. There will be some leftover as scrap, or for another card.
Now for the stamping. I stamped the floral swag from Sophisticated Sled stamp set with Momento Tuxedo Black ink, colored it with Stampin’ Blends, and cut it out with the Sophisticated Sled dies (Sophisticated Sled bundle). I stamped the truck from Trucking Along stamp set, which was an online exclusive and has since sold out. You can ask Terry if she can find one for you, if you don’t already have it. I stamped the evergreen tree with Garden Green ink and Shaded Spruce ink in the back of the truck. I colored the truck and fussy cut it out since the Truck Builder Punch only cuts out the truck. Stampin’ Blends I used: Poppy Parade, Berry Burst, Azure Afternoon, Shaded Spruce, Basic Black, Smoky Slate. I stamped the Merry Christmas from Reindeer Fun stamp set with Pool Party ink on a scrap of Basic White cardstock. I trimmed the words and cut them apart. You can use another greeting if you prefer.
On to the die cutting! From the Sending Love dies, I die cut the mailbox from Smoky Slate cardstock. I cut the envelope from a piece of copy paper so it wouldn’t be too bulky. I cut the mailbox post from Crumb Cake cardstock. I cut the snow on the mailbox from a scrap of white glitter paper I had on hand, or you could cut it from Basic White cardstock and add Wink of Stella. I cut the flag on the mailbox from Basic Gray cardstock and the top of the flag from Real Red cardstock, which I trimmed down to fit. From Peaceful Evergreen dies, I cut the smallest solid tree from Garden Green cardstock three times. I also cut three of the smallest detail trees from Shaded Spruce cardstock. From Beach Day dies (can you believe it!?) I cut the fence from Crumb Cake cardstock.
Before assembling the die cuts, I used a sponge dauber and added Garden Green ink to the solid trees. Then, I glued on (with Multipurpose Liquid Glue) the Shaded Spruce detail trees. I used Crumb Cake ink to add some dimension to the fence and the post. I folded the mailbox, not glued!, and added Smoky Slate ink with a sponge dauber to all the front edges of the mailbox. I glued the red flag to the flag assembly and attached it to the mailbox with a brad through the holes cut by the die. Once the brad and flag assembly was attached, I was able to glue the tab at the bottom of the mailbox, closing it. I glued the snow to the top of the mailbox, trimming with my Paper Snips where necessary to fit. I folded the envelope, glued the side flaps to the bottom (making sure the envelope would still open), and wrote: Santa Claus, North Pole on it. Since the post office doesn’t deliver mail without a stamp, I copied a stamp and printed it up. I even put a little note to Santa inside the envelope.
To build the card, I started by gluing my Pool Party panels to the card base. With the wider Basic White strip, I tore off about 1/4″ along the edge and used my sponge dauber and Pool Party ink to add a little dimension. I thought this made a good impression of snow.
The white strip goes along the bottom of the card base. To do that, I flipped the card base over and lined up the card base with the strip. Make sure when you turn it over that you note which is the top. There is about a 1/16″ space on either side so that the card will lie flat to mail.
Apply glue to the flap and fold in.
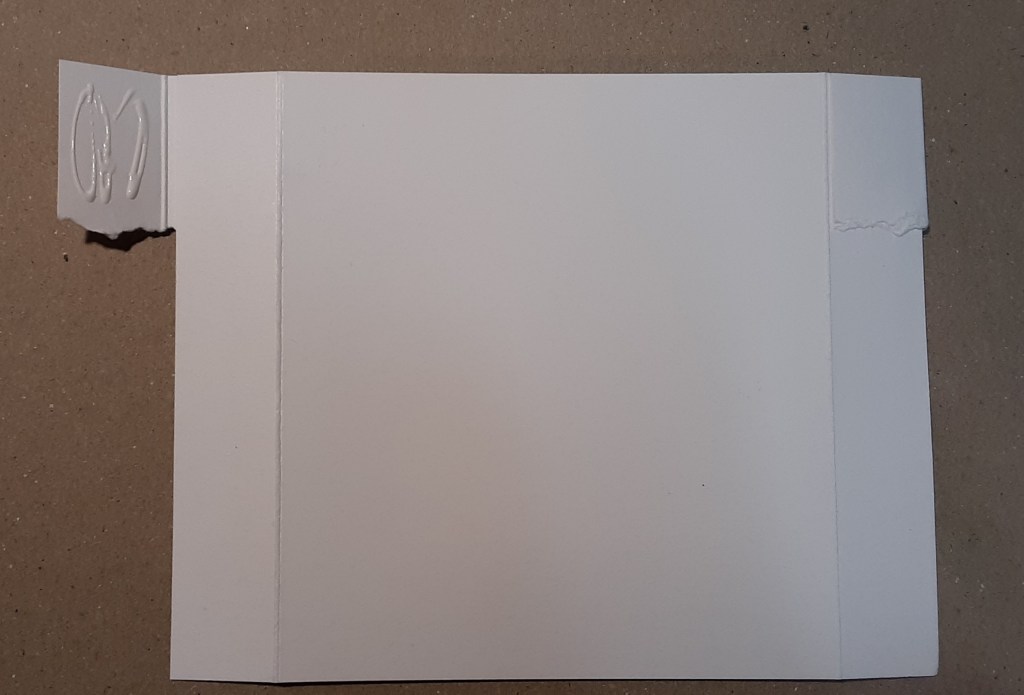
Flip it over.

I found it easier to add the background pieces before adding the top strip.

With a 3″ x 4-1/8″ piece of Basic White cardstock, I tore it into two pieces about 1″ on the 3″ side and daubed on Pool Party ink along both torn edges. I added the 2″ piece to my card base.

I added another tree on top of the snowbank. I added the second 1″ snowbank with Stampin’ Dimensionals and glued on the fence to the snowbank.

I put Stampin’ Dimensionals on the top of the truck and glue on the bottom where it will sit on the popped up snowbank and added it to the card.


Now that I had the details for the inside of the card complete, I glued the top strip to my card base the same way I added the bottom strip. I added the small Pool Party pieces between the folds. I glued my mailbox to my post and added it to my card. Since I wanted my flag to stand up, I had to trim some of the post off the bottom after I added the mailbox. Make sure you don’t add glue beyond the fold lines when gluing the top part of the mailbox on. I put the glue on Pool Party piece after lightly marking with a pencil where I wanted it to sit. I slid Santa’s letter into the mailbox and adhered the floral swag to the mailbox, being careful not to extend the glue beyond the mailbox.

I glued the final tree to the left side of the mailbox making sure the glue did not extend beyond the snow strip. I tore a small piece of Basic White cardstock, daubed on some Pool Party ink, and adhered it to the base of the post. I finished the card by adding the Merry Christmas greeting. You can write a personal message on the back of the card.
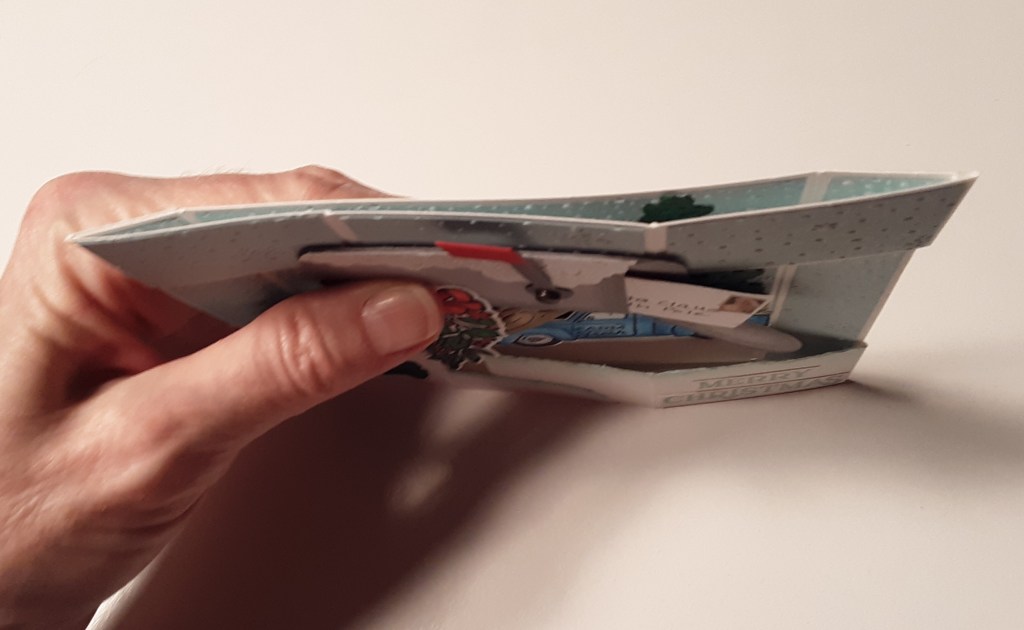
The card folds flat to go in the mail.
I hope you liked this card! It is definitely a showstopper and mantle worthy.
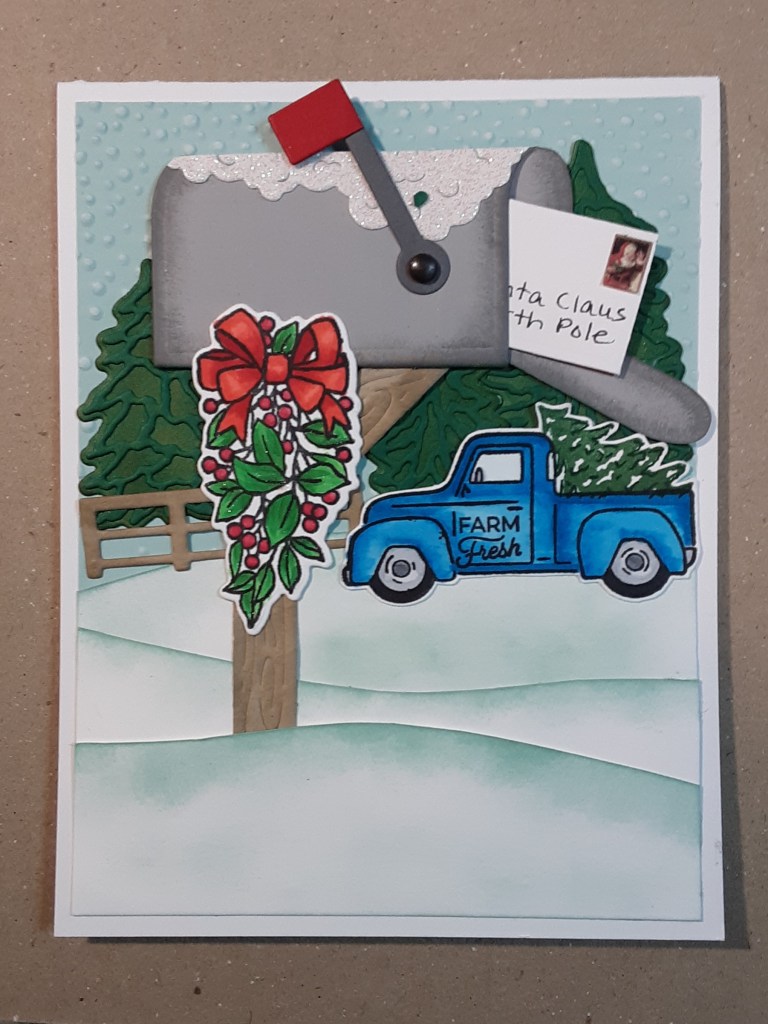
Here is a 2D version I was playing with. I didn’t like how the trees looked like blobs in the background. I would definitely lower the snowbanks and tear them instead of using scissors. I would lower the mailbox since it looks out of proportion.