
With Thanksgiving in the rear-view mirror, we are speeding toward Christmas! Only three weeks left! Where does the time go?
Today’s card is CASEd from the September-December 2024 mini catalog, page 23, with a few tweaks. I didn’t have all the sets that the card had, so I improvised and used what I had.
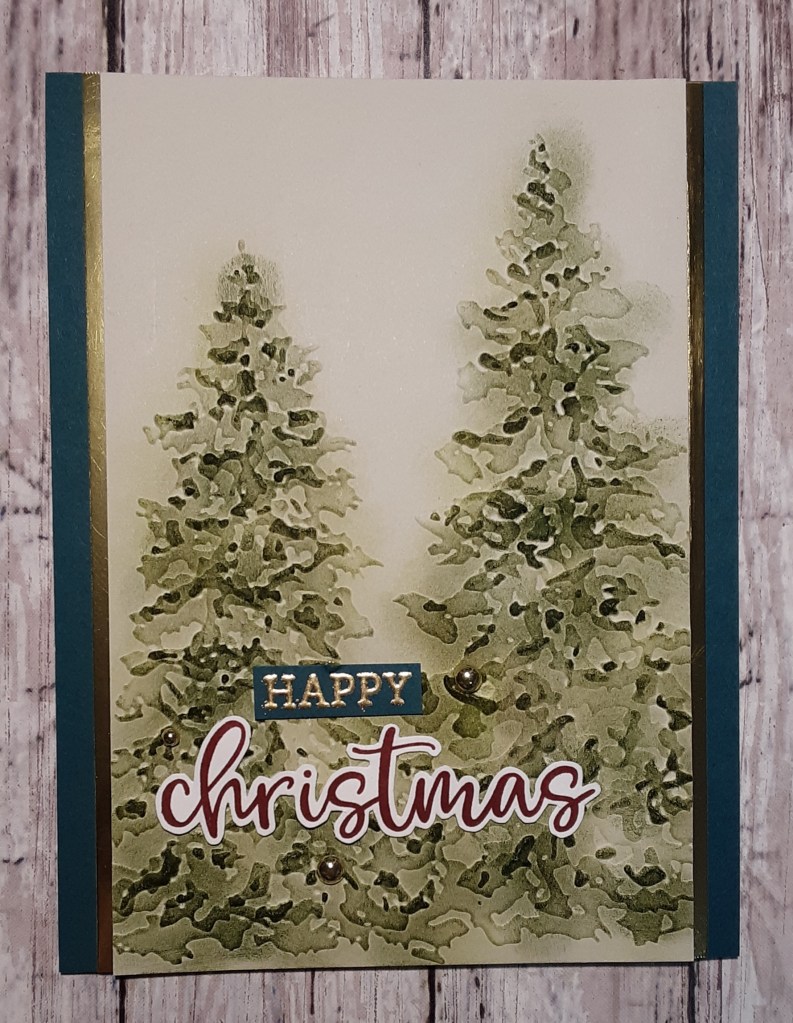
To make my card base, I began with a piece of Pretty Peacock cardstock, cut to 5-1/2″ x 8-1/2″ on my Paper Trimmer, scored and folded at 4-1/4″. I burnished the fold with my Bone Folder. I cut a piece of Basic Beige cardstock to 5-1/2″ x 3-5/8″ and two strips of Gold Foil Sheets to 1/2″ x 5-1/2″.
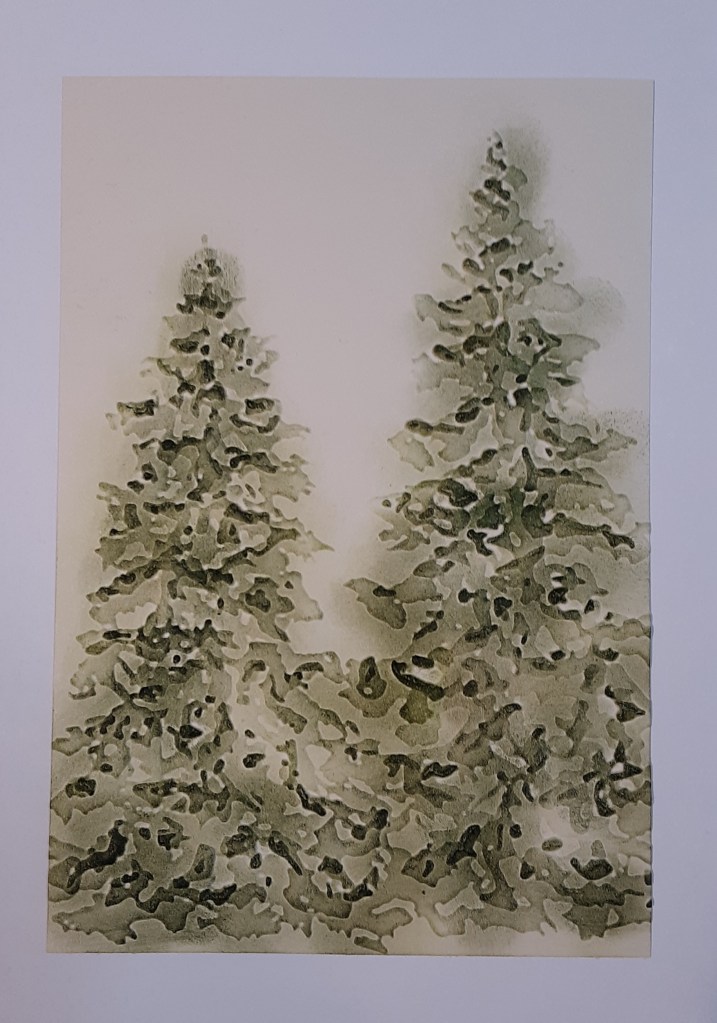
I ran the Basic Beige piece through my Painted Trees 3D Embossing Folder with my Stampin’ Cut & Emboss Machine. With a Sponge Dauber I added some Old Olive ink lightly to the embossed images. The embossing helps variegate the color. When applying the ink, don’t press too hard. Drag the sponge dauber lightly over the image.
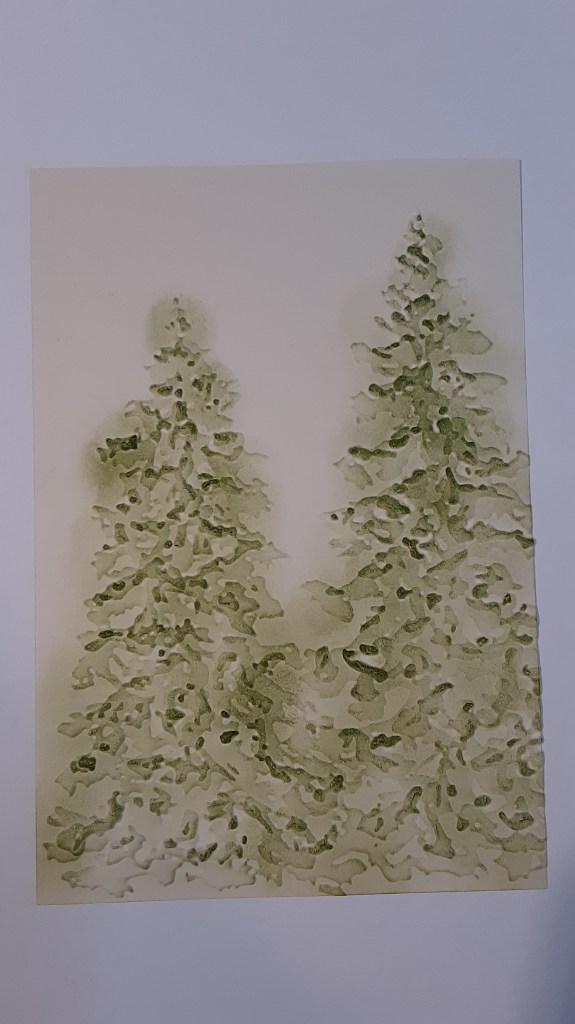
To add a little more depth, I used my Sponge Dauber and applied some Mossy Meadow ink to the higher bits of the image.
Next, I stamped the scripty Christmas from the More Wishes stamp set with Cherry Cobbler ink on Basic White cardstock. I fussy cut the word out with my Paper Snips. Then, I used some anti-static powder on a scrap of Pretty Peacock cardstock and stamped the Happy (from the Happy Birthday stamp) from the Simply Said stamp set. You can cut the stamp apart between Happy and Birthday, or take a piece of tape and cover the Birthday, ink it up with Versamark ink, peel off the tape, and stamp Happy. I used the Gold Embossing Powder from the Metallics Embossing Powder pack and sprinkled it on the word. I heat set it with my Heat Tool. I cut around the word, leaving a very slim margin. You can use your Paper Snips or your Paper Trimmer to cut the word out.
I adhered the gold strips to the edges of the Basic Beige piece using my favorite adhesive (Multipurpose Liquid Glue or Stampin’ Seal), leaving just under a 1/8″ border. If you’d prefer to have more gold showing, leave a wider border. I adhered the image to my card base.
I adhered the word Christmas about an inch from the bottom of the card and then adhered Happy above it. As a finishing touch, I added some of the Gold embellishments from the Blooming Pearls.
To finish the card, I stamped a greeting on a 4″ x 5-1/4″ piece of Basic White cardstock and glued it inside my card.
I hope you enjoyed this simple, but elegant card!
For the complete supply list, click here.
