Today’s card takes advantage of Stampin’ Up’s coordinating DSP. With a couple cuts of paper, you can make three unique cards! Read on to find out how easy it is!
I created my card bases by cutting three pieces of Real Red cardstock to 8-1/2″ x 5-1/2″ with my Paper Trimmer, scored and folded at 4-1/4″, and burnished with my Bone Folder for a crisp fold. Next, I cut three pieces of Basic Beige cardstock to 4″ x 5-1/4″ to create my mattes. I chose three different patterns from Sentimental Christmas DSP pack.
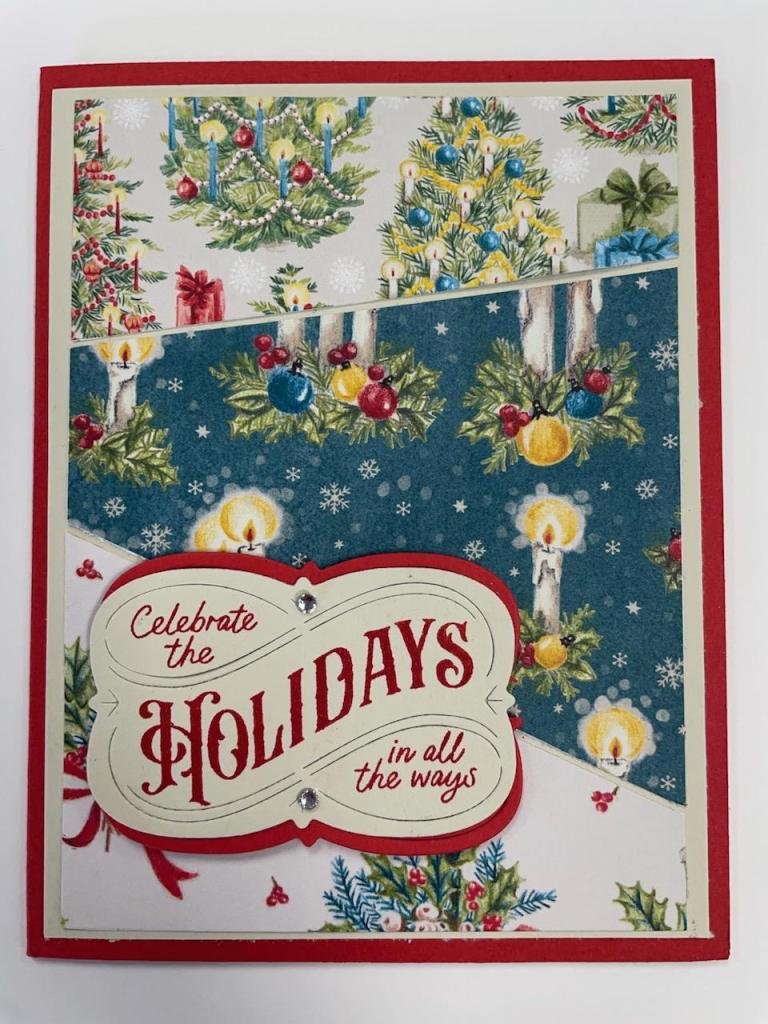
I cut a 3-3/4″ x 4-7/8″ piece from each pattern being careful of the direction of the pattern. I wanted all my candles and trees to stand upright! I stacked the three pieces, making sure the edges were all flush and the images upright. This is an important part! Keeping them stacked, I put them in my Paper Trimmer somewhat randomly, at an angle. Keep in mind you will make two cuts, at different angles. I made one cut toward the top, tilted and moved the paper stack over a bit and made the second cut. Now I had 9 pieces. I sorted the three top pieces, then the three middle pieces and lastly the three bottom pieces. You want to arrange them so each card will get all three designs of DSP. I took one of my Basic Beige pieces and glued the top and bottom pieces of a set using my favorite adhesive (Multipurpose Liquid Glue or Stampin’ Seal), leaving a 1/8″ border. Once these two pieces were in place, I could glue my center piece between them, leaving an even (about 1/16″) border between them. I adhered this panel to my card base.
For the sentiment, I stamped the “Celebrate the Holidays in all ways” greeting from the Christmas Labels stamp and die bundle on a piece of Basic Beige cardstock with Real Red ink. I cut it out with the coordinating label die on my Stampin’ Cut & Emboss Machine. I cut another label from Real Red cardstock. I cut the Real Red label in half horizontally and glued my Basic Beige piece on top of it, offset top and bottom, leaving a red edge peeking out. I adhered two Basic Rhinestones to the greeting and adhered it to my card using Stampin’ Dimensionals.
To finish the card, I cut a piece of Basic White cardstock to 4″ x 5-1/4″, stamped an inside sentiment, and glued it inside my card.
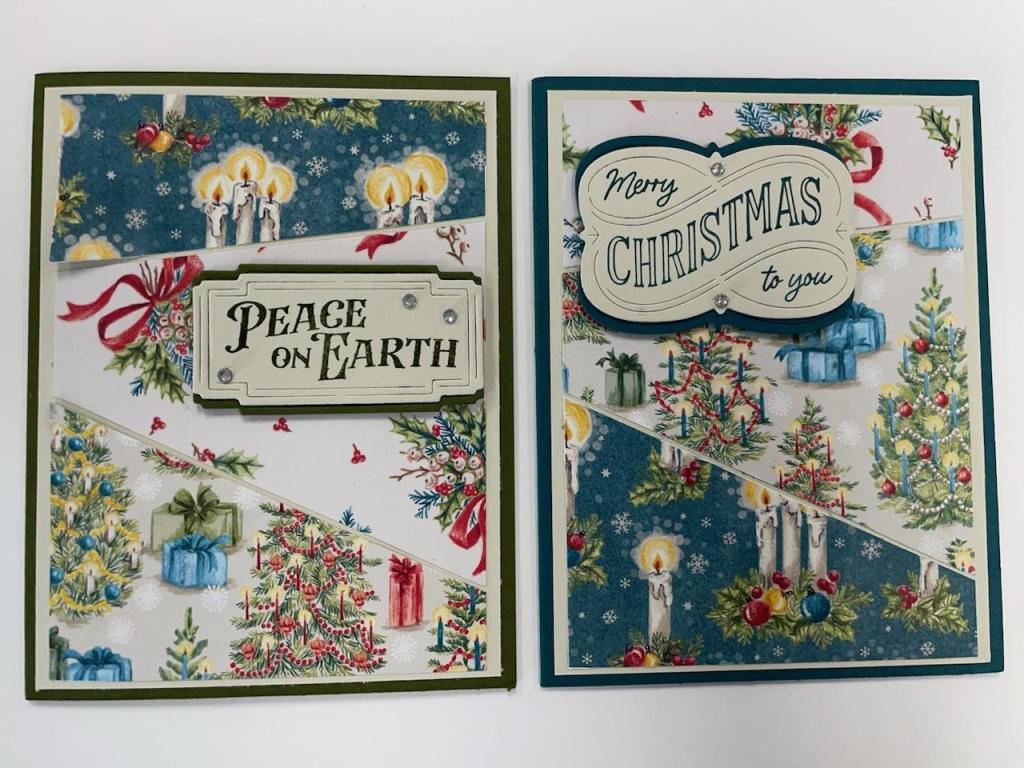
For a little variation, you can change the color of the card base, using cardstock colors contained in the DSP.
I hope you liked this card and the fun challenge of cutting the DSP in a different way!
For the complete supply list, click here.
Here are the two coordinating cards. Notice I used different colors for my card bases and different sentiments from the Christmas Labels bundle.