Can you believe tomorrow is Halloween already? Marilyn here, with a fancy fold card. You could easily make this card as a regular card, but I like a little pizzazz. And this fun fold is not difficult. It involves a few steps, but I will add some photos along the way. I found this fun fold on Susan Campfield’s blog.
To begin, I cut an 8-1/2″ x 11″ piece of Highland Heather cardstock in half at 5-1/2″ along the 11″ side with my Paper Trimmer. I cut one of the halves down to 7-1/4″ and the other half down to 6-3/4″. I scored the 5-1/2″ x 7-1/4″ piece at 4-1/4″ on the 7-1/4″ side. I scored the 5-1/2″ x 6-3/4″ piece at 1/2″, 1-1/2″, 2-1/2″, and 3-1/2″ along the 6-3/4″ side. Whew! All the folds are mountain folds and burnished very well with my Bone Folder.
I really worked the folds on the smaller piece, folding back and forth and burnishing to make the folds more pliant. I folded in the 1-1/2″ fold and applied glue to the 1/2″ strip. I used Multipurpose Liquid Glue, or you could use Stampin’ Seal.
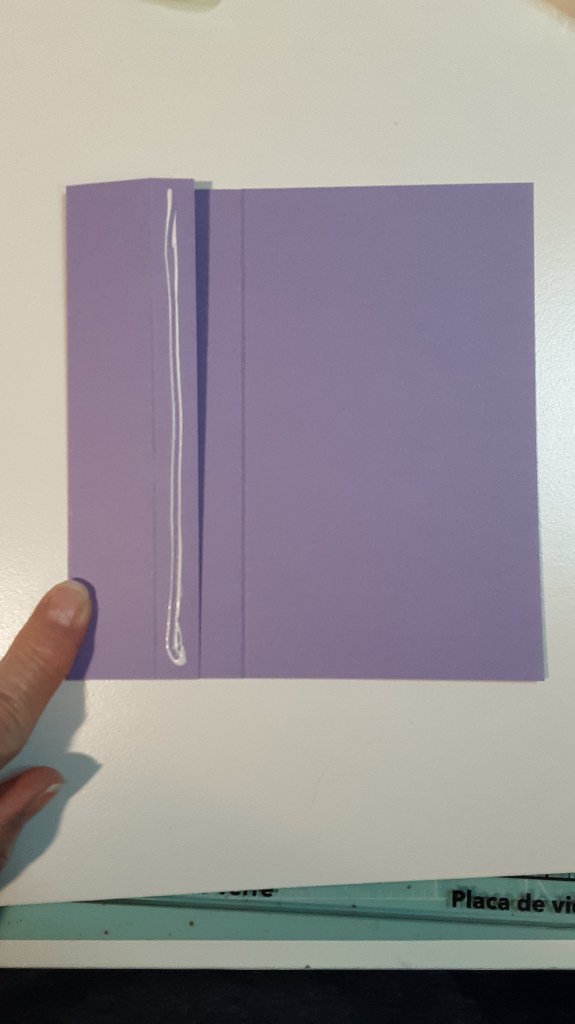
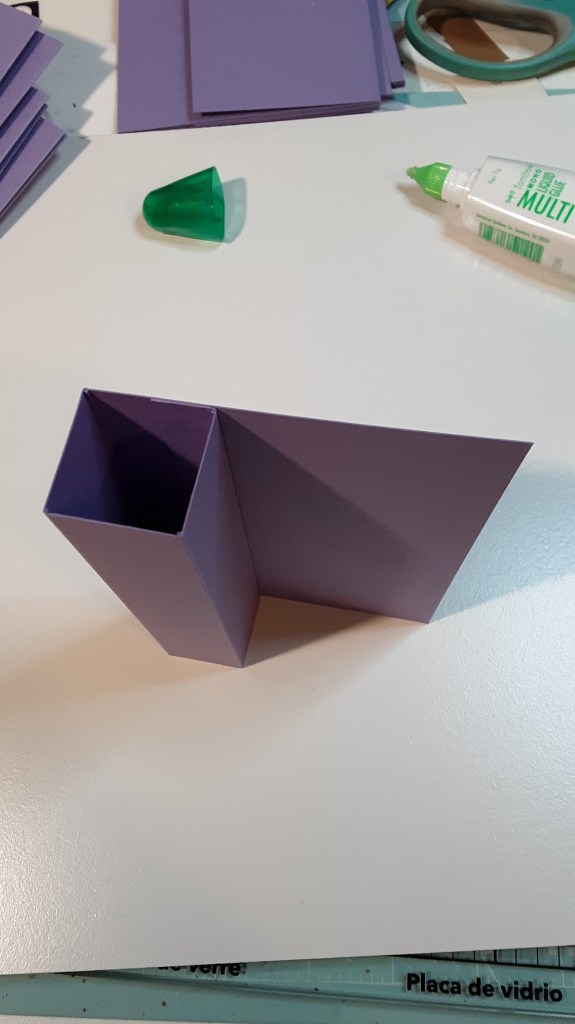
I folded the right side over the glue and pressed to adhere. This makes a square tunnel.
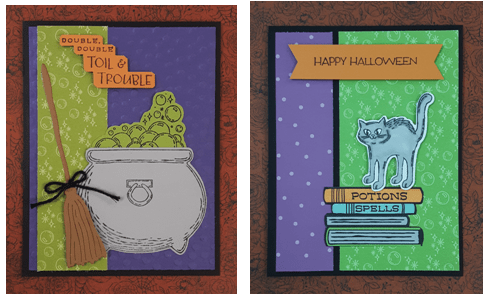
It is easier to decorate the two pieces before sticking them together, so we’ll work on that next. With Granny Apple Green cardstock, I cut 2 strips to 5-3/8″ x 7/8″ to be a matte. With the striped piece from the Halloween Spells DSP, I cut 2 strips to 3/4″ x 5-1/4″. I adhered the DSP strips to the Granny Apple Green strips with very narrow (1/16″) borders. From the Granny Apple Green bubble paper in the same pack of DSP, I cut a 1-1/2″ x 5-1/4″ strip. From Basic White cardstock, cut a piece 3″ x 5-1/4″ and another at 1-7/8″ x 5-1/4″. We’ll stamp on these. On the 3″ strip, I stamped the sentiment “Double, Double Toil and Trouble, Happy Halloween” from the Potions and Spells stamp and die bundle in Momento Tuxedo Black ink. On the 1-1/2″ strip, I stamped the bird image about 1-1/4″ in from the bottom in Momento Tuxedo Black ink. I stamped the bird on a piece of masking paper and cut out the feet and placed the mask on the bird. Then I stamped the pile of books with Tuxedo Black ink, looking through the photopolymer stamp so the bird is standing on the books. After stamping, I removed the mask. In Highland Heather ink, I stamped the sentiment “A Little Hocus Pocus.” I stamped the bubbles from Potions and Spells using Peach Pie ink for the largest bubbles, Granny Apple Green ink (stamped off once before stamping) for the medium bubbles, and Highland Heather ink for the smallest bubbles. I colored in the bird with Daffodil Delight Stampin’ Blends and SU800 and SU500 Stampin’ Blends. For the books, I used Peach Pie, Granny Apple Green, Ivory, Fresh Freesia, Daffodil Delight, and Basic Black Stampin’ Blends.
To make the cauldron, broom, bottles, and bubbles, I die cut the pieces from Potions and Spells dies. The broom straws are from Crumb Cake cardstock and the broom stick from Pecan Pie cardstock. The caldron is from Basic Black cardstock and Gold Foil Sheets. The overflow and poured liquid is from Granny Apple Green cardstock. The pouring bottle is from Pool Party cardstock. The bubbles and round bottle are from Basic White cardstock and the liquid in the round bottle is from Peach Pie cardstock. I was able to fit most of my pieces on my Stampin’ Cut & Emboss Machine plate so I only had to run it through two times. Before gluing the pieces together, to add some shadow, I used a sponge dauber to add Crumb Cake ink, Pecan Pie ink, Peach Pie ink, Highland Heather ink, Granny Apple Green ink, Pool Party ink, and White ink to the edges of all the die cuts in their coordinating colors. I added White ink to the cauldron. I used the daubers to add color to the bubble die cuts. I die cut the letters in the Mini Alphabet die set with Basic Black cardstock. Since there are duplicates of the letters I needed on the die, I only had to run it through once. (Yay!)
I glued the Gold Foil handles to either side of the cauldron. I glued the Granny Apple overflow to the top of the cauldron. I glued the Granny Apple pouring liquid to the Pool Party bottle. I glued the Peach Pie liquid to the Basic White bottle. I glued the broom stick to the straw.
Now we have all the pieces to assemble the card.
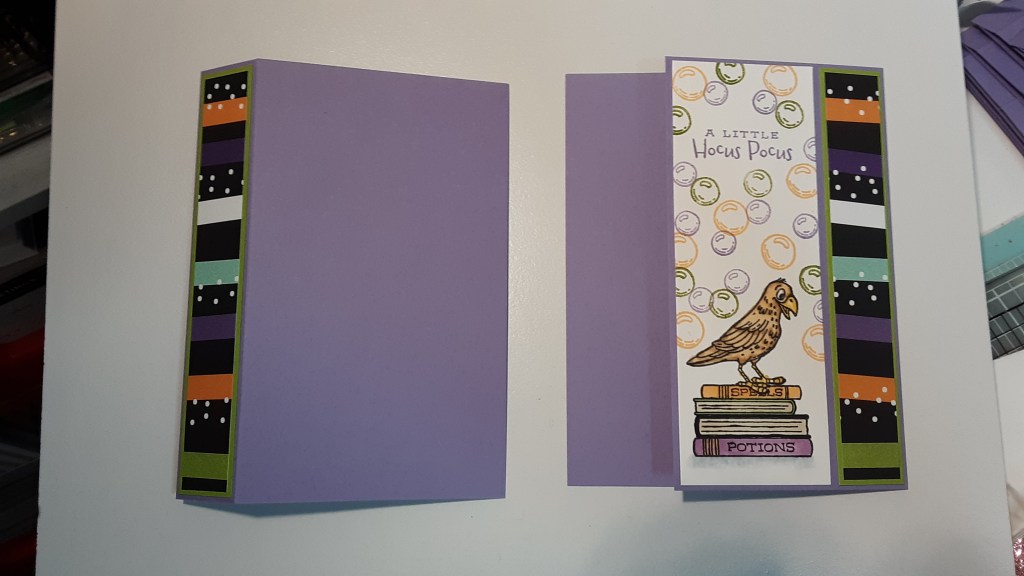
I flipped the tunnel piece so the tunnel was on the bottom left side. You can press this down flat so 1″ of the tunnel part is up. Glue one of the DSP/Granny Apple Green strips to this, leaving narrow borders. On the other piece, the 3″ folded in piece gets the other DSP/Granny Apple Green strip and the bird and bubbles stamped piece. There is no fold between the bird and DSP/Granny Apple Green strip. On the inside flap of the bird fold, I adhered the sentiment. Next to the sentiment I glued the Granny Apple DSP strip, with the fold separating the two.
Now we are going to attach the two pieces to make the book fold. If you like to stamp your name on the back of your cards, you should do that before gluing the pieces together.

If you flip your tunnel piece over like the photo and put glue only on the part shown in the picture. This will be adhered to the card base, lining up the left-hand edges. I wrote an X where the two pieces come together. It is easier to line the pieces up if you keep the tunnel piece flat. Line up the left and right sides and press the glue to stick. I like the wiggle room the liquid glue provides.


Here is the top view of the card once the two pieces have been glued together.
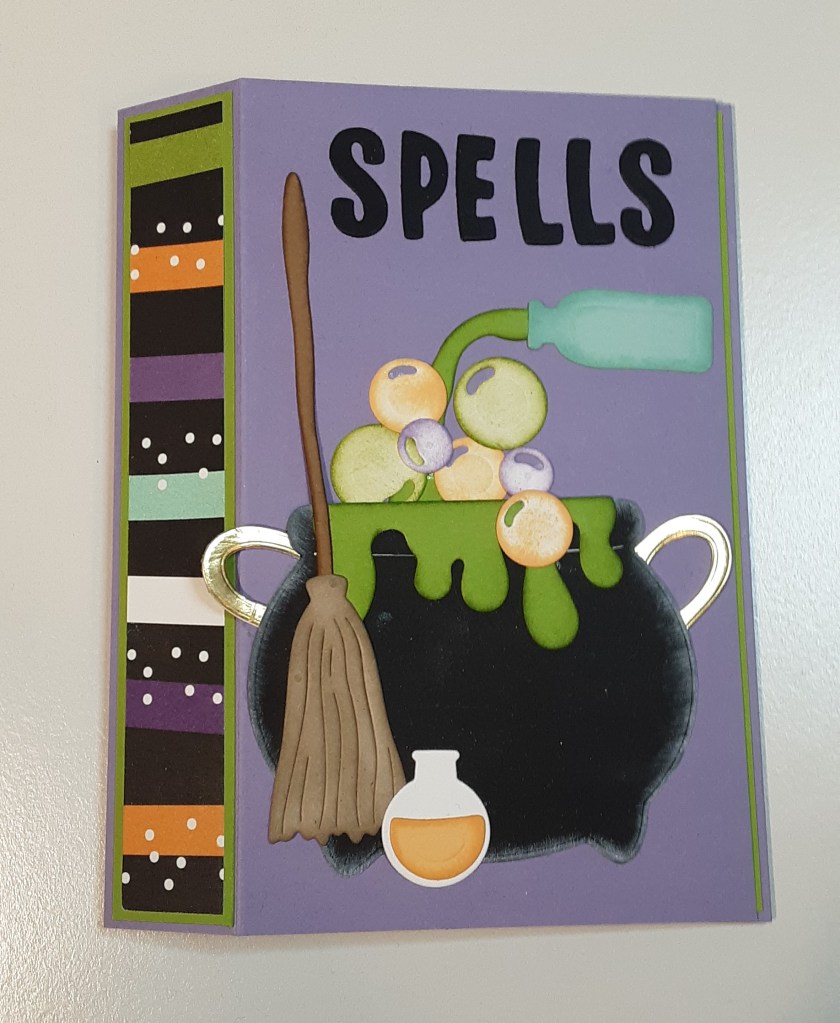
On the front of the card, I glued the cauldron about 1/4″ from the bottom. When applying glue, be careful to not add glue to the left handle because it extends over the DSP strip and the card won’t open properly. Next, glue on the broom. Add the pouring bottle, tucking the end of the pouring liquid under the edge of the cauldron. Adhere the round bottle next to the broom at the bottom of the cauldron. Glue on the bubbles. At the top, add the word “SPELLS”. I used a T ruler to line up the letters, but you can eyeball it if you want.


I hope you like this card! It was a lot of fun to make even with all the bits and bobs. I’m sure that you can think of someone who would enjoy receiving this card!
For the complete supply list, click here.
For more inspiration using the Potions and Spells stamp and die bundle, and the Halloween Spells DSP: